Epson DFX-9000 User Manual
Page 78
78
Printer Software
1. Access the shared printer and a prompt may appear. Click
OK, and then follow the on-screen instructions to install the
printer driver from the CD-ROM.
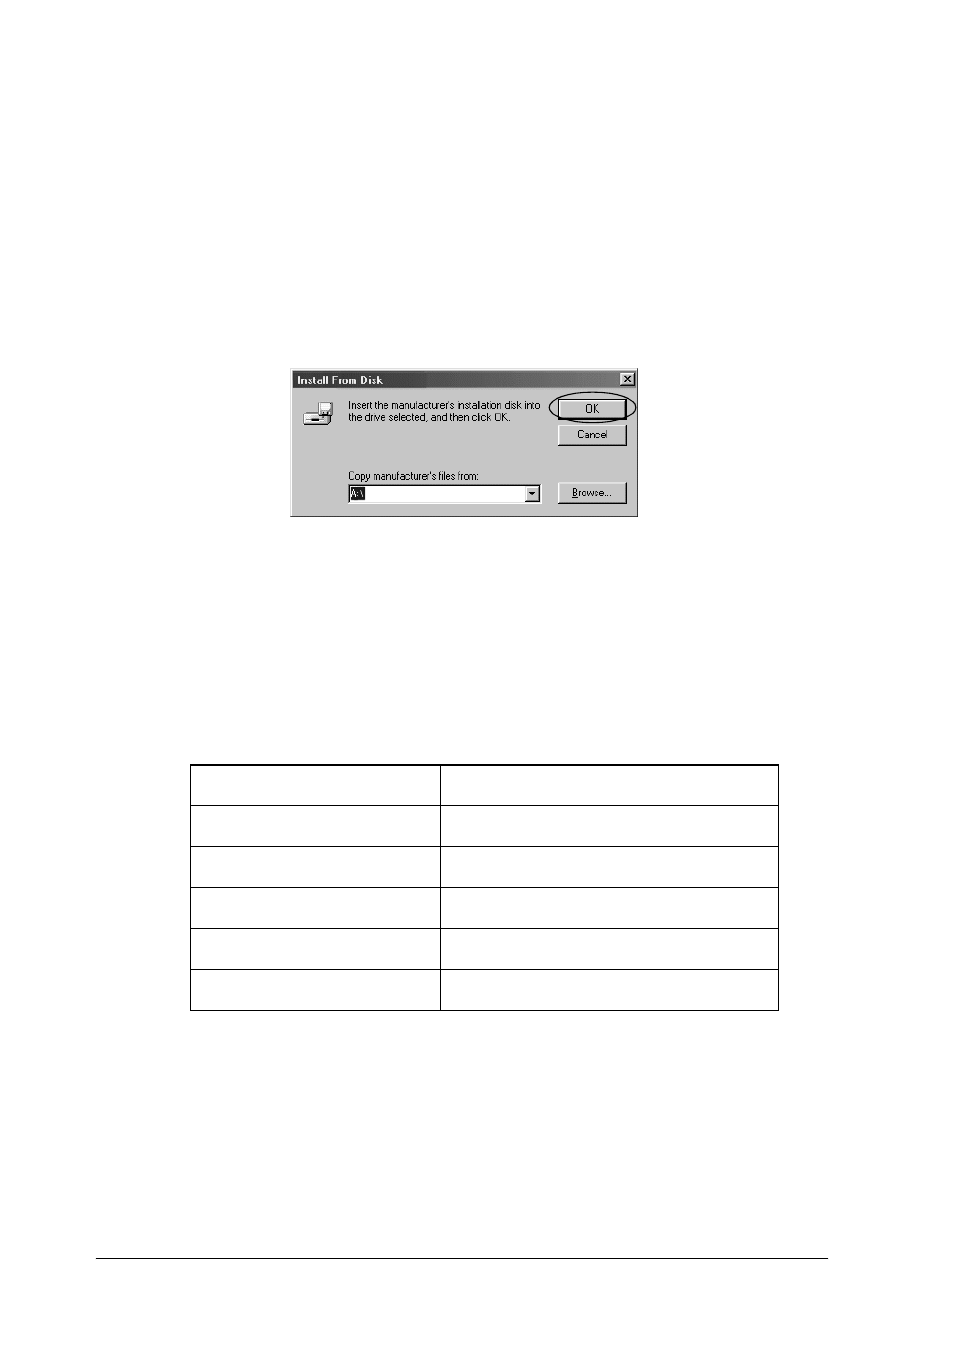
2. Insert the CD-ROM, then the EPSON Installation Program
dialog box appears. Cancel the dialog box by clicking
Cancel, then type the appropriate drive and folder names in
which the printer driver for clients is located, then click OK.
When installing drivers in Windows XP or 2000, “Digital
Signature is not found.” may appear. Click Yes (for Windows
2000) or Continue Anyway (for Windows XP) and continue
installing.
The folder name differs depending on the OS being used.
3. Select the name of the printer, then click OK. Then follow the
on-screen instructions.
Note:
If you also want to install EPSON Status Monitor 3, see “Installing
EPSON Status Monitor 3” on page 64 for instructions.
Client’s OS
Folder Name
Windows 95
\<Language>\WIN95
Windows 98
\<Language>\WIN98
Windows Me
\<Language>\WINME
Windows XP, 2000
\<Language>\WIN2000
Windows NT 4.0
\<Language>\WINNT40