Specifying the af area position – Panasonic Lumix GH5 User Manual
Page 35
35
Recording
(ENG) DVQX1052
Specifying the AF area position
• When [Focus Switching for Vert / Hor] in the [Custom] ([Focus / Release Shutter]) menu is set,
the last specified positions of the AF area (when [
Ø
] or [
] is set) and the MF Assist display
are stored separately for the camera’s horizontal and vertical orientations (two vertical
orientations, left and right, are available).
Applicable modes:
∫ When selecting [š], [
], [Ø]
1
Press [
].
2
Select [š], [
] or [Ø] and press 4.
3
Change the position and size of the AF area.
4
Press [MENU/SET] to set.
• AF area with the same function as [Ø] is displayed in the touched position, when the [š]
is selected.
Setting of the AF area is cleared when [MENU/SET] is pressed or [
] is touched.
([225-Area])
Up to 225 AF areas can be focused.
This is effective when a subject is not in the center of the screen.
, etc.
([Custom Multi])
From among 225 AF areas, you can freely set the optimum shape of the
AF area for the subject.
([1-Area])
The camera focuses on the subject in the AF area on the screen.
([Pinpoint])
You can achieve a more precise focus on a point that is smaller than
[Ø].
If you press the shutter button halfway, the screen that lets you check
the focus will be enlarged.
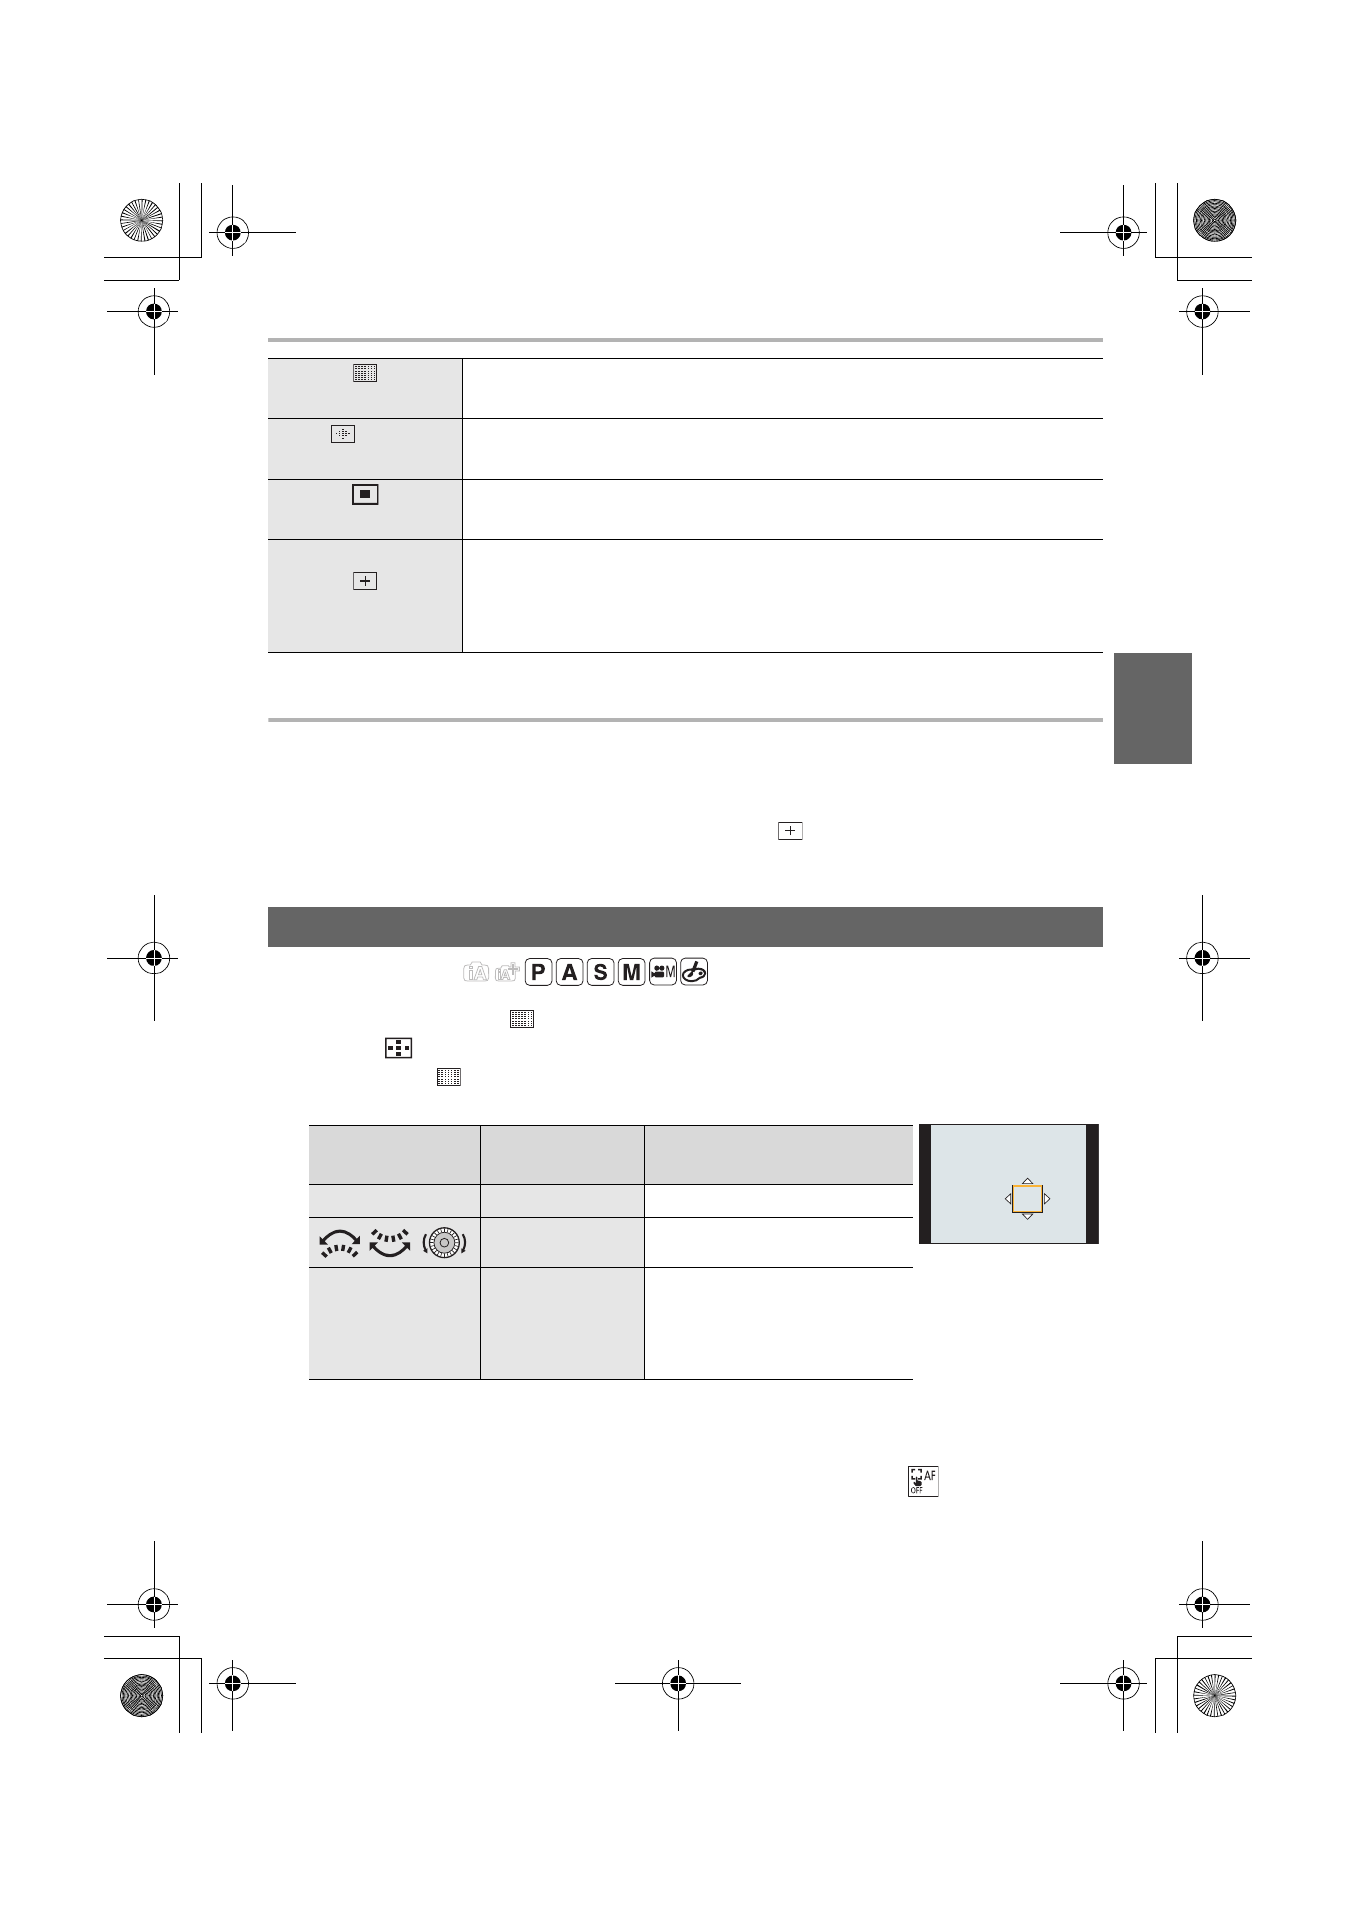
Specifying the AF area position on the setting screen
Button
operation
Touch
operation
Description of operation
3/4/2/1
Touching
Moves the position
/
/
Pinching out/in Changes the size
[DISP.]
[Reset]
First time: The position is
reset to the center
Second time: The size is
reset to the default
DC-GH5LBodyP-DVQX1052_eng.book 35 ページ 2017年2月2日 木曜日 午後3時21分