Adjusting the projected image – Sony E 30mm f/3.5 Macro Lens User Manual
Page 40
GB
40
Projecting
You can select the input source using direct
input select keys on the Remote Commander.
6
Change the computer screen output
destination to an external display.
How to change the output destination varies,
depending on the type of computer.
(Example)
7
Adjust the focus, size and position of the
projected image (page 40).
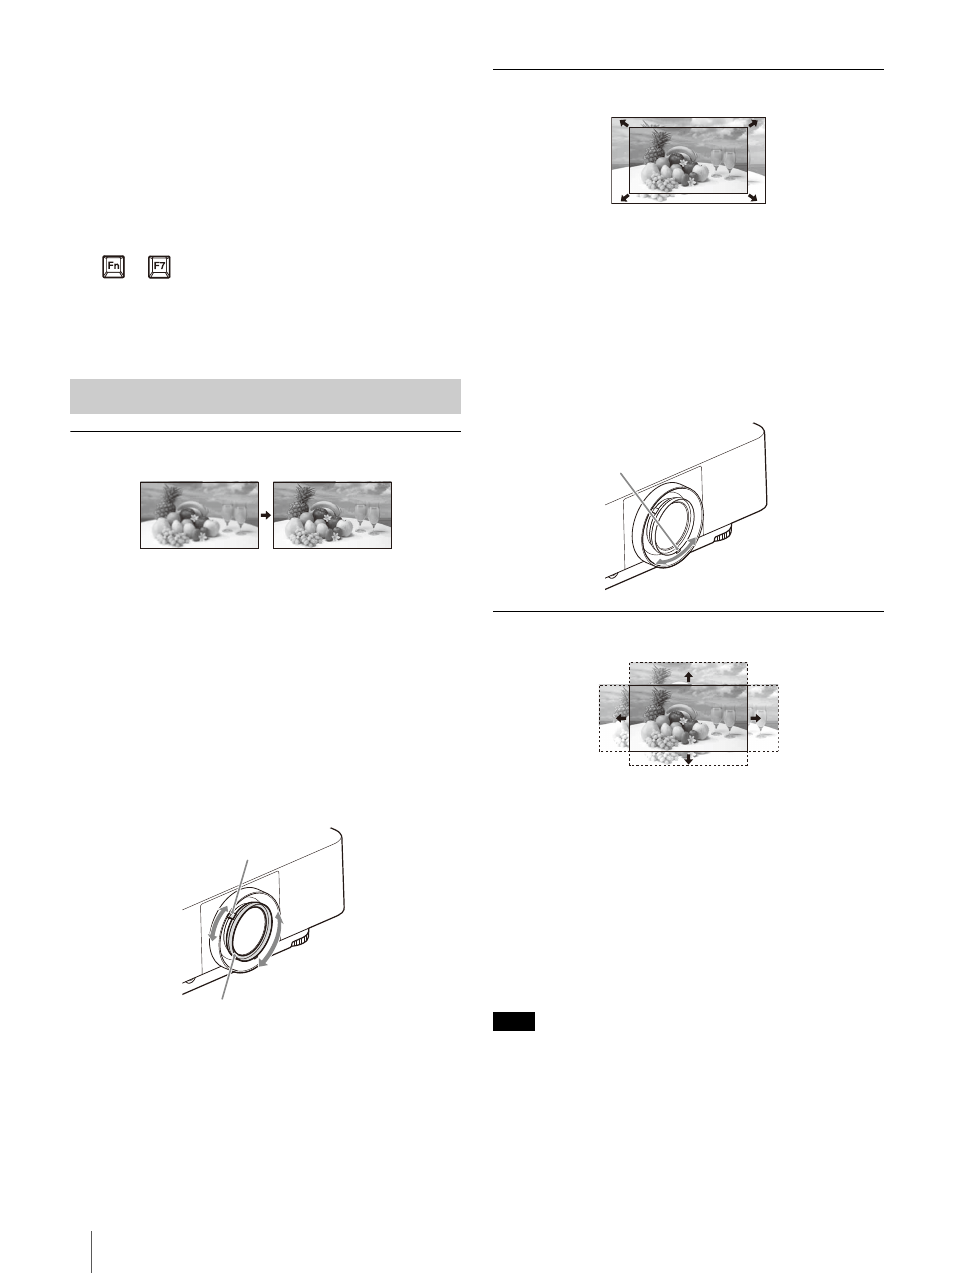
Focusing the image (Focus)
When attaching the electric focus lens
Press the FOCUS key on the projector or the
Remote Commander, then press the
/
/
/
key
to adjust the focus. Press the FOCUS key on the
projector or the Remote Commander to display
the focus adjustment pattern.
When attaching the manual focus lens
Turn the focus lever and peripheral focus ring to
adjust the focus.
You can adjust the focus of the peripheral area by
rotating the peripheral focus ring.
Adjusting the image size (Zoom)
When attaching the electric zoom lens
Press the ZOOM key on the projector or the
Remote Commander, then press the
/
/
/
key
to adjust the size. Press the ZOOM key on the
projector or the Remote Commander to display
the zoom adjustment pattern.
When attaching the manual zoom lens
Turn the zoom lever to adjust the size.
Adjusting the position of the image (Lens shift)
Press the SHIFT key on the projector or the LENS
SHIFT key on the Remote Commander, then press
the
/
/
/
key to adjust the position. Press the
SHIFT key on the projector or the LENS SHIFT key
on the Remote Commander to display the shift
adjustment pattern.
To return the lens to the center position of the
projected image
Press the RESET key on the Remote Commander
while adjusting.
Do not touch the lens when you adjust the image position.
Your fingers may be pinched when the lens extends/
retracts.
Adjusting the Projected Image
+
Peripheral focus ring
Focus lever
Note
Zoom lever