Video recording – Honestech Video Editor 8.0 User Manual
Page 39
39. Video Editor 8.0
Quality: Click the drop-down menu to select your desired video quality
(Best/Good/Normal/Average). A higher video quality will result in a larger file size.
Split Size: The Split Size feature automatically splits recorded video files if they
exceed the selected size. This helps to ensure that your video files will fit onto one
DVD/CD. Use 4.38 GB when burning to single layer DVDs and 7.5 GB for dual layer
DVDs.
4.2.2. Video Recording
You can use the buttons in the Capture Panel to control the playback on a DV/HDV
camcorder and record video from your video playback device.
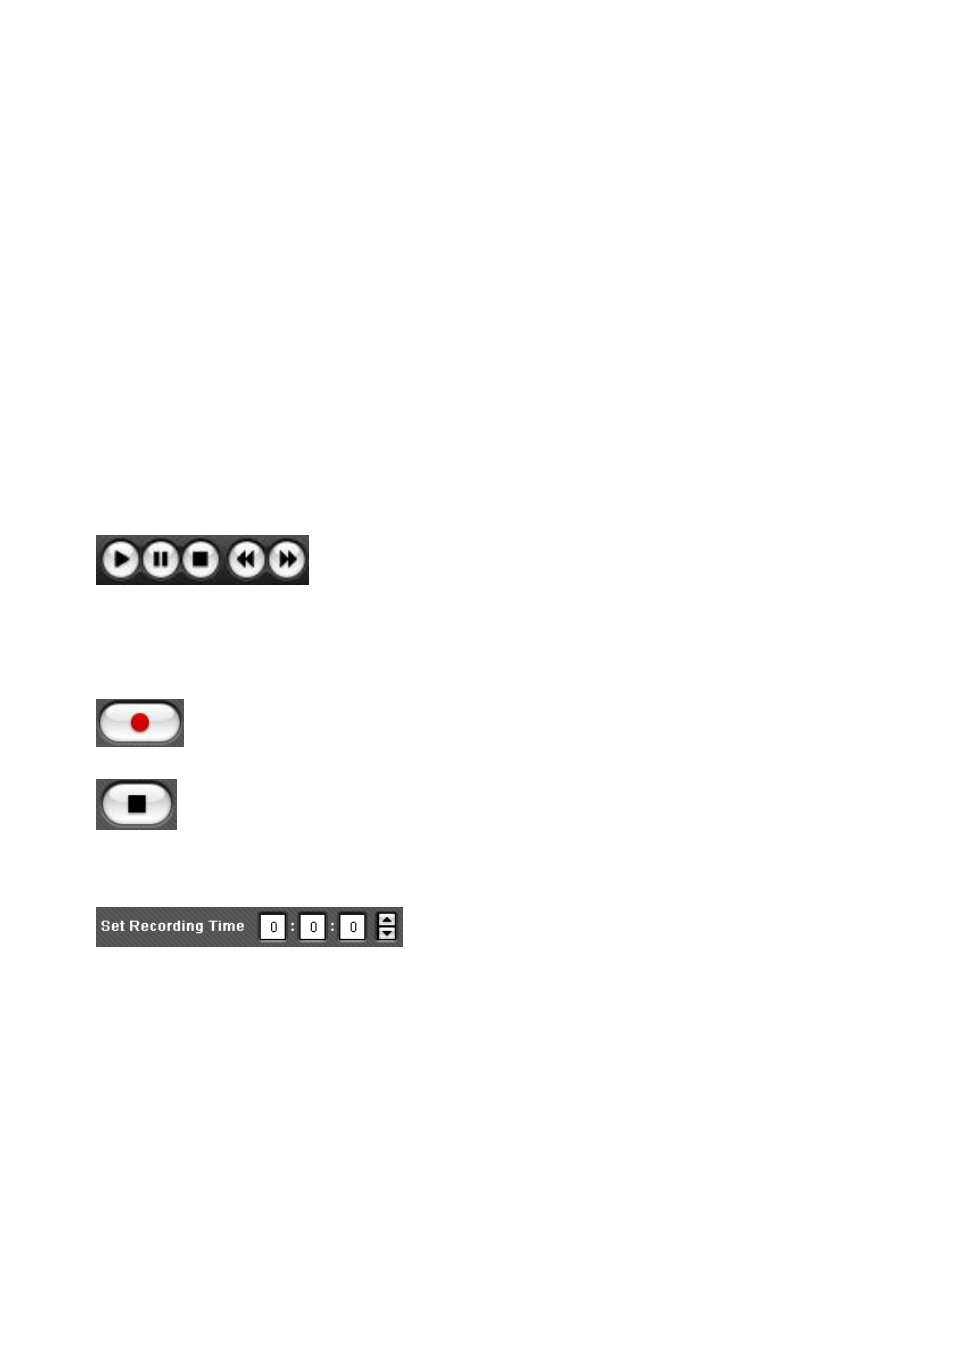
Video Playback Controls: Click to play, pause, stop, rewind,
or fast forward the video. These options are not available when capturing from an analog
device.
Record: Click to start recording.
Stop: Click to stop recording. The recorded video will be saved in your output
folder and a thumbnail of the video file will appear in the Video Clip Board.
Recording Time: Enter a value (hours: minutes:
seconds) to set the duration of the recording. The recording will stop automatically after
the duration has elapsed. This is very useful if you know the length of the movie you are
recording. It is recommended that you always set a recording time to prevent
unnecessary or unwanted recordings from consuming valuable recording space on your
computers hard drive. You can always stop the recording manually before the recording
time has fully elapsed.