Overdubbing a mp3/wav audio fi le, Audio record/playback, Re corde r – Kawai ATX2/ATX2-f User Manual
Page 52
52
Re
corde
r
Audio Record/Playback
(USB Memory)
6
. Overdubbing a MP3/WAV audio fi le
This function allows the sound of the AnyTimeX2 to be recorded (overdubbed) to an existing MP3 or WAV audio fi le.
In addition, the AnyTimeX2 piano also supports mixing the LINE IN audio with the overdubbed MP3/WAV fi le.
* This function records/overdubs to a copy of the selected fi le - the original audio fi le will not be modifi ed.
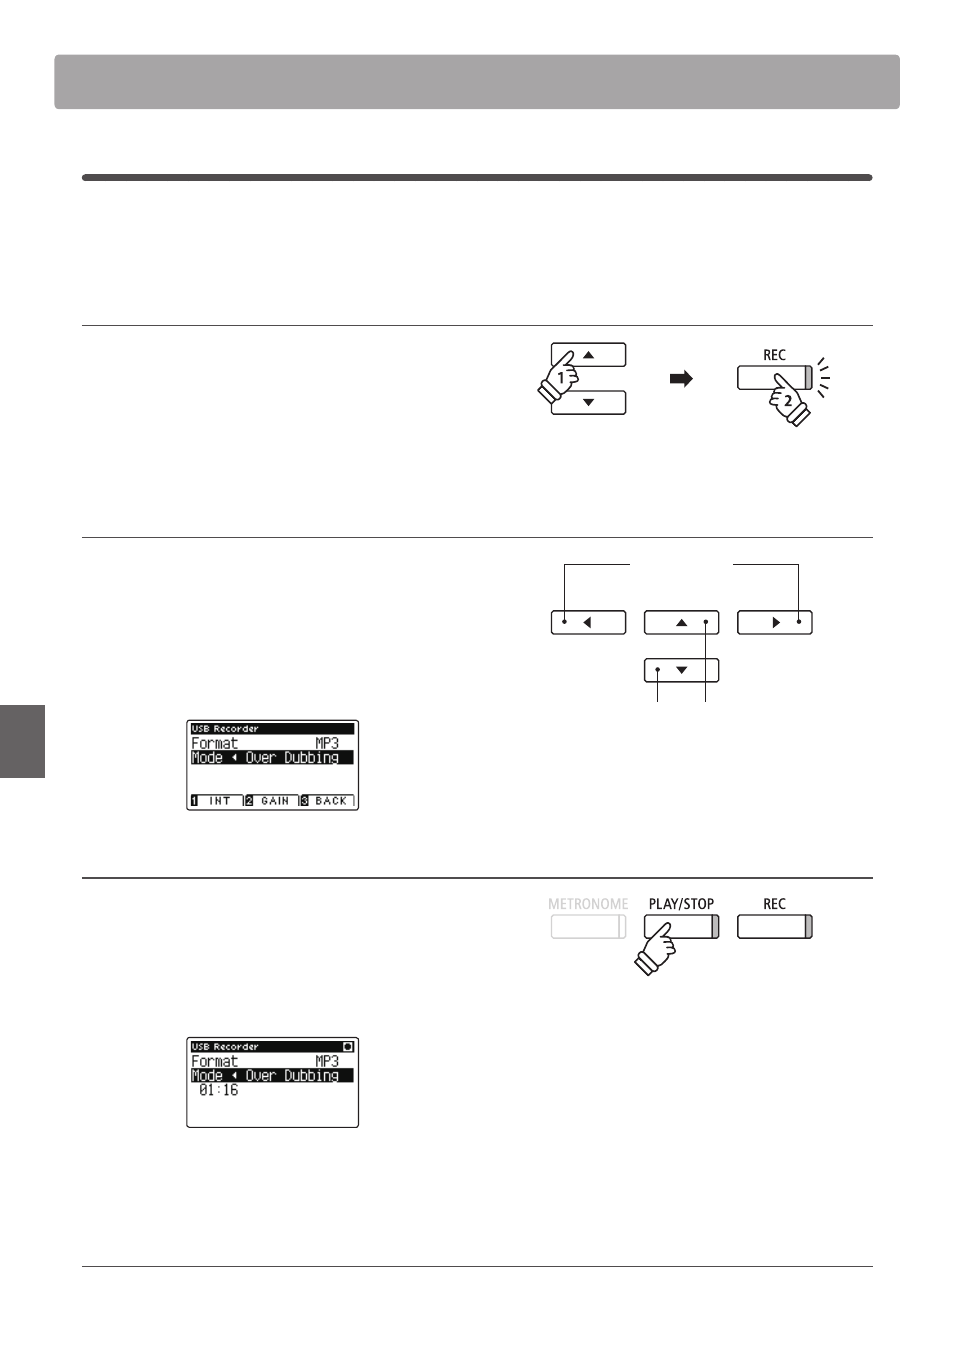
1. Selecting the audio fi le to be overdubbed
While the Song Browser screen is shown in the LCD display:
Press the
or buttons to move the selection cursor over the
desired MP3/WAV fi le, then press the REC button.
The LED indicator for the REC button will start to fl ash, and the
USB Recorder screen will be shown in the LCD display.
2. Selecting the audio fi le format and the mode
With the Format setting selected, press the
or buttons to
select the desired USB recorder audio fi le format (WAV or MP3).
With the Mode setting selected, press the
button to select
‘Over Dubbing’.
* It is also possible to record a new audio fi le directly to the USB device
(i.e. not overdub the previously selected audio fi le) by changing the
Mode setting to ‘New Song’.
3. Starting the recording/overdubbing
Press the PLAY/STOP button, or a key on the keyboard.
The LED indicator for the PLAY/STOP and REC buttons will
turn on, the selected audio fi le will play, and the recording/
overdubbing process will start.
Notes played on the keyboard will be recorded to the audio fi le.
When the end of the MP3/WAV is reached, press the PLAY/STOP
button and the save confi rmation screen will be shown in the
LCD display.
Naming and saving the overdubbed audio fi le
Please follow the ‘Recording a MP3/WAV audio fi le’ instructions on page 45 from step 5.
* The playback volume of the selected audio fi le will automatically be
set to 100, in order to prevent a distorted recording.
buttons:
Move selection cursor.
buttons:
Adjust selected setting.