MacroSystem Deluxe-Titler 3D User Manual
Page 15
14
15
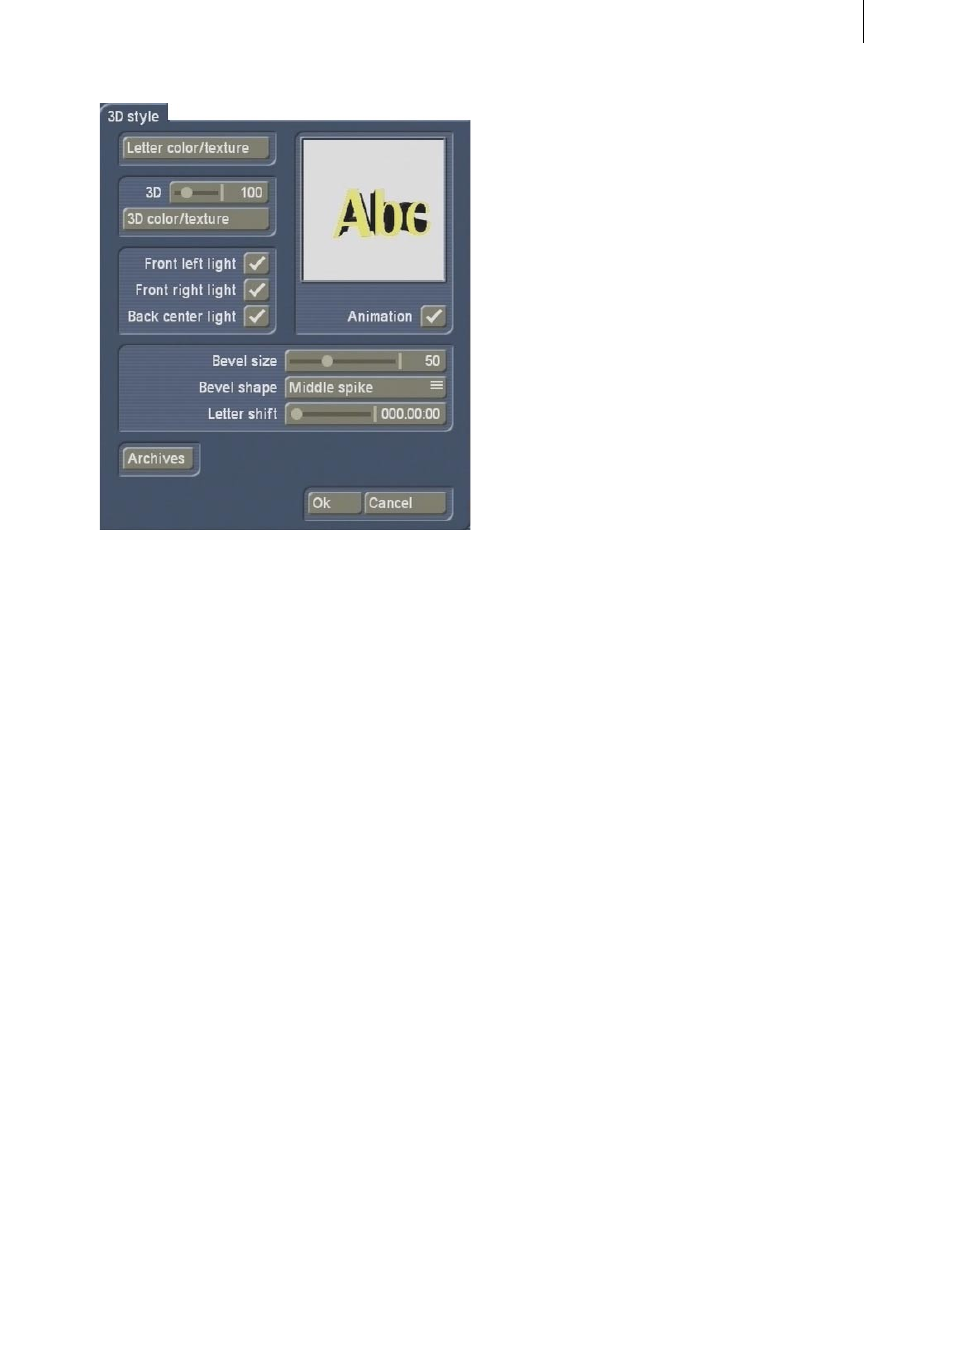
After you have configured the 3D settings, close
the menu using the Ok button and click on the
Free motion effect option.
You see the first picture of your video scene
and a green point is displayed above it (starting
point) with your name.
Now, click on the Insert key point button on the
toolbar so that another point (finishing point) is
inserted.
Kick on the Insert key point function five more
times so that five normal waypoints are inserted.
The points are connected by a dashed line
representing the motion path of the text.
You will notice that six points are yellow, i.e.
they are inactive. The last point that you added
is now the active one (green) and is also the
position at which your text is currently located.
Before you make further changes to the settings
of the points, you should first spread them over
the screen. To do this, select a yellow point so
that it turns green and becomes active. You can
now click on it again so that it turns blue thus
allowing you to move it around by rolling the
trackball. Position all the points one by one in
the same way to create a motion path across the
screen.
Now click on the Edit key point button so that a
new menu opens. This is where you can make
changes to the settings for the individual points
along the motion path.
Use the slider control or the arrows next to it to
select the second point so that it turns green.
Then use the Z slider control to set a value of
-150 so as to reduce the distance of the text from
the viewer (i.e. the text appears larger at this
position).
Next, and use the Z slider control to enter a
value of 150 so that the distance from the viewer
is increased and the text appears smaller.
After changing the values, it is possible that
some points will no longer be displayed within
the visible screen area but will have „wandered“
off the screen. You can select these points
using the slider control or arrows – when you
do this, the area surrounding the screen will be
displayed.
Set a value again of -150 for the sixth waypoint
so that the text appears larger.
Afterwards adjust the settings for the rotation in
three-dimensional space.
To do so, use the H slider control to set a value
of -100° so that the text rotates horizontally. For
the fifth waypoint, use the P slider control to set
a value of 150° so that the text rotates vertically.
Finally, use the B slider control to set a value
of -360° for the finishing point so that the text
rotates once about its axis counterclockwise at
this point.
Close the Edit key point menu using Ok and
now, in the Free motion menu, use the Path
selection button to select a curved path (bottom
option).
After you have also closed this menu using Ok,
you can make the system calculate the effect in
the Titling menu.
The results will surprise you!