MacroSystem Particle Magic User Manual
Page 13
10
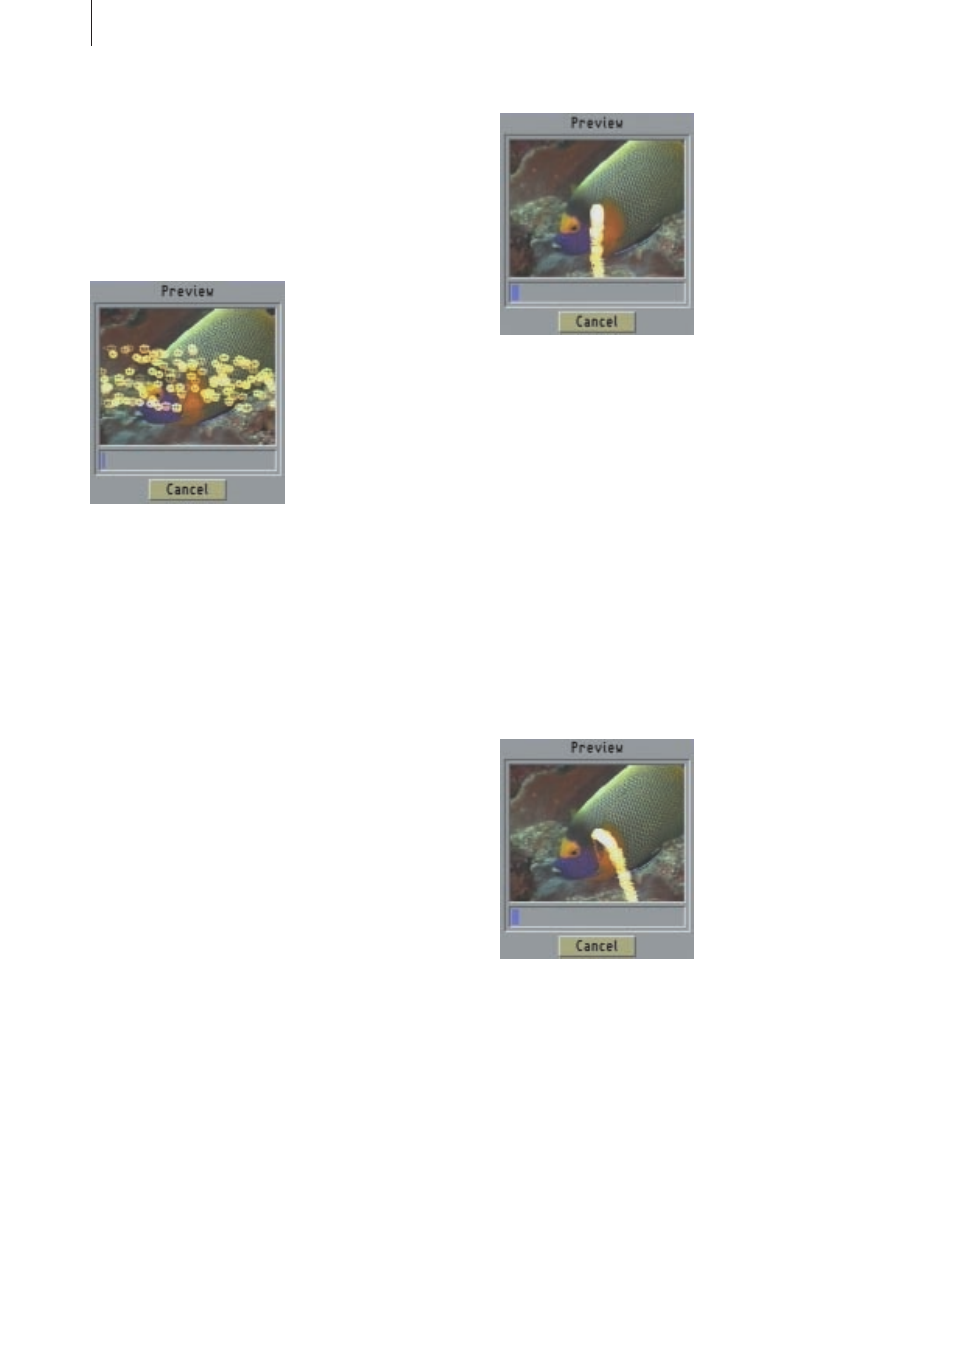
If you want to adjust the width of the line of
origin, you should use the
"Tolerance" slider
control. You can use it to set a starting position
plus/minus a particular tolerance.
Adjust the slider control from the configured 0%
to 20%. The preview now no longer displays the
particles in a line but in a broader area.
Go ahead and try out a few more settings and
masks for the
"Starting Position" and
"Tolerance" options so you can get an idea of the
range of options provided by Particle Magic.
Note: The particles only appear in the center of
the picture (when using our predefined settings)
because the mask is a circle that’s white in its
center. Since the
"Starting Position" is set to
100%, the particles only appear within the white
center of the circle.)
Finally, load the
"-Lesson 1-" archive again and
then move on to the next lesson.
Lesson 2
Using
"-Lesson 1-" as your starting point, select
the
"Movement" effect option. In the window that
appears, press the
"Gravitation" button. The
direction is displayed as an angle between 0-359
°
(0
°
points upwards, and increasing values change
the direction clockwise). Select 180
°
as the
direction. This value corresponds to down, which
is the normal direction for gravity (as we know
it!). Now set the
"Intensity" to 5%. Next, confirm
the
"Preview" and you’ll see that the particles
form in the middle and sink slowly to the bottom
- thus creating a gravitational effect.
Try playing around a little with the
"Direction"
and
"Intensity" values and note the results.
You can now save your project under the name
"-Lesson 2-". To do so, click on Save in the "Ar-
chive
" and enter the new name. Finally, confirm
your work by pressing
"Ok".
Lesson 3
Select the
"Movement" option once again, but
this time click on the
"Wind" button. Set the
"Direction" to 90
°
and the
"Intensity" to 10%. In
the preview you’ll see that the falling particles are
now steered towards the right and indicate a slight
curve.
Lesson 4
Since such a steadily blowing wind looks pretty
unrealistic, you can now liven things up a little!
To do so, go into the
"Movement" window (which
should still be open) and click on the
"Turbulence" option to open the "Turbulence
Settings
" window. Start by making small
adjustments to the settings to that you can easily