MacroSystem Particle Magic User Manual
Page 17
14
Once you’ve found the right values to create the
effect that you want, you can move on to the final
setting in this tutorial.
To do so, click on the
"Particle" effect option and
activate the
"Material" button to open the Particle
Settings window, then select a balloon (e.g. the
red one, which is in second row from the bottom,
on the far left).
You should now also set the
"Final Size" of the
particles to 60% so that the balloons appear more
clearly.
4.4 PM Fly Away Tutorial
You’ll need to make a scene for this tutorial too.
Create a 10-second empty black scene and place it
in the storyboard. From the Titling screen, insert
the
"Pages" effect. Again, write a brief bit of text
(without a shadow or border) in large white
letters on a page and place it in the center of the
picture. Let the title render and then create a scene
with it.
(If you own a Casablanca Avio without the Avio
Pro-Package, you can create this scene by first
recording onto your video recorder and then back
again.)
Lesson 1
In this tutorial, you’ll superimpose a title onto a
scene and then make it fade out.
Place a scene of at least 10 seconds in length in the
storyboard, followed by the text scene that you’ve
already created with the
"Scene" function. Now
open the Transition Effects screen and use the
"PM Fly Away" effect with the maximum effect
length.
Load
"-Lesson 1-" from the archive. You won’t see
any change in the preview since you need to first
make some changes to the settings. Set the
"Threshold Value" in the "Effect" option to 10%.
You might still be able to make out some black
areas around the edges of the letters due to this
setting (you’ll see this most clearly in the single-
frame preview). If this is the case, increase the
threshold value to optimize the appearance of the
text.
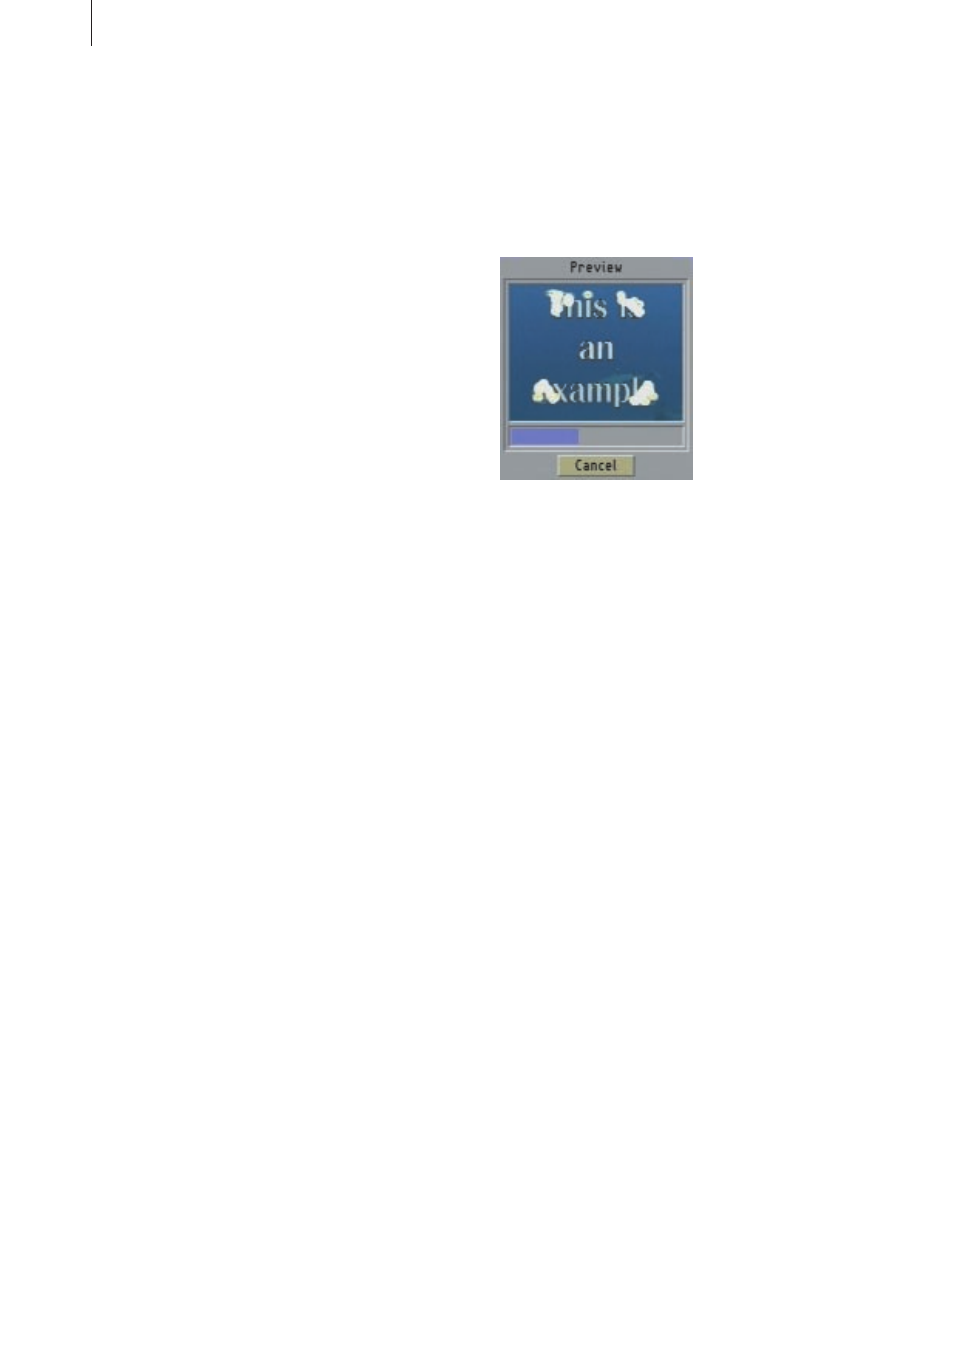
In the preview you now see your title dissolving in
a circular motion from the outside to the inside.
At the edges of the text you will notice that the
particles are displayed as suns again.
Due to the configured lifespan, the particles
remain visible until the very last frame of the
transition. To change this, click on the
"Particle"
effect option and set
"Life Span" to, say, 80%.
You will see in the preview that the particles begin
dissolving towards the end of the effect thus
creating a soft transition.
You can now try out some other particles to
familiarize yourself with Particle Magic. To do so,
click on the
"Particle" effect option and then on
"Material" from where you can select other
particles.
You can also select various mask effects. Click on
"Effect" and, in the subsequently appearing
window, click on
"Select effect" to select a new
mask. Note: You also have the option of playing
the masks in either
"Negative Mode" or Mirrored.
Lesson 2
Now that you’ve selected the particles and the
effect, you can begin modifying the particle
movements. To do so, proceed as described in
lessons 2 to 4 in the first tutorial (the PM Draw
Tutorial).