MacroSystem Particle Magic User Manual
Page 14
11
appreciate how the adjustments influence the
effect. Set the
"Max. Quantity" to 10%, the
"Occurrence" to 5% and the "Intensity" to 20%.
Instead of indicating an even curve (as we did
before), the particles are now livened up due to a
change in direction. If you now increase the
"Max.
Quantity
" or "Intensity" settings, the movement
of the particles becomes much more intense.
These settings modify the otherwise smooth
particle trajectory to make it look as though the
particles are being disturbed by sideways gusts of
wind.
Lesson 5
Using the settings in Lesson 4 as your starting
point, the particle motion forms a line. This shape
can be modified using the
"Dispersion" function
in the
"Movement" Settings window (the basic
operation of this function has already been
described in chapter 3.3). In this tutorial, set the
"Horizontal" option to 12% and leave the
"Vertical" option at 0%. The preview will now
display the particle motion, though this time the
movement of the particles no longer appears as a
line but rather is dispersed.
Changing the
"Dispersion" for the vertical setting
would in this case have little effect since the
movement of the particles vertically is already
being influenced by the
"Gravitation" setting.
Lesson 6
The effect that you’ve generated is fully developed
when it starts. You can change this appearance,
however, by clicking on the
"Source" effect
option. Next, adjust the
"Starting Activity" from
its current setting of 100% down to 0%. The
effect will now take time to fully develop after it
starts. Since the effect first has to develop, you
might have to adjust the current settings in the
case of shorter effect times so that you are able to
see the effect’s full sequence of movements. After
all, an effect that first has to develop during a
short effect time will appear much different than
one which is fully active right from the very
beginning.
4.2 PM Transition Tutorial
You can use this effect to create a transition from
one scene to another. Insert two scenes with a
length of 10 seconds each into the storyboard,
open the Transition Effects screen and insert the
PM Transition effect. Now use the xs control to
set a transition duration of 3 seconds.
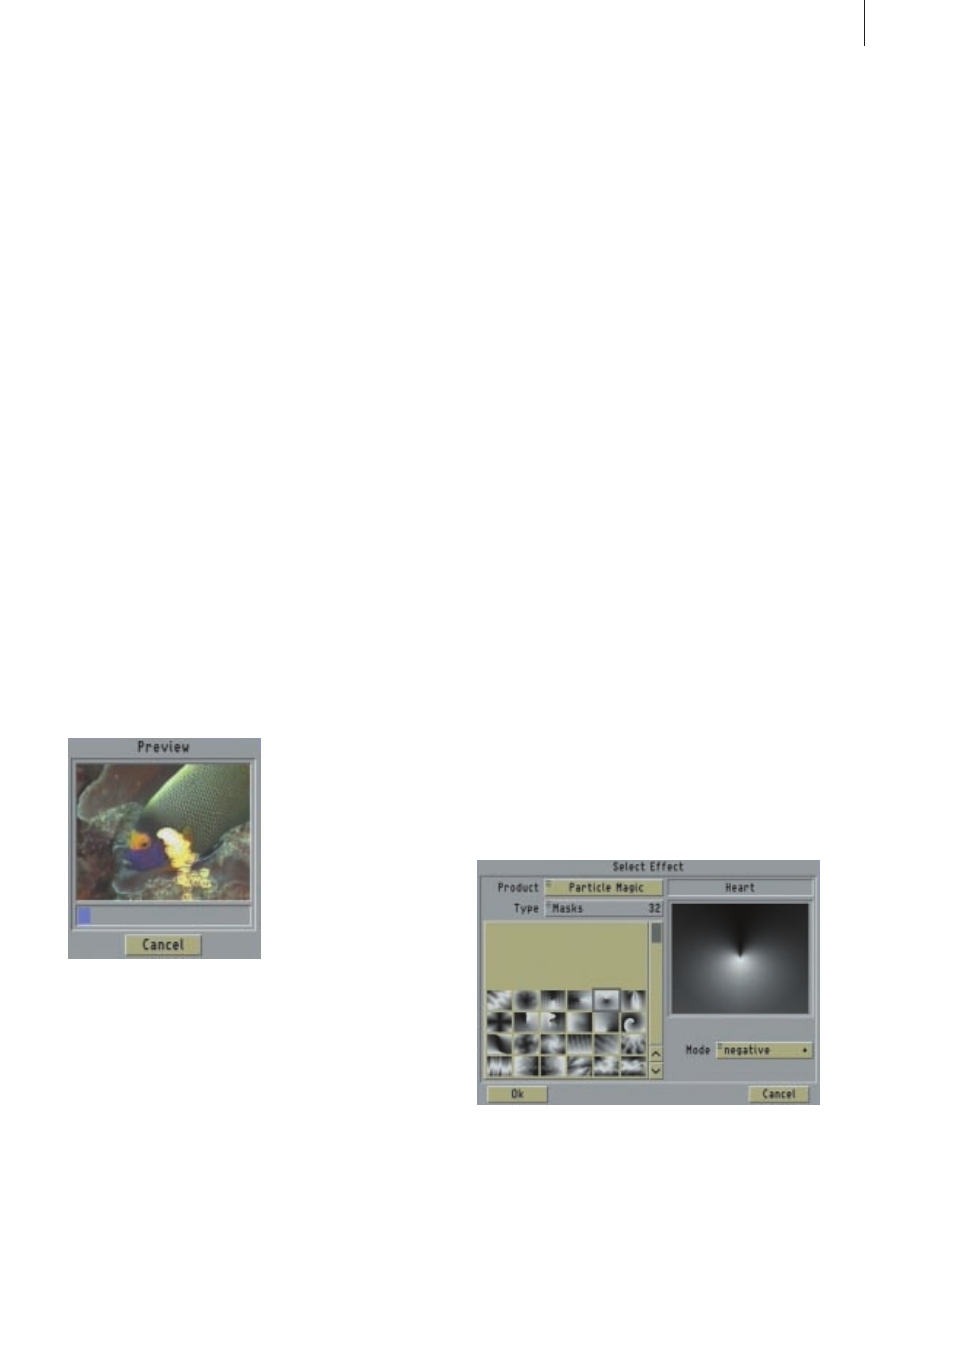
Lesson 1
Load the
"-Lesson 1-" entry from the archive and
view the result using the preview function in the
Transition Effects screen. Now simply adjust the
effect by clicking on the
"Effect" option and, in
the window that then appears, selecting for
instance the
"Heart" (first row, fifth effect from
the left) in
"Negative" mode.
You can now also adjust the particles to suit your
selected effect. Click on the
"Particle" effect
option and then on
"Material" and select, for
instance, the red
"Heart" (fourth row from the
bottom, on the very left).