Installation, Wiring installation – Montigo PVHFL58-300 User Manual
Page 7
Installation
Page 7
XG0519 - 070714
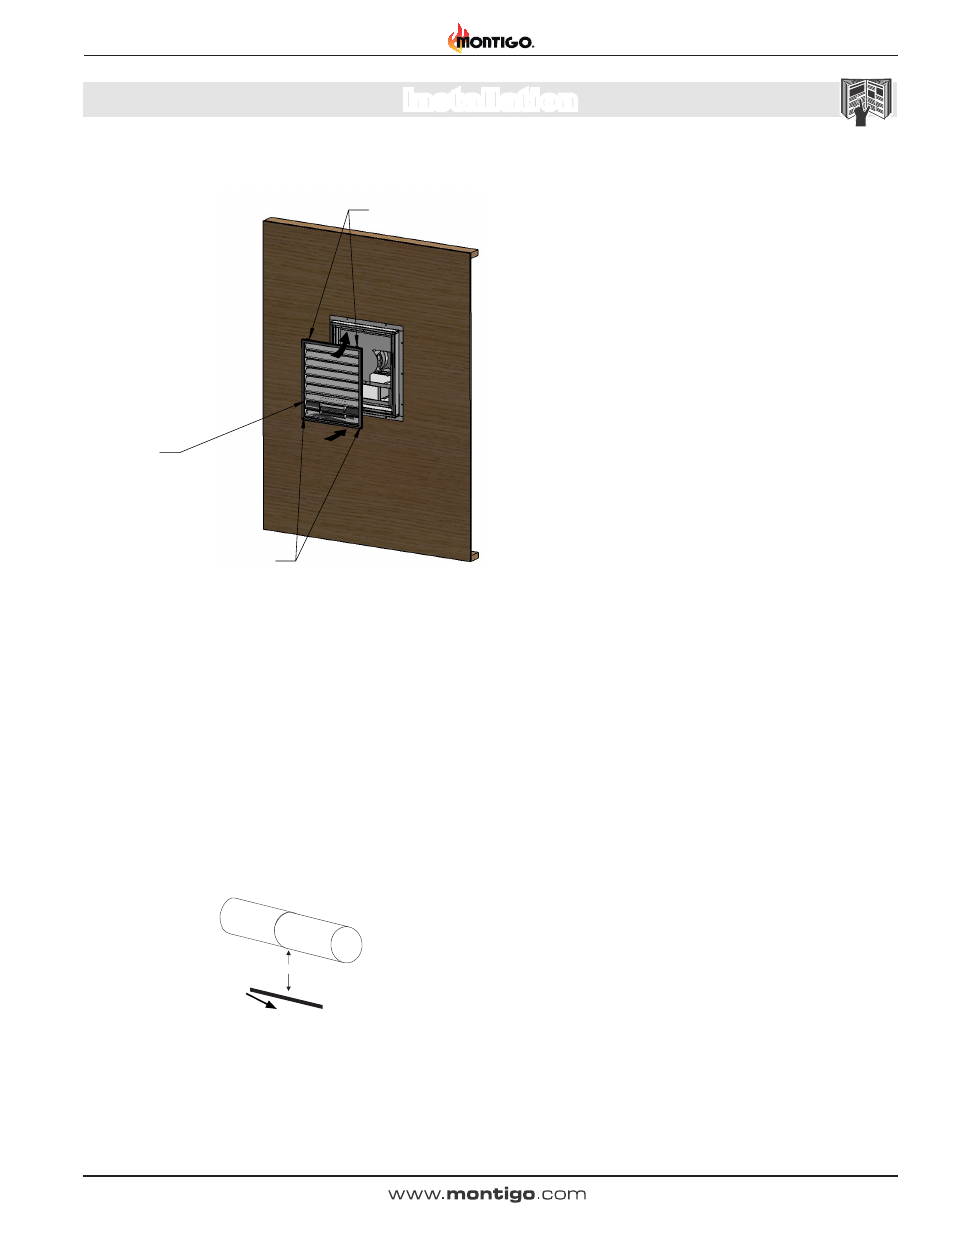
Louver
Assembly
Tabs
Screw
Locations
Step 3:
1) Place Front Grill into the Out Can
Assembly by inserting top tabs into the
upper frame and securing the bottom with
2 screws provided.
Step 13: Reinstall the door.
Figure 3l.
Step 14: Connect vent pipe to power vent collar as required.
Note: If you are intending to service power vent from inside the house, use a
4-foot flex pipe to allow for easy removal of pipe from power vent.
PVHFL58-300 & PVHFL510-300 Horizontal Power Vent
Conduit & Wiring clearances
Connect the power vent harness as outlined. Connect the wiring to
the fireplace as outlined in the schematic shown in figure 4a. Ensure
that the proper clearances are maintained for the wiring and conduit.
When installing the wiring it must never run above the vent run and it
must be at least 1" clear of all venting.
1” Clearance
Wire
Figure 4. Conduit and Wiring
Wiring Installation