Configuring inputs – ROTEL RSP-1570 User Manual
Page 38
38
39
English
RSP-1570 Surround Sound Processor
38
39
English
RSP-1570 Surround Sound Processor
Main Menu
������������������������������
�
����������������������
���������������������������
��������������������
�������������������������
�������������������������
�
�������
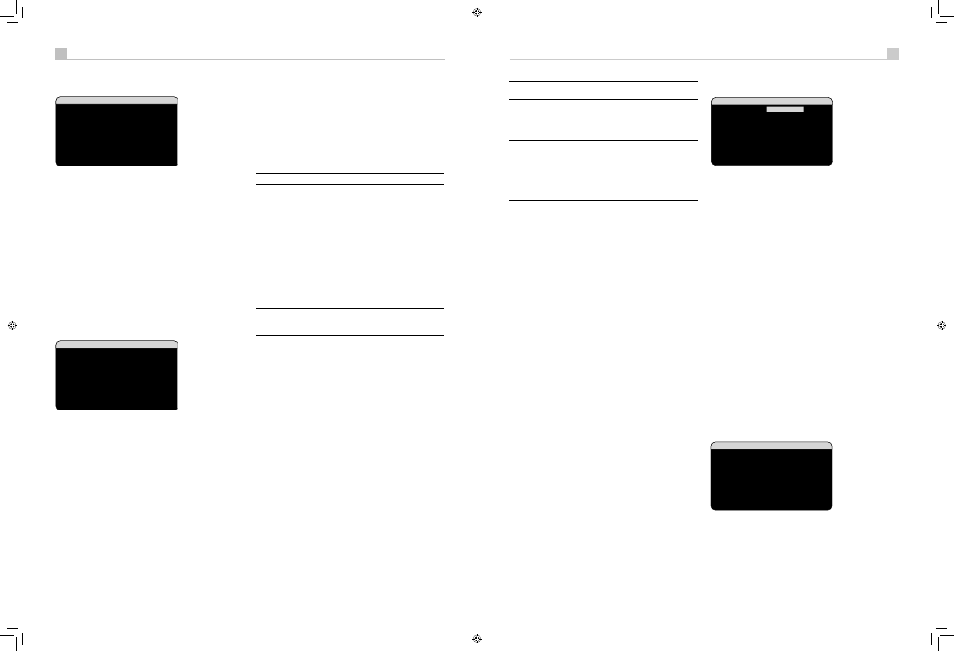
The MAIN MENU provides access to OSD screens for various
configuration options. MAIN MENU is reached by pressing the ENTER
button from the SYSTEM STATUS menu described above or from most
other menus. To go to the desired menu, move the highlight using the
UP/DOWN and +/– buttons on the remote and press the ENTER button.
Press the MENU/OSD button on the remote to cancel the display and
return to normal operation.
Configuring Inputs
A key step in setting up the unit is to configure each source input using
the INPUT SETUP screens. Configuring the inputs allows you to set
defaults for a number of settings including the type of input connector,
the desired surround mode, custom labels that appear in the displays
when a source is selected, and many more. The following OSD menus
are used to configure the inputs.
Input Setup
��������������������
����������������
��������������������������
����������������������
�����������������������
�����������������
�����������������
��������������������������
�������������������������������
�������������������
�������������
The INPUT SETUP menu configures the source inputs and is reached from
the MAIN menu. The screen provides the following options, selected by
placing the highlight on the desired line using the UP/DOWN buttons:
LISTEN:
changes the current listening input source (CD, TUNER, TAPE,
VIDEO 1–5, & MULTI INPUT). Changing this input also allows you to
select a specific input for configuring.
VIDEO INPUT:
selects the video source to be displayed on the TV
monitor. Assign the input to a source component you have connected
by selecting from Component 1–3, S–Video 1–3, Component 1–3 and
HDMI 1–4. For audio only sources (such as a CD player), you would
typically specify OFF so that no video is displayed.
INPUT LABEL:
The eight character labels for all eight inputs can be
customized. Place the highlight on this line to begin labelling. The first
character in the label will be flashing.
1. Press the +/– buttons on the remote to change the first letter, scrolling
through the list of available characters.
2. Press the ENT button on the remote to confirm that letter and move to
the next position.
3. Repeat steps 1 and 2 until all eight characters (including blank
spaces) have been completed. The final press of the ENT button saves
the new label.
AUDIO INPUT:
assigns a physical input connection to use as the default
for the source displayed in the first line of the menu. Can be OPTICAL
1–4, COAXIAL 1–3, ANALOG or HDMI Audio.
Note: HDMI Audio input is assigned to a specific VIDEO input.
When a digital input is the default, the unit will check for a digital signal
when the INPUT SOURCE is selected. If no digital signal is present, the
unit will automatically revert to the analog input.
When an ANALOG input is the default, the unit will not access a
digital signal, even though one may be present at the digital input;
thus, the ANALOG setting forces the unit to use an analog signal.
Assigning a digital input (with its auto-sensing) is generally the preferred
configuration for any source with a digital output.
INPUT ATT:
the audio INPUT ATT function allows you to reduce the
level of the selected audio input from 0dB to –6dB, in 1dB steps. Use this
attenuation for louder sources to match them to quieter sources.
Note: If a source connected to a digital input is selected, that
signal will automatically be sent to both digital outputs for
recording.
CINEMA EQ
: The RSP-1570 includes a CINEMA EQ feature which
reduces the high-frequency content of movie soundtracks to simulate the
frequency response of a large movie theater and/or eliminate sibilance.
You can turn the CINEMA EQ on or off as the default setting for the
selected input using this menu choice. In general, this setting should
be OFF for most source inputs, unless you are consistently bothered by
excessively bright sound from movie soundtracks.
12V TRIGGER:
The RSP-1570 has six 12V trigger outputs (labeled
1–6) that supply a 12V DC signal to turn on Rotel components and other
components as needed. This menu item turns on specific 12V trigger
outputs whenever the indicated source is selected. For example, set up
the VIDEO 1 input to turn on the 12V trigger for your DVD player. Any
combination of trigger outputs can be programmed for each source.
1. Press the +/– buttons on the remote to change the first position from
blank to 1 (activating TRIGGER 1 for that source).
2. Press the ENT button on the remote to move to the next position.
3. Repeat until all six positions are set as desired. A final press of the
ENT button confirms the selection.
DEFAULT MODE:
The DEFAULT MODE setting allows you to set a
default surround sound mode for each source input. The default setting
will be used unless the source material triggers automatic decoding of a
particular type or unless the default setting is temporarily overridden by
the front panel or remote surround mode buttons.
Note: Default surround modes are stored independently for the
analog and digital inputs for each source.
Options for the default surround modes are: Dolby Pro Logic II, Dolby
3 Stereo, DSP 1, DSP 2, DSP 3, DSP 4, 5ch Stereo, 7ch Stereo, PCM 2
Channel, DTS Neo:6, Bypass (for analog input only), and Stereo.
Note: The following types of digital discs or source material
are generally detected automatically and the proper decoding
activated with no action or setting required: DTS, DTS-ES Matrix
6.1, DTS-ES Discrete 6.1, Dolby Digital, Dolby Digital Surround
EX, Dolby Digital Plus, Dolby TrueHD, DTS-HD Master Audio,
DTS-HD High Resolution Audio, Dolby Digital 2-channel, PCM 2-
Channel, PCM 96kHz and MP3.
Since Dolby Digital 5.1 and DTS sources are detected and decoded
automatically, the default setting typically tells the unit how to process
a 2-channel stereo signal. For example, you might have your CD input
default to 2-channel stereo, DVD and VCR inputs default to Dolby Pro
Logic II processing for matrix-encoded Dolby surround material, and
TUNER input default to one of the DSP modes.
In some cases, the default setting can be manually overridden by the
front panel surround mode buttons or the SUR+ button on the remote.
See the Manually Selecting Surround Modes section of this manual for
more information on which settings can be overridden.
Two of the default surround mode settings available on this menu
offer additional choices. Dolby Pro Logic II decoding offers a choice
of CINEMA or MUSIC settings, etc. DTS Neo:6 decoding also offers a
choice of CINEMA or MUSIC settings. When either Dolby Pro Logic II or
DTS Neo:6 is selected with this menu item, the current setting choice will
also be displayed. In addition, the function of the ENTER button changes,
taking you to a sub-menu where you can change the settings and/or
additional parameters for Dolby Pro Logic II or DTS Neo:6 decoding.
See the following section for details.
GROUP DELAY:
Also known as “lip-sync” delay, this setting delays the
audio signal for an input by the specified amount to match the video
input. This feature can be useful when the video signal is delayed more
than the audio signal as sometimes happens with upconverted digital
TV processors or when trying to match a radio broadcast with the video
from a sports event.
The range of available settings is from 0ms to 500ms, in 5ms increments.
The setting is individually stored for each input and is the default group
delay each time that input is selected. The setting can be temporarily
overridden from the front panel or the remote.
To return to the MAIN menu from the INPUT SETUP menu (except when
Dolby Pro Logic II or DTS Neo:6 is selected in the SURR MODE field),
press the ENTER button. Press the MENU/OSD button on the remote to
cancel the menu display and return to normal operation.
Multi Input Setup
��������������������
���������������
�����������
������������������������������
�����������������������
�
������������������
���������������������������
�����������������
������������
When the MULTI INPUT source is selected on the INPUT SETUP menu,
the available options change to reflect the fact that these inputs are
direct analog inputs and bypass the unit’s digital processing. The INPUT,
CINEMA EQ, DEFAULT MODE and GROUP DELAY options are not
available since these are all digitally implemented features.
The VID INPUT, INPUT LABEL, INPUT ATT and 12V TRIGGER options are
still available and work as described on the previous menu.
One additional option, LFE REDIRECT, provides an alternative bass
management configuration. Typically, the eight channels of the MULTI
INPUT are configured as pure analog bypass signals, going straight
from the inputs to the volume control and the preamp outputs, bypassing
all of the digital processing. There are no crossovers and no bass
management; therefore, whatever signal goes into the subwoofer
channel will be sent to the subwoofer preamp output.
This configuration may not be ideal for multichannel systems configured
with high-pass speakers, redirecting bass to a powered subwoofer. An
option, called LFE REDIRECT, sends the seven main channels directly
to the outputs as usual. In addition, it takes a duplicate copy of these
seven channels, combines them into mono, and routes them through a
100Hz analog low-pass crossover to the subwoofer preamp output. This
creates a summed mono subwoofer signal, derived from the seven main
channels of the MULTI INPUT.
Use the LFE REDIRECT OFF setting for the pure analog bypass
configuration. Use the LFE REDIRECT ON setting to derive the mono
summed subwoofer output.
Dolby Pro Logic IIx
�����������������������������
������
���������������������������
�
�����������������������
����������������
��������������
��������������
��
������������������
���
When Dolby Pro Logic IIx is selected as the default surround mode on
the INPUT SETUP menu, there are additional settings and parameters to
optimize the surround decoding for music or movie soundtracks. Dolby
Pro Logic II uses matrix decoding algorithms to derive a center channel
and surround channels from 2-channel source material.
The first line of the Dolby Pro Logic IIx sub-menu selects CINEMA,
MUSIC, GAME, or PRO LOGIC modes for matrix decoding. Use the
+/– buttons on the remote to select a mode.
RSP-1570 English v1.2.indd 38-39
7/10/08 00:05:39