Skutt GlassMaster Kiln User Manual
Page 6
6
6
1. Check for freight damage. The kiln stand will ship in a separate box on some models. GM10F kilns are designed with
a built-in kiln stand.
2. Remove the black plastic stand feet from the accessory bag and place them on
the stand legs. Set the stand in the location you have designated for the kiln.
Be sure to remove peep plugs that may be taped to the stand.
3. For GM1227, GM1018, and GM818 models you may choose to disassemble
the kiln into smaller components before moving it from the box. See Disassem-
bling Multi-section Kilns below.
4. On models with buckles attaching the bottom slab, unhook the buckles to make
the kiln lighter. An assembled kiln is very heavy, so be cautious of the heavy
lifting hazard.
5. With a partner, lift the kiln (leaving the slab), using the lower section handles
(on models with handles), and rest on a clean, flat surface.
6. Position the kiln floor on top of the stand making certain that the weight is evenly distributed.
7. Level the kiln. Make sure the stand and kiln floor are level and do not teeter. Leveling problems may put unnecessary
stress on the kiln during firing. To level the stand, place firm shims under the legs (never above them touching the kiln).
Center the kiln’s bottom slab on the stand and double-check teetering. On the GM10F the stand is built into the design
of the kiln.
8. With a partner, pick the kiln up and rest it on top of the kiln floor.
9. On models with slabs that buckle to the kiln, reattach the buckles. On the GM22CS attach the buckle that secures the
kiln to the stand.
10. For kilns with peep holes, place the plugs in the hole or holes. (Peep holes are holes in the side of the kiln used for
viewing inside the kiln chamber and for venting gases.)
11. If the unit has a wall mounted controller consult the instructions on page 37.
12. Plug the kiln into the wall receptacle. When the kiln is plugged in, the display reads PF. If there is no display, consult
the troubleshooting section of this manual. You are now ready to test fire the kiln.
Setting Up The Kiln
Disassembling Multi-section Kilns
(Always Unplug a Kiln Before Disassembly)
1. Remove Lid (If your kiln has elements in the lid remove the control box attached to the kiln first. See step 2)
a. Remove one of the cotter pins from the lid rod and slide the lid rod out of the lid hinge assembly.
b. Remove the thumbscrew and lid brace.
c. Lift the lid straight up and place it on a clean, flat surface.
2. Remove Control Box
a. Remove the screws on the left side of the box that secure the box to the kiln, and swing the panel to the side.
b. Slide the numbered feeder wires and thermocouple wires off of the terminal strip.
c. Lift the control box up to remove it from the hinges.
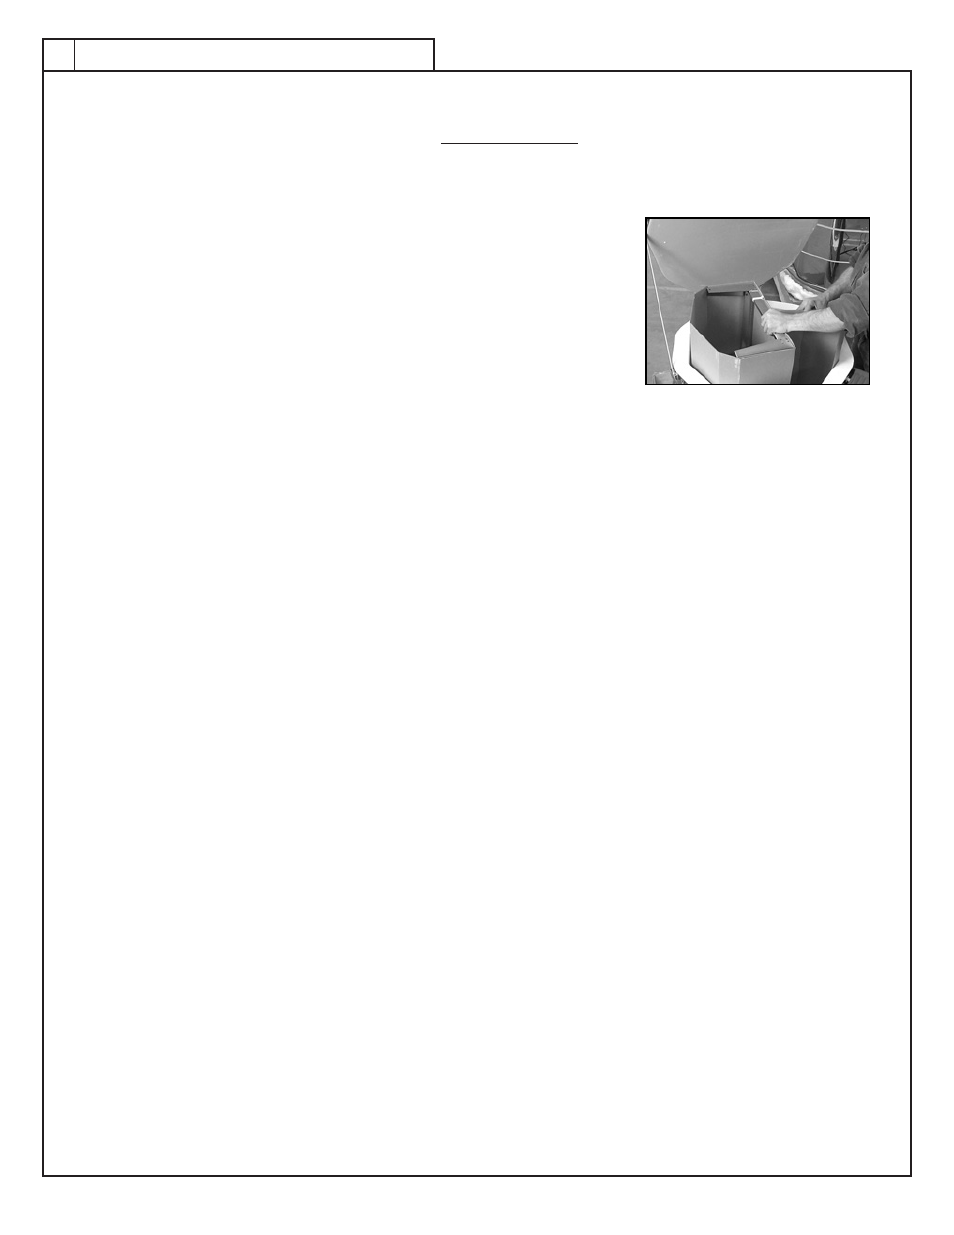
3. Separate Sections
a. Unbuckle the draw-pull catches between each section.
b. Lift each section using the section handles and place on a flat clean surface.
For Model Specific Setup instructions please consult the Unique Model Features section of the manual.
K
iln
s
eTup