Service, Ge 13, E 13 – AIRLESSCO TS1500 User Manual
Page 13
Maintenance
3A1183D
13
Service
Pressure Relief Procedure
Follow the Pressure Relief Procedure whenever
you see this symbol.
1. Engage gun trigger lock.
2. Turn ON/OFF switch to OFF.
3. Unplug power cord.
4. Disengage gun trigger lock. Hold metal part of gun
against grounded metal pail and trigger gun into pail
to relieve pressure.
5. Engage gun trigger lock.
6. Open any fluid prime/pressure relief valves in sys-
tem. Leave prime/pressure relief valve open until
ready to dispense again.
Tools Needed
•
Vise
•
12” adjustable open end wrench (2)
•
Hammer, 20 oz maximum
•
Small screwdriver
•
Throat Seal Liquid
•
Pick or long small screwdriver
Cleaning and Inspecting Parts
1. Clean and inspect parts. Pay particular attention to
the ball seats in the intake valve and piston, which
must have no nicks or wear, and the inside of the
sleeve and the outside of the piston rod, which must
not be worn or scratched. Replace worn or damage
parts.
2. Remove and clean the sleeve when you are repack-
ing the pump.
Repair When Pump is Off the Sprayer
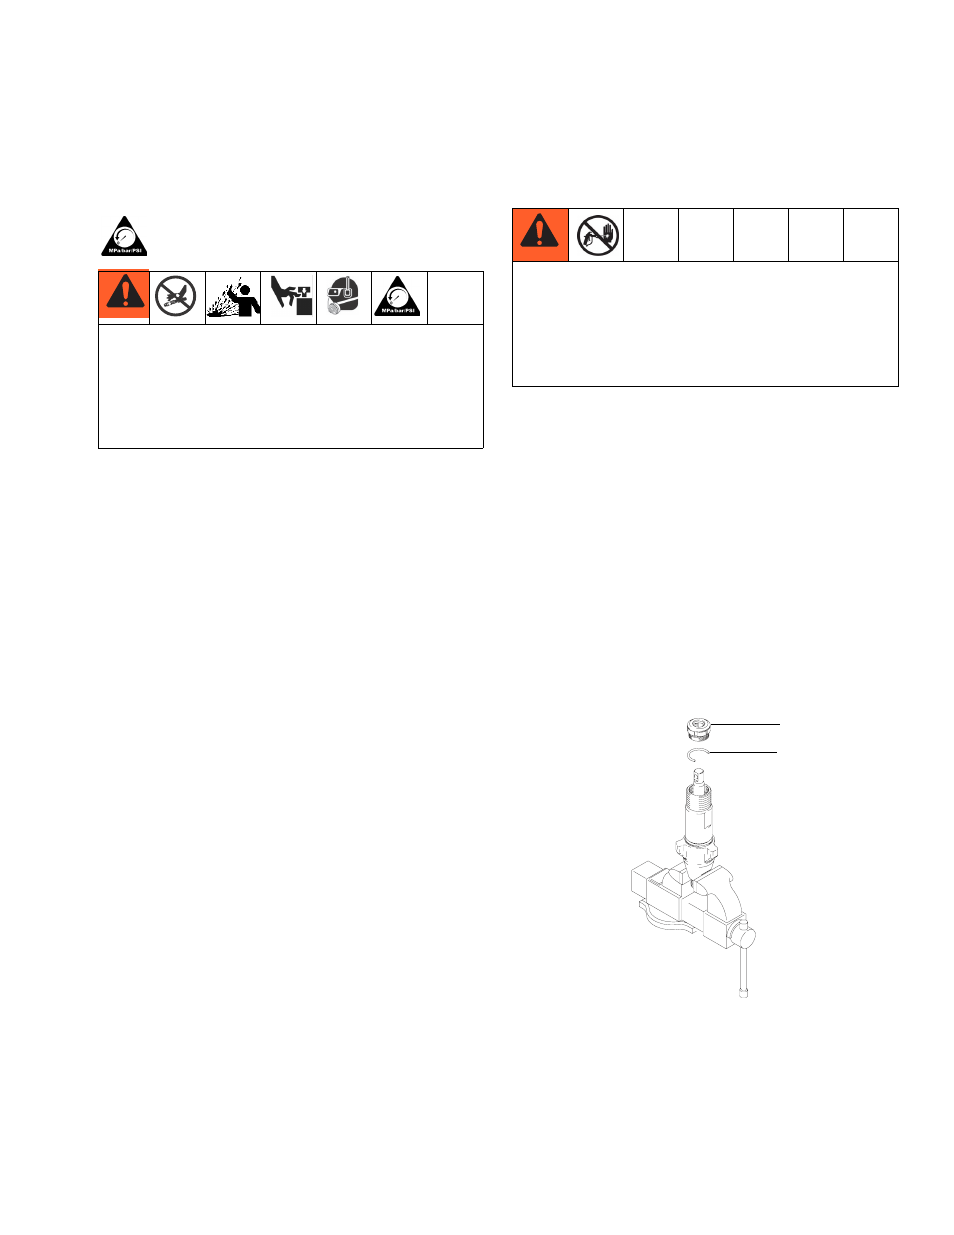
Disassembling the pump
1. Remove packing nut (202) and throat adjustment
spacer (228).
This equipment stays pressurized until pressure is
manually relieved. To help prevent serious injury from
pressurized fluid, such as skin injection, splashing
fluid and moving parts, follow the Pressure Relief
Procedure when you stop spraying and before
cleaning, checking, or servicing the equipment.
• Never use sharp or pointed tools to remove sleeve
or other components which could result in pump
rupture and cause serious bodily injury. If the
sleeve cannot be removed easily, return the sleeve
and cylinder to your Graco/Airlessco distributor
for
removal.
228
202
7568a