Enlarge, Bar code, E-22 – Casio KL-8200 User Manual
Page 23: Bar code tape
E-22
12. Use u and i to move the highlighting to “EXIT” and
then press SET.
13. Press SET to end the operation.
To store an original layout
1. Perform steps 1 through 10 under “To create a new origi-
nal layout” to create the layout.
2. Use u and i to move the highlighting to “STORE” and
then press SET.
3. Input up to five characters for the name of the layout,
and then press SET.
4. Press SET to store the layout or ESC to abort the opera-
tion without storing anything.
5. Use u and i to move the highlighting to “EXIT” and
then press SET
6. Press SET to end the operation.
To recall an original layout with text from
memory
1. While the ORIGINAL menu is on the display, use u and
i to move the highlighting to “RECALL” and then press
SET.
• “RECALL” recalls your original layout along with the text
you input when you created the layout.
2. Use u and i to display the name of the layout you
want, and then press SET to recall it.
3. Now you can make any changes in the label contents
and then print it, or simply print the label without making
any changes.
• To make changes in the label contents, use the proce-
dures starting from step 6 under “To use a preset layout
to create a label and print it”.
• To print the label without making any changes, perform
the procedure starting from step 8 under “To use a preset
layout to create a label and print it”.
To recall an original layout without text from
memory
1. While the ORIGINAL menu is on the display, use u and
i to move the highlighting to “USE EXISTING” and then
press SET.
• “USE EXISTING” recalls your original layout, but the text
you input when you created the layout is not recalled.
2. Use u and i to display the name of the layout you
want, and then press SET to recall it.
3
m
c
O
T
U
A
H
T
G
N
E
L
m
m
8
1
H
T
D
I
W
i
k
S
G I NAL
I
R
O
CALL
O
3. Use u and i to select “YES” or “NO” and then press
SET.
• If you selected “YES” in step 3, continue from step 3 of
“To create a new original layout”. Note, however, that you
cannot change the number of blocks in the layout in this
case.
• If you selected “NO” in step 3, continue from step 8 of “To
create a new original layout”.
To delete an original layout from memory
1. While the ORIGINAL menu is on the display, use u and
i to move the highlighting to “DELETE” and then press
SET.
2. Use u and i to display the name of the layout you
want, and then press SET to delete it.
3. Press SET to delete the layout.
ENLARGE
This item lets you print up to 16 characters on multiple tapes.
You can then assemble the tapes into an enlarged label.
Note that this item is available only when 12, 18, or 24mm
tape is loaded in the label printer. See page E-30 for impor-
tant information about character sizes and tape width when
using the various setting of this item.
• 12mm tape cannot be used for printing a tape enlarged
using the “4 PIECES LARGE” setting.
To print a large-size label
1. While the PRESETS menu is on the display, use u and
i to move the highlighting to “ENLARGED” and then
press SET.
–
–
–
D
E
G
R
A
L
N
E
–
–
–
S
E
C
E
I
P
2
S
E
C
E
I
P
3
S
E
C
E
I
P
4
E
G
R
A
L
S
E
C
E
I
P
4
2. Use u and i to move the highlighting to the enlarge-
ment size you want to use and then press SET.
S
N
A
S
a
D
E
G
R
A
L
N
E
3. Input up to 16 characters of text, and then press SET.
4. Specify the print direction (page E-17) and either mirror
or normal printing (page E-18).
• Use u and i to move the highlighting between items,
and t and y to change each setting.
5. After making the settings you want, press SET.
–
–
–
D
E
G
R
A
L
N
E
–
–
–
T
N
I
R
P
T
I
X
E
m
c
5
.
3
1
H
T
G
N
E
L
6. Use u and i to move the highlighting to “PRINT” and
then press SET to execute it.
7. Use u and i to move the highlighting to “EXIT” and
then press SET.
8. Press SET to end the operation.
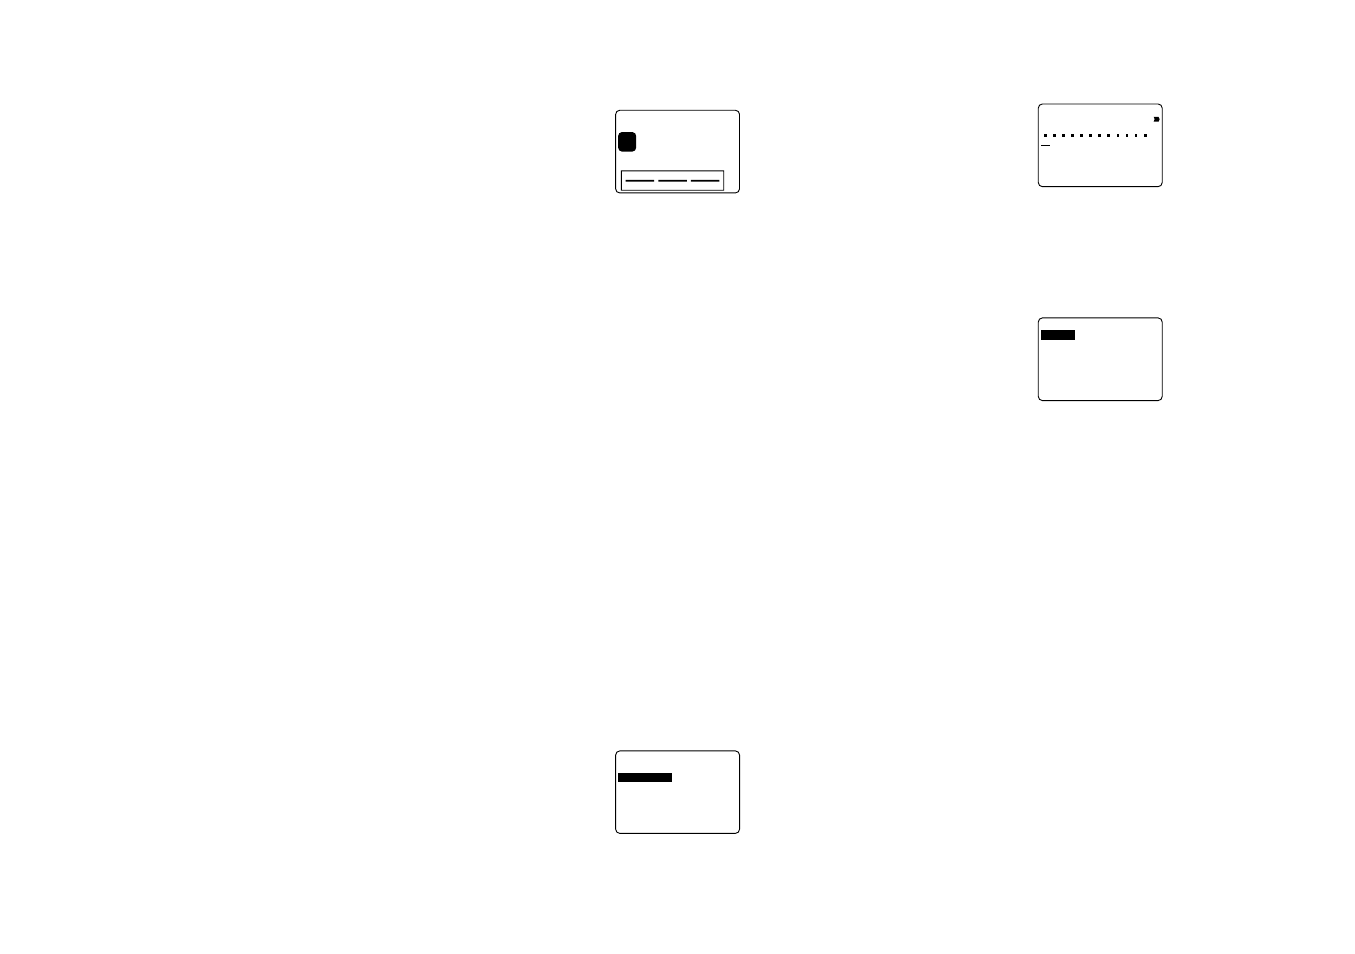
BAR CODE
With this item, you can print any one of seven different types
of bar codes: EAN-13, EAN-8, UPC-A, UPC-E, ITF,
CODE39, CODABAR.
Important! The procedure you use to print a bar code de-
pends on the type of bar code you select.
Bar Code Tape
Only the following types of tape should be used for printing
bar codes.
• Black on white tape (WE)
• Blue on white tape (WEB)
• Black on yellow tape (YW)
Important!
• You cannot use 6mm tape to print bar codes.
• You can input up to 60 characters as comment text when
using 18mm/24mm tape. You cannot input comment text
with 9mm and 12mm tape (the comment input screen will
not appear). If you do not want to input comment text,
press SET without inputting anything.