69 9 1 r a m, Calendar, E-24 – Casio KL-8200 User Manual
Page 25
E-24
2. Use u and i to move the highlighting to “NEW” and
press SET.
4
3
2
1
m
c
O
T
U
A
H
T
G
N
E
L
H
T
D
I
W
m
m
8
1
3. Use t and y to move the highlighting to the number of
the format you want and then press SET.
S
N
A
S
R
E
B
M
U
N
a
m
c
O
T
U
A
H
T
G
N
E
L
H
T
D
I
W
1
m
m
8
1
4. Input the starting number of the numbering sequence
and then press SET.
S
N
A
S
T
N
E
M
M
O
C
a
m
c
O
T
U
A
H
T
G
N
E
L
H
T
D
I
W
m
m
8
1
5. Input any comment text you want and then press SET.
–
–
–
G
N
I
R
E
B
M
U
N
–
–
Z
R
O
H
N
O
I
T
C
E
R
I
D
L
A
M
R
O
N
R
O
R
R
I
M
m
c
O
T
U
A
H
T
G
N
E
L
H
T
D
I
W
m
m
8
1
• You can also specify the font, character style, and text
effects if you want.
6. Specify the print direction (page E-17) and either mirror
or normal printing (page E-18).
• Use u and i to move the highlighting between items,
and t and y to change each setting.
7. After making the settings you want, press SET.
8. Use u and i to move the highlighting to “PRINT” and
then press SET to execute it.
• The label printer prints a tape with the number and com-
ment text, and then displays the screen shown in step 3,
with the number incremented by one.
9. Repeat steps 4 through 7 to print as many sequentially
numbered labels as you want.
10. To quit the numbered label operation, press ESC and
then SET.
To store a numbering format
1. Perform steps 1 to 7 to create the numbering format so
the following is on the screen.
–
–
–
G
N
I
R
E
B
M
U
N
–
–
T
N
I
R
P
E
R
O
T
S
T
I
X
E
m
c
H
T
G
N
E
L
H
T
D
I
W
m
m
8
1
7
.
3
2. Use u and i to move the highlighting to “STORE” and
then press SET.
3. Input up to five characters for the name of the numbering
format, and then press SET.
4. Press SET to store the numbering format or ESC to abort
the operation without storing anything.
5. Use u and i to move the highlighting to “EXIT” and
then press SET.
6. Press SET to end the operation.
To recall a numbering format from memory
1. While the NUMBERING menu is on the display, use u
and i to move the highlighting to “RECALL” and then
press SET.
2. Use u and i to display the name of the numbering
format you want, and then press SET to recall it.
3. Now you can make changes in the numbering format
and print it or store it as a new format.
To delete a numbering format from memory
1. While the NUMBERING menu is on the display, use u
and i to move the highlighting to “DELETE” and then
press SET.
2. Use u and i to display the name of the numbering
format you want, and then press SET to delete it.
3. Press SET to delete the numbering format.
CALENDAR
This item lets you print full-month calendars from 1900 to
2100 on 18mm or 24mm tape. You can highlight holidays
and other special dates on the calendar, and you can con-
trol whether the week starts with Sunday or Monday.
To print a calendar
1. While the PRESETS menu is on the display, use u and
i to move the highlighting to “CALENDAR” and then
press SET.
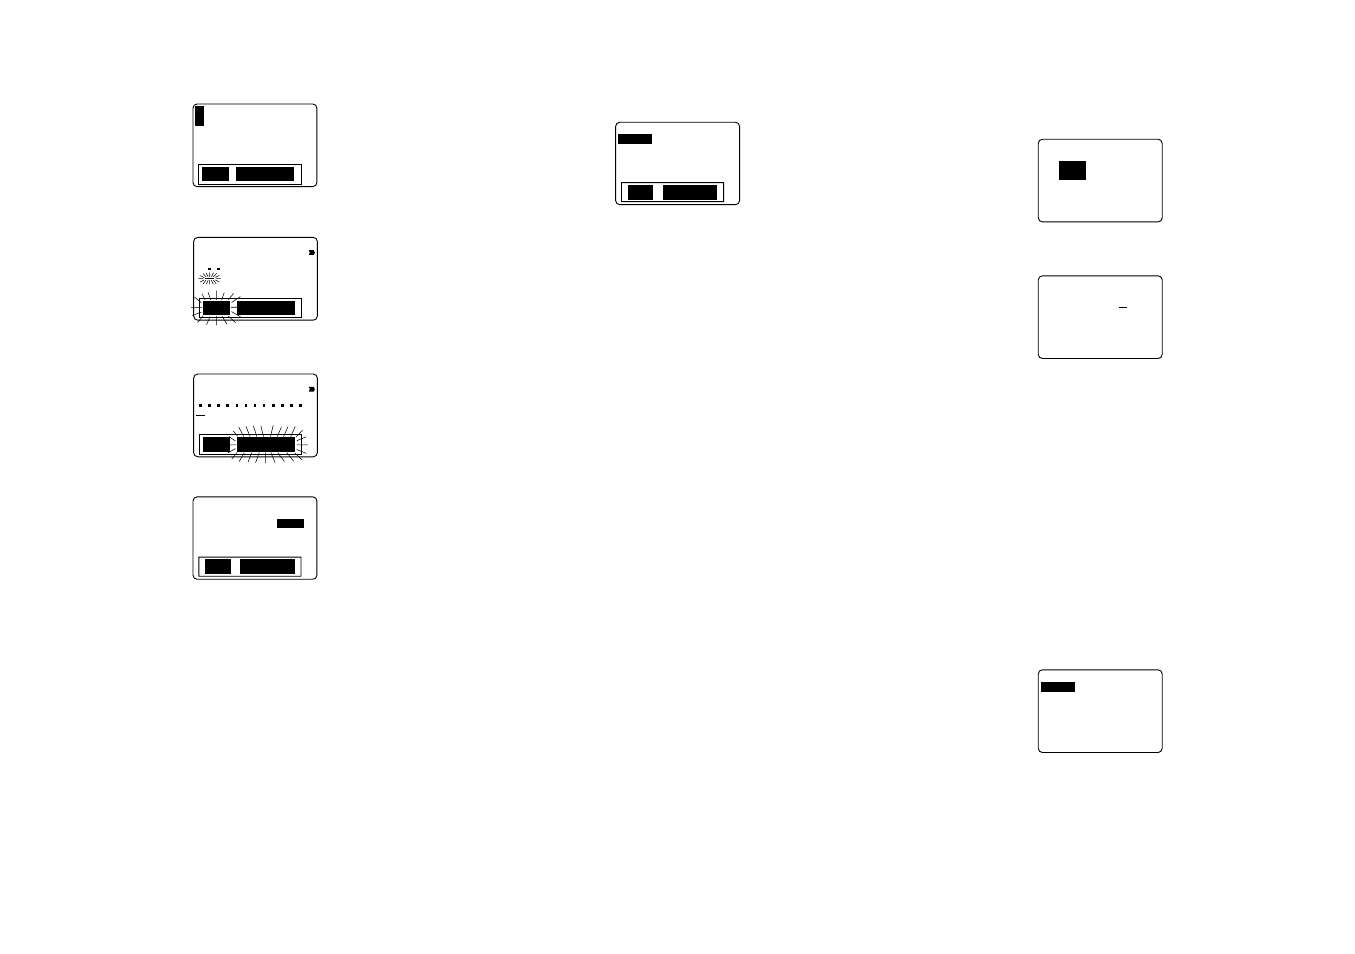
6
9
9
1
R
A
M
–
–
–
R
A
D
N
E
L
A
C
–
–
–
2. Specify the month and year of the calendar you want to
recall, and press SET.
6
9
9
1
R
A
M
Su Mo Tu We Th Fr Sa
2
9
16
3 4 5 6 7
1
8
10 11 12 13 14 15
23
17 18 19 20 21 22
30
24 25 26 27 28 29
31
• Use t and y to move the highlighting between the month
and the year.
• Use u and i to change the setting of the selected item.
In the case of the year, you can input a year on the label
printer’s keyboard.
• You can also specify the font (SANS-SERIF, SANS-SERIF
ROUNDED, ROMAN), if you want.
3. Highlight any dates on the calendar that you want.
• Use u, i, t and y to move the cursor around the cal-
endar.
• Press B to highlight or unhighlight the date where the
cursor is located.
• Selecting a day of the week and then pressing B high-
lights all of the days under that day of the week.
4. After you finish highlighting the dates you want, press
SET.
–
–
–
R
A
D
N
E
L
A
C
–
–
–
T
N
I
R
P
T
I
X
E
m
c
8
.
4
H
T
G
N
E
L
5. Use u and i to move the highlighting to “PRINT” and
then press SET to execute it.
6. Use u and i to move the highlighting to “EXIT” and
then press SET.
7. Press SET to end the operation.