Reassembly – Precision Medical PM4351 EasyFlow5 User Manual
Page 18
16
Reassembly
(Reference Disassembly Photos)
1. Place Compressor Assembly, center port facing to the back of
the device, onto the Compressor Tray while ensuring to get
each Spring into the corresponding Pad locations.
1.1. Ensure 2 Rubber Pads are in each Pad locations
2. Insert Tie Wrap thru the center of the Compressor Baffle.
3. Place Compressor Baffle onto the Compressor as shown in
photo in Disassembly section above.
4.
Slide an 11/16” Pinch Clamp onto Hose on metal Tube.
5. Slide Hose from metal Tube onto center port on Compressor.
6. Secure the Hose to the Compressor by tightening Clamp.
7. Secure the Compressor Baffle to the metal Tube using the Cable
Tie.
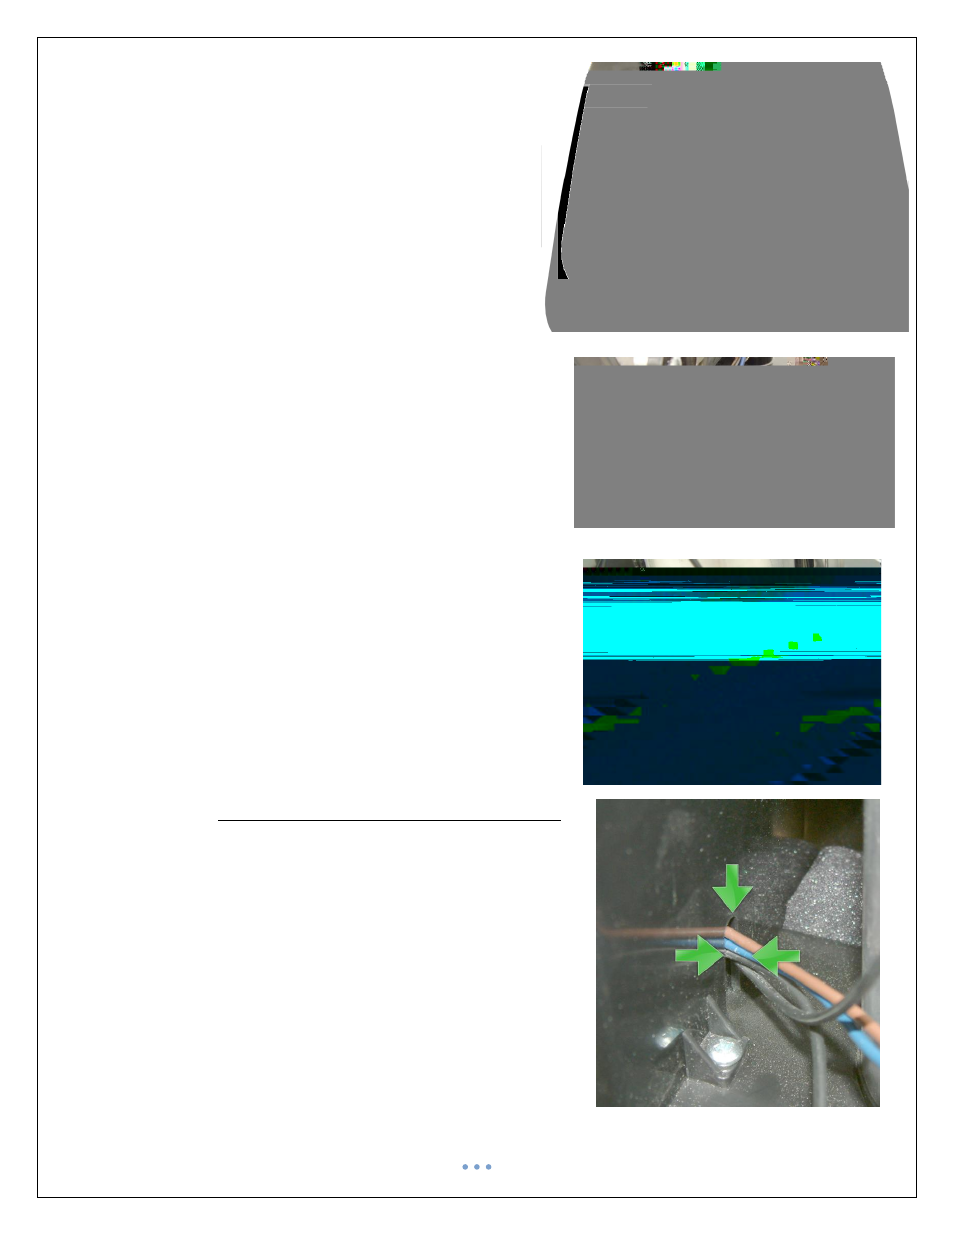
8. Route the Compressor Wires around the front of the Compressor
and around the side of the Sieve Bed Tube and insert into Saddle
Mount as shown.
9. Connect the two (2) Black Wires from the Compressor to the
Capacitor. (polarity is not important)
10. Place Compressor Cover, Fan towards the Sieve Beds, over the
Compressor.
10.1.
Ensure to capture all the Compressor Wires into slot on
Compressor Cover.
10.2.
Ensure Inlet Tube on Compressor is aligned with
corresponding hole on Compressor Cover.
11. Using a Phillips screwdriver, secure the Compressor Cover to the
Base with the nine (9) Screws.
12. Insert Inlet Filter Box into Compressor Cover by aligning the tab on
the Filter Box with the slot on the Compressor Cover.
12.1.
Compressor Inlet Tube should be inserted into the Filter
Box.
13. Follow all steps for Front Panel Assembly Replacement; Reassembly.