Sieve bed assembly replacement (506418), Disassembly, Reassembly – Precision Medical PM4351 EasyFlow5 User Manual
Page 19
17
Sieve Bed Assembly Replacement (506418)
Disassembly
Tools and equipment required:
#2 Phillips Screwdriver
¼” Hex Nut Driver
Diagonal Cutting Pliers
Needle Nose Pliers
1. Follow all steps for Front Panel Assembly Replacement; Disassembly.
2. Follow all steps for Compressor Assembly Replacement; Disassembly.
3. Gently lay the device onto one of its sides.
4. Using
¼” Hex Nut Driver, remove the two Screws securing the Sieve
Bed Assembly.
5. While holding the Sieve Bed Assembly and Base together, return the
device back to an upright position.
6. Using a Phillips screwdriver, remove the two center Compressor tray
Screws.
7. Remove Tray
8. Lift Sieve Bed Assembly up and out of the Base.
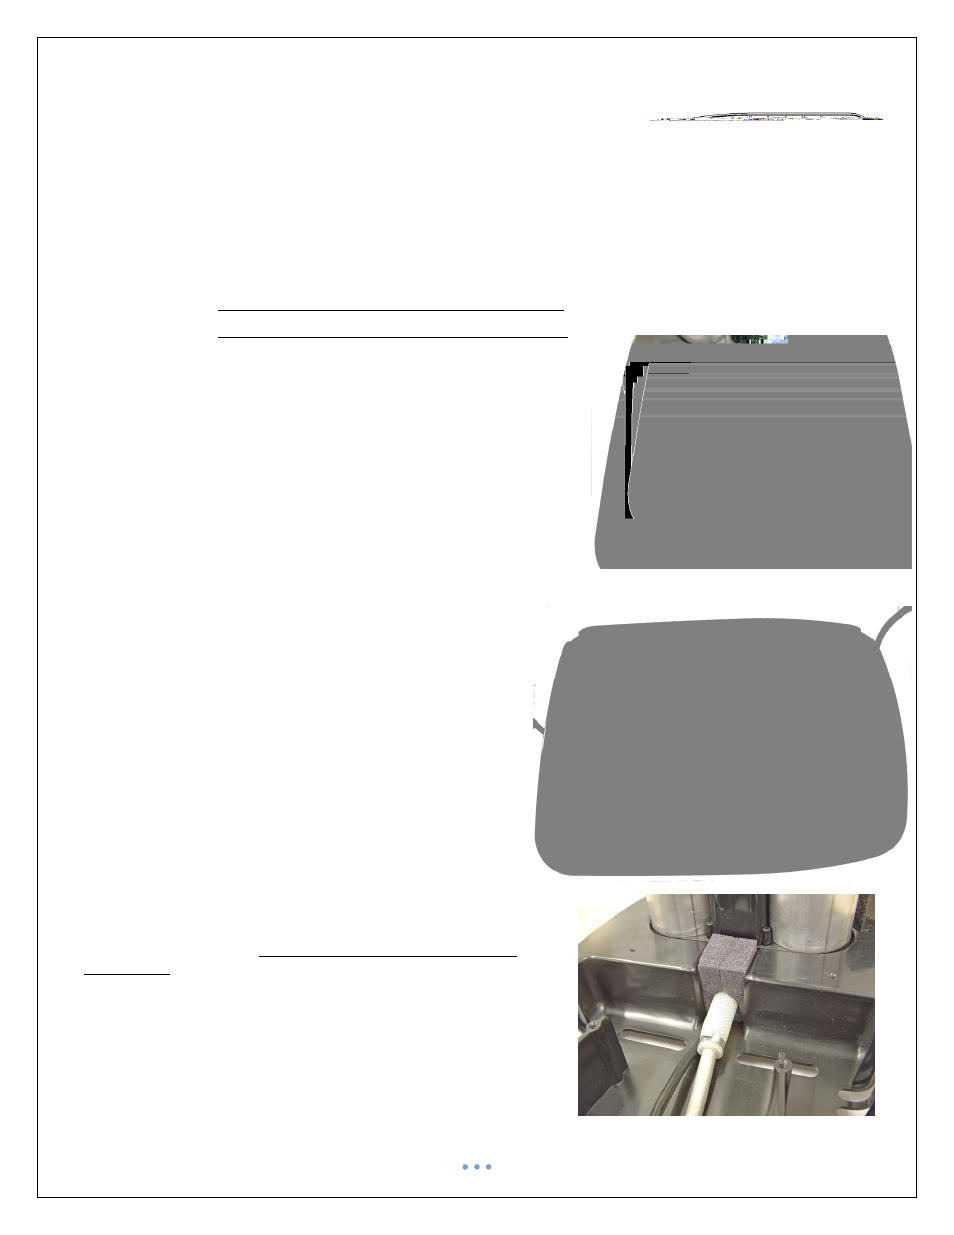
Reassembly
1. Ensure Foam is properly placed into the Base as shown.
1.1. Power Cord should be on top of Foam.
2. Lower Sieve Bed Assembly into Base while ensuring the White
Tubing is captured in the Foam with the Power Cord and the
mounting holes align with the hole in the Base.
3. While holding the Sieve Bed Assembly and Base together, lay
the device on one of its sides.
4. Secure the Sieve Bed Assembly to the Base using the two (2)
#8 Hex Screws.
5. Feed the end of the metal Tube from the Sieve Bed Assembly
thru the rectangular opening on the Compressor Tray and
position it on the Base.
6. Using a Phillips screwdriver, secure with Screws, the Compressor
Tray to the Base.
7. Follow steps all steps for Compressor Assembly Replacement;
Reassembly.