0 maintenance – Sandia 12-Gallon, 1200 PSI Hard Surface Extractor User Manual
Page 19
(22) 1200 PSI Hard Surface Extractor
1200 PSI Hard Surface Extractor (19)
6.0 Maintenance
Regular maintenance is required to keep your Hard Surface Extractor in proper working
condition. Failure to properly maintain your machine could void warranty. Thoroughly
clean all equipment and accessories after each use.
WARNING: Disconnect electrical power cord before performing any service or
maintenance inside the machine base or before testing or repairing switches or power
cords. Failure to do so may result in severe personal injury or death.
Operation
Interval
Clean Chemical Feed Filter
Daily- After Each Job
Clean Vacuum Shut-Off Assembly Screen
Daily- After Each Job
Clean Clear View In-Line Filter
Daily- After Each Job
Rinse Out Recovery Tank
Daily
Clean Auto Dump-Out Pump
Daily
Flush Solution Tank and Pump
Daily
Clean Pump-Inlet Filter
Weekly - As Needed
Flush Chemical System
Monthly
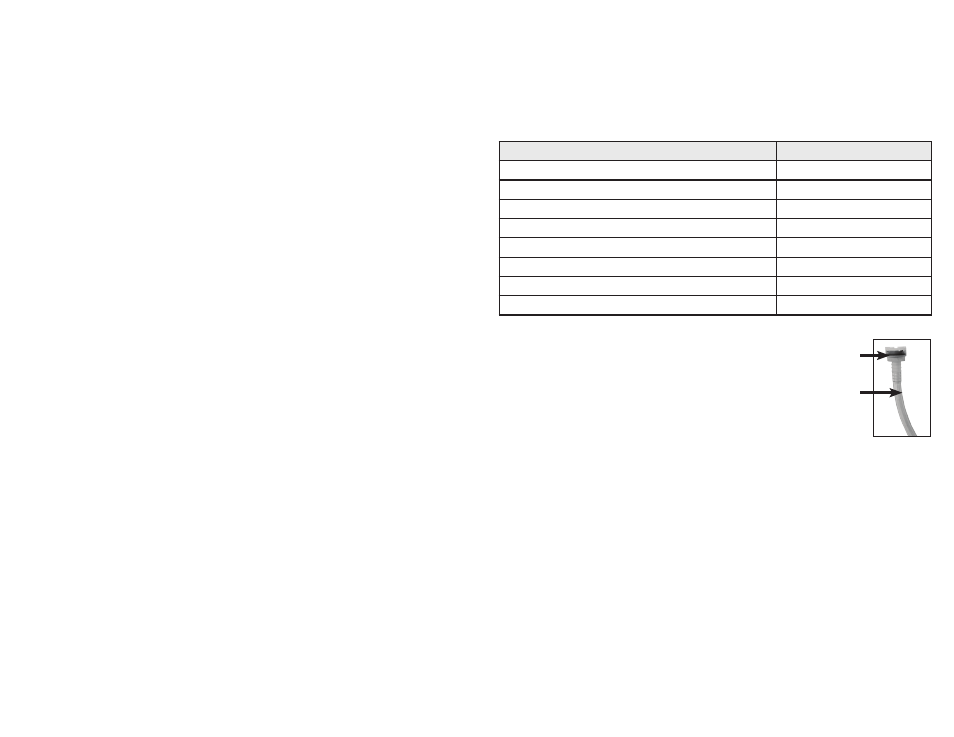
6.1 Clean Chemical Feed Filter
The filter is on the end of the chemical feed hose
that is placed in the chemical jug as part of the
chemical feed system. Regularly examine
the filter and clean as needed.
6.2 Clean Chemical Feed Foot Valve
The foot valve is on the end of the chemical supply tube of the automatic
chemical feed system. It is necessary to remove the filter from the tubing. Just rinse with
fresh water and blow through the valve from the filter side of the barb. If necessary, use
a tooth brush and a mild acid rinse to remove detergent build-up. Note, a heavy build-up
is a warning sign that the solution system should be flushed. See the “Flush Chemical
System” section.
6.3 Clean Fresh Water Tank Filter
The fresh water tank filter is located at the bottom of the solution tank. Unscrew the filter
counterclockwise and rinse with fresh water. If necessary, use a tooth brush to remove
detergent build-up. Note, a heavy build-up is a warning sign that the solution system
should be flushed. See the “Flush Chemical System” section.
6.4 Clean Vacuum Shut-Off Float Assembly Screen
Inside the recovery tank, on top of the stand pipe, is the vacuum shut-off float assembly.
It functions to prevent debris and water from being sucked into the vacuum motors.
Operating the Hard Surface Extractor without the shut-off assembly or with a poorly
maintained assembly, will greatly decrease the life of the vacuum motors and will void
the warranty.
Filter and Foot Valve
Chemical Feed Hose
6.8 Clean Auto-Dump Pump-Out Continued
DO NOT turn on the auto-dump out switch without the dump hose in place. Unplug the
cord and turn the auto-dump pump switch OFF. Open the dump valve and drain out the
remaining water. Close the dump valve, replace the recovery tank lid and dispose of the
dirty water and debris.
This auto-dump out system has been designed to keep up with flood restoration work and
is capable of pumping 10-gallons per minute.
6.9 Flush Solution Tank and Pump
At least once a month, the Hard Surface Extractor hoses and tools should be flushed
to remove alkaline residues. Follow the steps of the “Storage and Freeze Protection”
section, using a solution of one (1) part warm water with three (3) parts white vinegar in
place of the antifreeze solution.
Then, repeat the steps using two gallons of fresh water:
• Pour two (2) or three (3) gallon of clean water into the solution tank.
• With both Cords 1 and 2 plugged in, connect the pump and prime hose to the solution
outlet female quick disconnect.
• Direct the end of the prime hose into the recovery tank barb.
• Turn one or both of the vacuums to the ON position and the solution tank to the ON
position.
• Let the pump run until most of the water has been pumped out of the solution tank.
DO NOT let the pump run dry. Turn the pump OFF before the water gets to the
bottom of the tank.
• Turn the vacuums OFF and disconnect the prime hose.
• Close the dump valve and dispose of water.
• If there is heavy chemical build-up in the machine, hoses or tools, a mild acid can be
added to the rinse water in the previous procedure.
• After the pump has been primed, turn the solution pump switch OFF and turn the
vacuums OFF.
• Remove the prime hose and connect the HP solution hose and tools.
• Turn the solution pump ON and direct the tool spray into a bucket. Let the pump run
until most of the water has been pumped out of the solution tank. DO NOT let the
pump run dry. Turn the pump OFF before the water gets to the bottom of the tank.
• Disconnect the solution hose and tool.
• Use the 4-foot short section of the vacuum hose to vacuum the remaining acid solution
out of the solution tank.
• Pour two (2) or three (3) gallons of clean water into the solution tank.
• Connect the pump prime hose to the solution outlet female quick disconnect.
• Direct the end of the prime hose into the recovery tank vacuum barb.
• Turn one or both of the vacuums ON and turn the solution pump ON. Let the pump
run until most of the water has been pumped out of the solution tank. DO NOT let the
pump run dry. Turn the pump OFF before the water gets to the bottom of the tank.