Making settings in the menu, Making system settings and scene settings, System settings – Roland Aerophone Pro Digital Wind Instrument User Manual
Page 13: Ed (p. 13), Making settings in the menu” (p. 13)
13
Making Settings in the Menu
Here’s how to specify the details of the system, scene, assign, and MIDI control settings.
Making System Settings and Scene Settings
System Settings
System settings are common to all scenes.
&
The following table explains part of the items in system settings. For a list of the items in system settings, refer to “Aerophone Pro Parameter
Guide” (PDF).
Indication
Value
Explanation
Transpose Mode
Switches the operating mode for transpose.
System
Turn the [TRANSPOSE] knob to transpose the sound in that amount.
The transposition does not change even when you select a scene.
Scene
The transposition will be as specified by the scene.
* The value indicated by the [TRANSPOSE] knob might be different than the actual transposition.
* Even if transposition is specified for the scene, turning the [TRANSPOSE] knob sets the transposition to the
value of the knob.
Transpose Knob
Mode
These parameters configure the functions for the [TRANSPOSE] knob.
System Transpose Specifies that the [TRANSPOSE] knob is used for the transpose function.
Speaker Volume
Specifies that the [TRANSPOSE] knob is used for adjusting the volume of the built-in speakers.
Output Volume
Specifies that the [TRANSPOSE] knob is used for adjusting the volume for headphones connected to the
PHONES jack, or of the signal output from the OUTPUT jack.
Speaker & Output Specifies that the [TRANSPOSE] knob is used for simultaneously adjusting the volume of the built-in speakers
and of headphones connected to the PHONES jack, as well as the signal output from the OUTPUT jack.
System Tranpose
-5 (G)–0 (C)–+6 (F#) Sets the system transpose value.
Display Off Time
Always On, 3sec,
10sec, 30sec,
1–3min
Sets the time it takes for the display to turn off when the instrument is not being used.
When set to “Always On,” the display is always on.
When you press the [SCENE] or [MENU] button while the display is off, the display turns back on.
Auto Off
Always On, 5min,
30min
Sets the time before the instrument automatically turns off.
The power to this unit will be turned off automatically after a predetermined amount of time has passed since
it was last used for playing music, or its buttons or controls were operated (Auto Off function).
If you don’t want the unit to turn off automatically, change this setting to “Always On.”
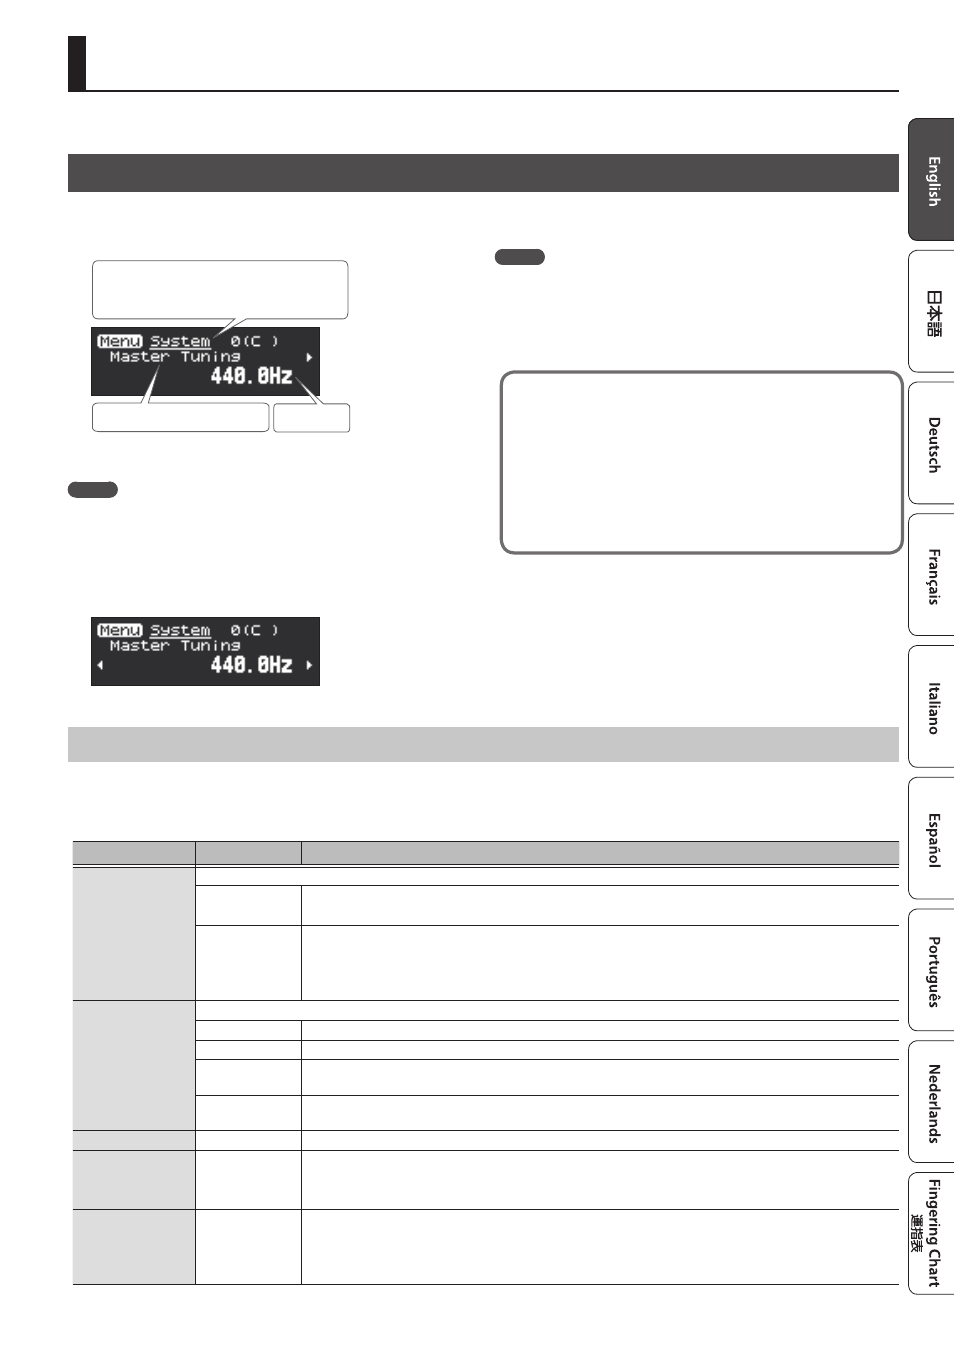
1.
Press the [MENU] button.
The Menu screen appears.
Menu item
Value
Menu Type
System: System settings, Scene: Scene settings,
Assign: Assign settings, MIDI: MIDI control settings
2.
Use the [-][+] (
C
/
A
) buttons to select a menu item.
MEMO
Hold down the [-] [+] (
C
/
A
) buttons to make the menus change in
series, stopping at the beginning of each menu type (System, Scene,
Assign, MIDI).
3.
Press the [MENU] button.
The cursor position moves to the lower line.
4.
Use the [-][+] (
C
/
A
) buttons to change the value.
MEMO
5
You can long-press the [MENU] button to move to the USER/
FAVORITE registration screen.
5
Press the [SCENE] button to return to the scene screen from the
menu screen.
What is system settings and scene settings?
Menu settings contain system settings and scene settings.
5
“System settings” are common to all scenes. These settings are
saved automatically when you change them.
5
“Scene settings” are the settings for each scene. Edited
settings are not automatically saved. If you want to keep the
settings, save them to a user scene.
&