Disabling the bluetooth functionality, Differentiating multiple jupiter-x units, Bluetooth id) – Roland JUPITER-X Synthesizer User Manual
Page 21
JUPITER-X Owner's Manual Ver. 1.5 and later
21
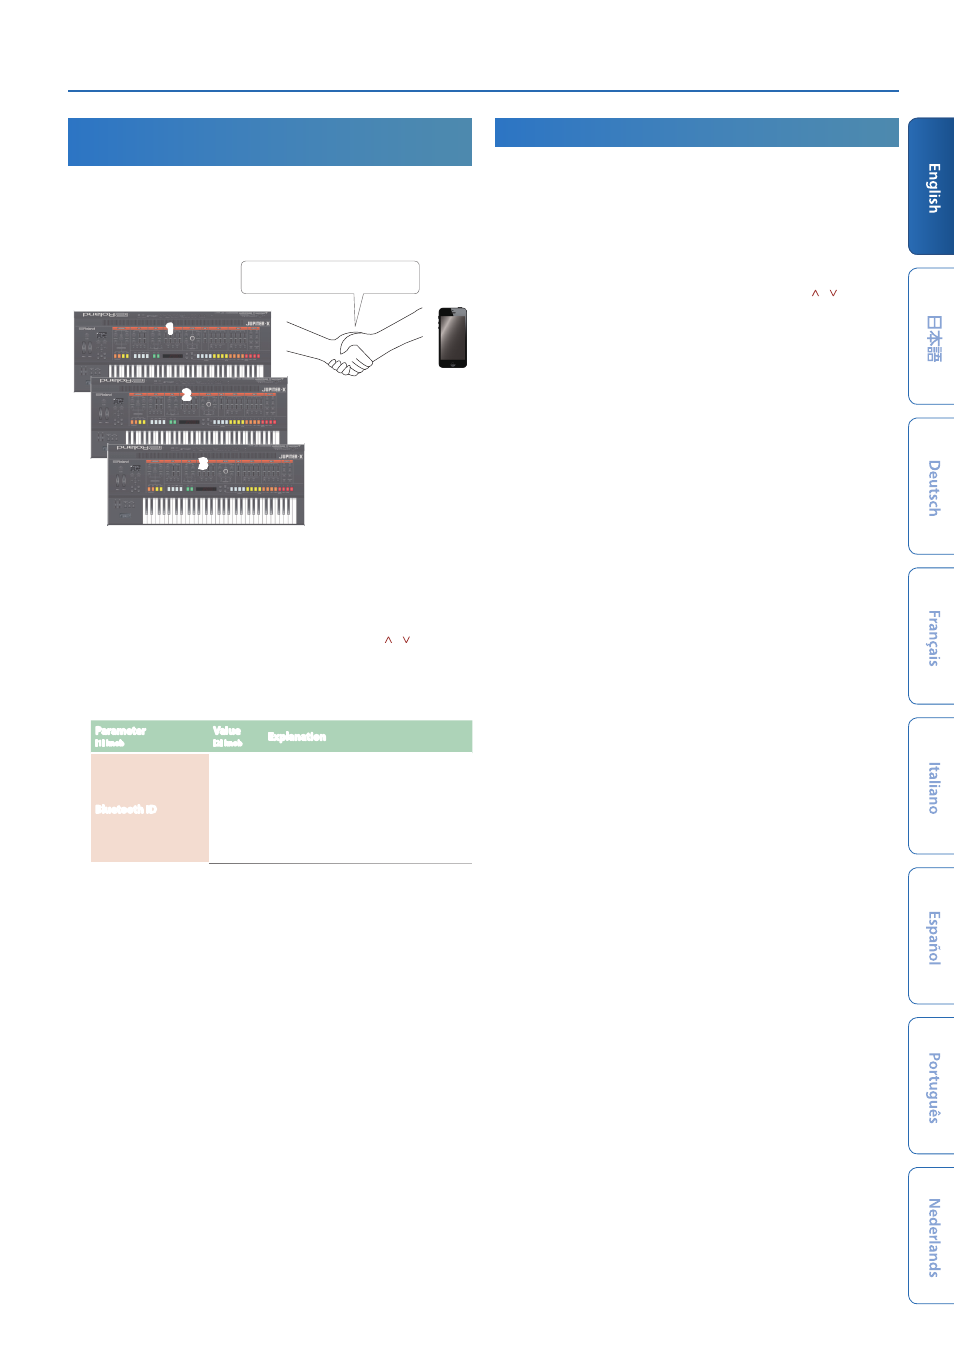
Differentiating Multiple JUPITER-X Units
(Bluetooth ID)
You can specify a number that is added following the device name of
this unit when it is
display
ed by a Bluetooth connected application.
If you own multiple units of the same instrument, this is a convenient
way to distinguish them.
1
2
3
Pair with this JUPITER-X
1.
Press the
[MENU] button
.
The MENU screen appears.
2.
Use the
[1] knob
to select
“SYSTEM,”
and then press the
[ENTER] button
.
You can also make this selection by using the
PAGE [ ] [ ] buttons
instead of the
[1] knob
.
3.
Use the
[1] knob
to select
“Bluetooth ID.”
4.
Use the
[2] knob
to change the setting.
Parameter
[1] knob
Value
[2] knob
Explanation
Bluetooth ID
OFF,
1–9
Specify the digit added to the end of this
unit’s device name that will be shown in
the Bluetooth-connected app.
Set to “OFF”:
“JUPITER-X Audio,”
“JUPITER-X MIDI”
(default)
Set to “1”:
“JUPITER-X Audio 1,”
“JUPITER-X MIDI 1”
5.
If you want to save the setting, execute the System Write
operation.
&
“Saving the System Settings (System Write)”
6.
Press the
[MENU] button
when you’re finished making
settings.
Disabling the Bluetooth Functionality
Disable the Bluetooth functionality if you don’t want this unit to be
connected via Bluetooth with your mobile device.
1.
Press the
[MENU] button
.
The setting screen appears.
2.
Use the
[1] knob
to select
“SYSTEM,”
and then press the
[ENTER] button
.
You can also make this selection by using the
PAGE [ ] [ ] buttons
instead of the
[1] knob
.
3.
Use the
[1] knob
to select
“Bluetooth Sw.”
4.
Use the
[2] knob
to turn the setting
“OFF.”
5.
If you want to save the setting, execute the System Write
operation.
&
“Saving the System Settings (System Write)”
6.
Press the
[MENU] button
when you’re finished making
settings.