Doremi ShowVault / IMB User Manual
Page 37
CRT.OM.001420.DRM
Page 37 Version1.6
Doremi Labs
2.
Power ON the projector and its connected ShowVault. Make sure the IMB works fine by
performing an encrypted content playback using a valid KDM.
3.
Check that the IMB has a valid identity.
4.
Unplug the Ethernet cable from the projector.
5.
Unplug the PCI-e cable from the IMB.
6.
Open any projector lid and door that covers the IMB without removing the IMB yet
–
check specific projector's documentation if needed.
7.
Power OFF the projector
– you have from this point
only 5 minutes
to complete the
battery replacement. Otherwise the board will have to be re-programmed by Doremi
Labs, meaning that all the existing KDMs will have to be re-generated for the new
identity that will be assigned to the board.
8.
Remove the IMB from the projector - check specific projector's documentation if needed.
9.
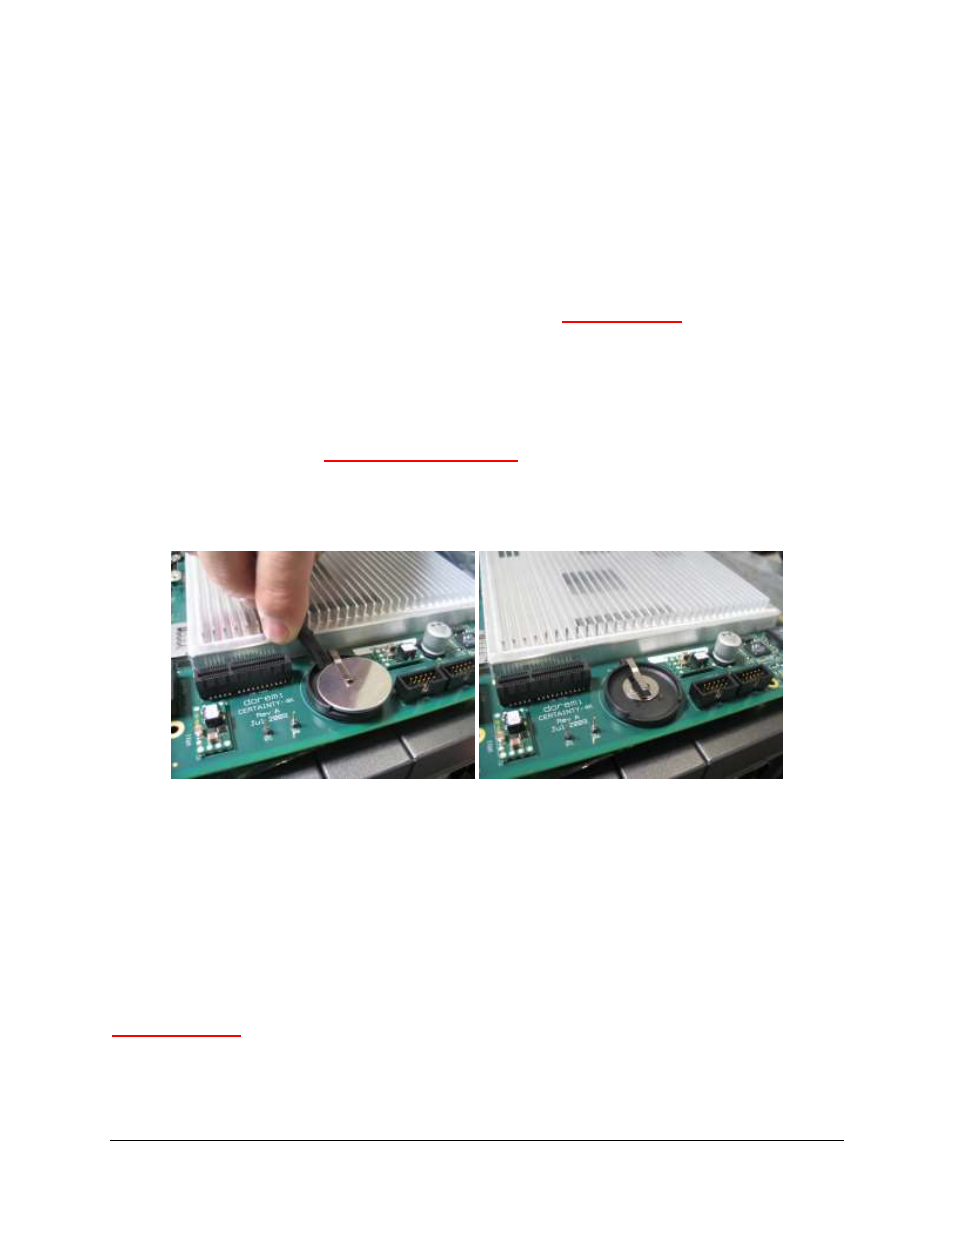
Remove the existing battery using the plastic tool by pushing on one side of the battery.
From this point, you
only have 2 minutes left
in order to insert the new battery.
Otherwise, the board will have to be re-programmed by Doremi Labs, meaning that
all the existing KDMs will have to be re-generated for the new identity that will be
assigned to the board.
Figure 32: IMB Battery Removal
10.
Insert the new battery inside the battery holder. From this point, no need to hurry
anymore, the IMB has a battery to keep its identity and existing KDM.
11.
Re-insert the IMB inside the projector - check specific projector's documentation if
needed.
12.
Put back and close any projector lid and/or door that was previously removed.
13.
Plug the Ethernet cable back into the projector.
14.
Plug the PCI-e cable back into the IMB.
Important Note:
After replacing the RTC battery, you must create a maintenance log entry, to
reset the pop up warning counter. If this step is not done, you will continue to get a warning
message. Proceed to section 7.2.