Vectronics VEC-412K User Manual
Page 18
VEC-412K Owner's Manual
Rapid Battery Charger/Conditioner Kit
16
pins until they do. Using firm and steady pressure, fully seat the IC
into the socket.
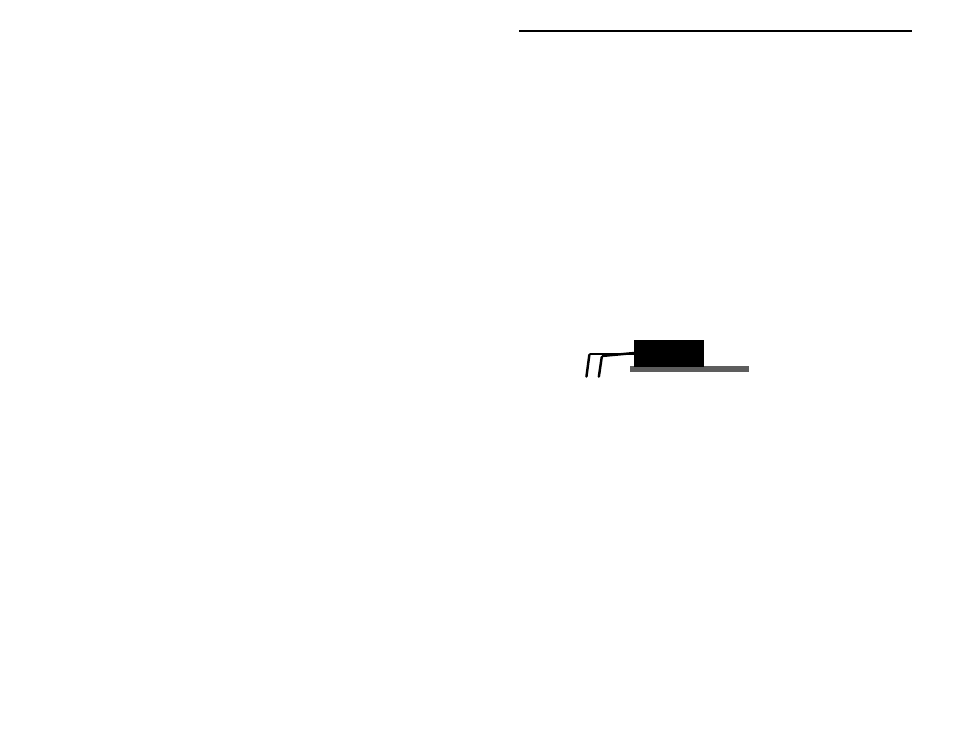
Locate the 2N3055 silicon power transistor. Note that the emitter and base leads
are not centered on the device body.
! ! 11. Install the 2N3055 transistor at location Q1. Note that the device leads
must be inserted so that Q1’s heatsink aligns properly with the PC
board mounting holes.
! ! 12. Find two 4-40 ¼” screws and two 4-40 nuts. Mount Q1 to the PC
board using the 4-40 hardware. The nuts should be on the foil side of
the board. Tighten the hardware until snug—the hardware provides an
electrical path for the collector of this transistor.
! ! 13. After the hardware is tightened, solder and trim the emitter and base
leads of the 2N3055 transistor.
Locate the IFR9530 power FET.
Metal Tab
Tab-cooled Device
IFR9530
Temporarily place the IFR9530 at mounting location Q3. The device leads
should be formed to align with three component lead holes, and the mounting
hole on the heatsink tap should align with the mounting hole drilled in the PC
board. Re-form leads as needed.
! ! 14. Install the IFR9530 at location Q3. Use the remaining 4-40 x ¼”
screw and 4-40 nut supplied in the kit to mount the device (the nut
should be placed on the IFR9530 heatsink tab). Tighten the hardware
until snug (the hardware provides an electrical path). Solder and trim
the component leads.
Final Assembly:
! ! 1. Locate the 500-uH wire-wound choke. Install and solder the choke at
location L1.
! ! 2. Locate the 2.1mm coaxial style power connector jack. Install at
location J1. Be sure the jack body is mounted flush to the board.
Carefully bend over the solder-tabs for J1 so they are flush with the
solder area on the PC board—this improves the mechanical strength of
the solder connections. Solder the three tabs for J1.