Step 5: attach the acrylic engine shield, Step 6: add oil and gas – DR Power Sprint (1985 - 2000) User Manual
Page 14
8
DR
®
TRIMMER/MOWER
™
Assembly & Operating Instructions
To adjust the height of the handlebars, loosen the lock nuts on the U-bolts. Push the handlebars
forward for more height, backward for less. Then tighten the nuts securely.
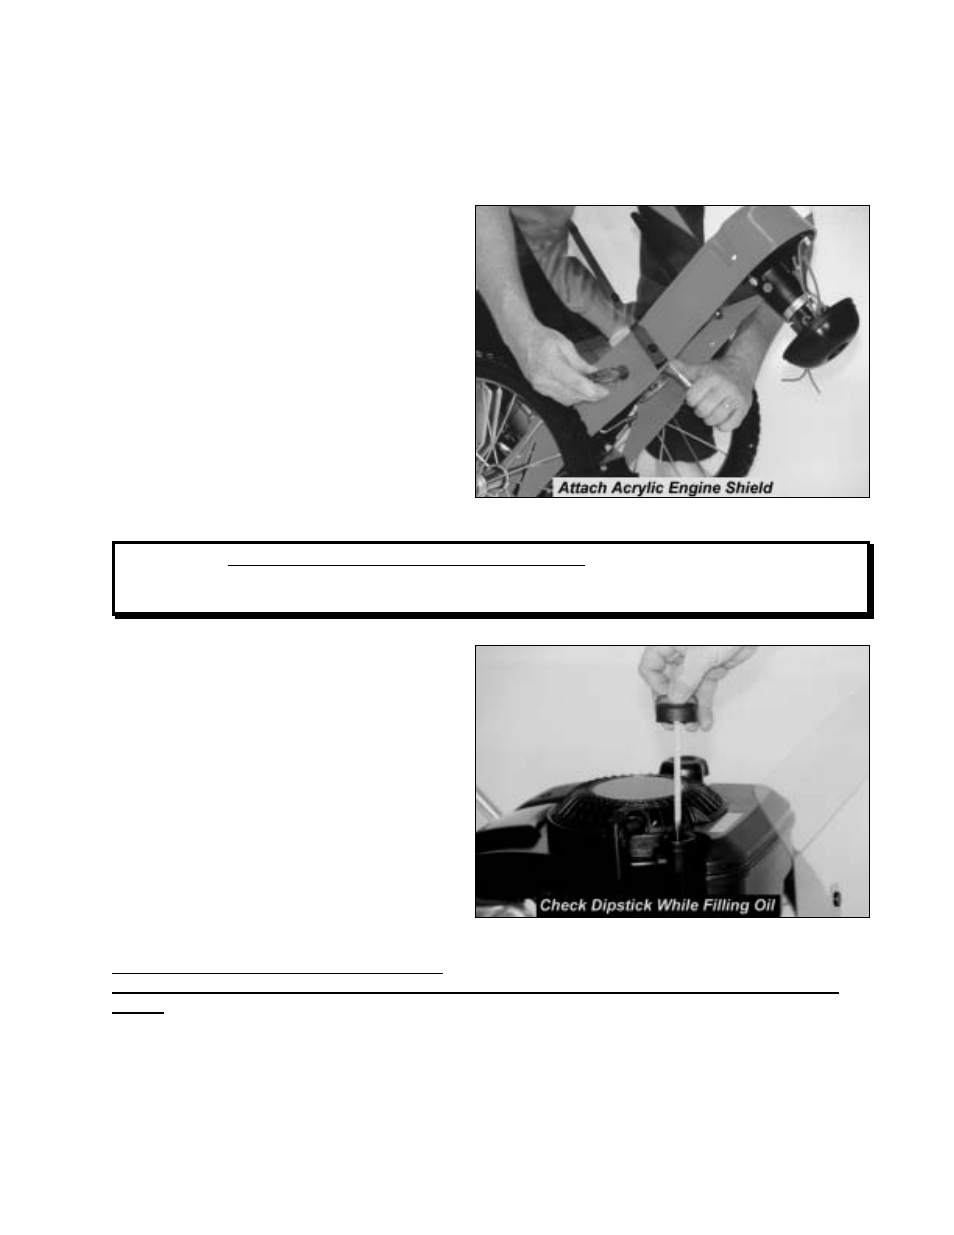
Step 5: Attach the Acrylic Engine Shield
Use the four remaining sets of 5/8" long bolts
and lock nuts to attach the acrylic engine
shield.
We have found it's easiest to tip the machine
back on its handlebars in order to reach the
underside.
1. Position the shield on the frame in front of
the engine (Figure 10) with the bend at
the top facing the handlebars.
2. Insert the bolts from the outside facing in,
screw on the nuts and tighten (Figure 10).
Step 6: Add Oil and Gas
WARNING!:
You must add oil before starting the engine. There may be 1 to 2 ounces of
oil left in your machine from factory testing, but you still need to fill the reservoir. Check
the dipstick while adding oil to avoid over filling.
Please refer to your Engine Manufacturer's
Owner's Manual and put the recommended
amount of engine oil in the oil fill. Use
SAE30 High Detergent oil. Fill the oil to the
amount indicated on the dipstick. Do not
overfill (Figure 11).
Reminder: To avoid confusion, we
recommend leaving the caps on the fuel and
oil fills until you are ready to pour either
gasoline or oil into the correct fill.
Fill the gas tank to within 1/4 inch of the top
with fresh, unleaded gas. (See your engine
manual for more detailed fuel
recommendations.)
Caution: Once you have added the oil and
gas, avoid tipping the trimmer back on its handlebars. Doing so will cause the cylinder to fill
with oil. If you need to reach the underside of the trimmer, drain the oil and gas first, or set the
machine up on a workbench.
Figure 10
Figure 11