Getting started – FiberPlex VIM-MY32 User Manual
Page 8
8
Getting Started
To install your VIM‐MY32 cards please follow these steps:
1. Power down your Yamaha console
2. Set clock master / slave switch on master card(s). This switch is found on the VIM‐MY32M (master) circuit board. If
the VIM‐MY32 clock on the VIM‐MY32M is being used as the main system clock, switch this to “Master”. If the
Yamaha console internal clock is being used as the master clock, set this switch to “Slave”
3. Insert cards into appropriate YGDAI card slots, aligning the sides of the card with the with the support guides in the
YGDAI slot
4. Connect master / slave cards with supplied Neutrik MiniCon cable. To ease connection make sure small silver triangle
on the connector body is ‘up’ with respect to the card as shown.
5. Connect (if applicable) supplied fiber pass‐through cable (VFC‐0001‐DST) between VIM‐MY32MT4 and VIM‐MY32MST
cards.
6. Press the VIM‐MY32 card firmly in place ensuring a complete connection between the multipin back plane of the VIM‐
MY32 card and the console
7. Secure the VIM‐MY32 card with supplied thumb screws
8. Power up your Yamaha console
9. Check to see that “slave” LED is solid green
10. Ensure that the “sync” LED is solid green
11. Input audio signals and check for audio in both directions
Advanced functions of the Light Viper VIM‐MY32 cards (control, clocks, etc.)
Using Yamaha control protocol with the LightViper VIM‐MY32 cards
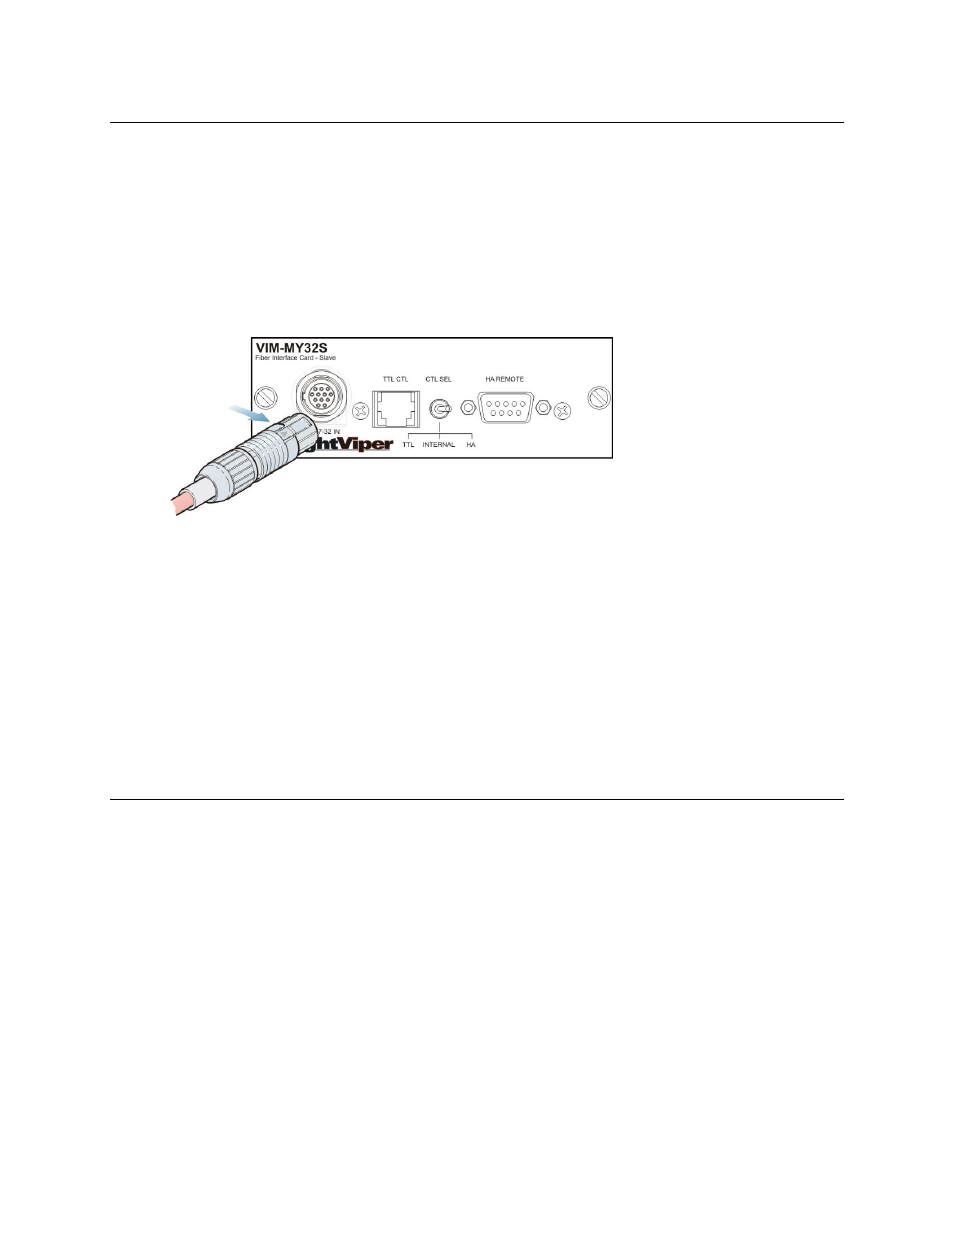
On the VIM‐MY32S (slave) card, there are DB9 and RJ45 connectors. These connectors are used to input control from your
Yamaha into the LightViper system to remotely control digital microphone preamplifiers (i.e. Yamaha AD8HR, Aphex 1788A,
etc.). The RJ45 connector is for use with any LightViper accessory which uses TTL control. The DB9 connector may be used with
a crossover DB9 to DB9 cable, utilizing the translation electronics on the VIM‐MY32 card itself. The switch in between these
connectors should be set to correspond with the connector being used (left or “TTL” for the RJ45, right or “HA” for the DB9
connector. In the case of the Yamaha LS9, this console has no external control connector. Control is fed internally to the back
plane of the VIM‐MY32 card itself. If you are using VIM‐MY32 cards with a Yamaha LS9, the switch should be set to the middle
“internal” position. Accessory LightViper products such as DGL‐422 (Yamaha control protocol), MD3 (RS‐422, MIDI, RS232
control) and DMX4 (DMX lighting control plus Yamaha control) can be connected to the TTL control connector.
The Yamaha console will not display “VIM‐MY32” on the console screen. The Yamaha console will recognize the VIM‐MY32 card
as a generic 16‐channel expansion card. The name shown in the text field will be displayed as a generic name (i.e. “ADAT 16”).
What is displayed may vary with the model and/or software version being run on the Yamaha console. Some Yamaha mixers
may not be compatible with the LightViper VIM‐MY32 cards. Software and firmware updates to the console may be required.
Consult with Yamaha customer service or your console manual for additional information.