0 assembly, 5 bonnet, 6 stem nut and yoke sleeve – Flowserve Double-Disc Gate Valve Sizes 2.5 User Manual
Page 25: 7 actuators, 8 bolting, 9 gland, lantern ring, gland spacers, 1 disc – stem assembly

25
Anchor/Darling Double Disc Type Gate Valves FCD ADENIM0003-01 - 07/14
flowserve.com
should be evaluated for cause and corrective measures. Contact
Flowserve Engineering if assistance is desired.
7.5 Bonnet
a) Inspect the backseat hardfacing for obvious distortion or cracks.
Since the hardfacing is not subject to sliding wear, the thickness
of the deposit is not as critical as it is on seat rings and discs and
therefore doesn’t need to be checked.
b) Visually inspect the stuffing box for damage and surface finish. It
should have a 125 RMS finish. If remachined, contact Flowserve
Engineering to determine if the packing size, gland or other parts
are affected.
c) For flanged bonnets, visually inspect the gasket surface for
scratches, nicks, etc. that may impact sealing. If remachined, face
all surfaces of the flange to maintain the original depth to the gasket
rang and therefore the correct gasket compression.
d) For pressure seal bonnets, visually inspect the surface of the
bonnet that engages the pressure seal gasket for scratches, nicks
or other discontinuities that exceed a 63 RMS finish. Because
the tolerances associated with a pressure seal joint are very tight,
Flowserve Field Service should be contacted prior to attempting any
rework.
7.6 Stem nut and yoke sleeve
a) Visually inspect the acme threads for obviously excessive wear or
galling of the threads. Lubricate the threads by applying a light
coating of grease (Molykote P37, Mobilgrease 28, MOV Long Life
or equivalent). Lubricate yoke sleeves by applying grease through
the grease fitting.
7.7 Actuators
Refer to the actuator manufacturer’s instructions for service and
maintenance guidance.
7.8 Bolting
Visually inspect all bolting for excessive corrosion. Lubricate with
Never-Seez or equal.
7.9 Gland, lantern ring, gland spacers
Visually inspect for nicks, scratches, burrs, etc. Any damages areas
must be repaired or the piece replaced. Consult with Flowserve Field
Service if there is any question concerning the acceptability of a part.
8.0 Assembly
8.1 Disc – stem assembly
8.1.1 The first step in the assembly process is to check the disc pack
to seat ring clearance and adjust if necessary.
8.1.1.1 The clearance is calculated as follows:
C = F – W – D1 – D2
• Where C = Total clearance between the disc pack and the
seat ring faces when the lower wedge is hanging freely
(unwedged).
• F = Distance between the two seat ring faces.
• W = Upper Wedge thickness
• D1 + D2 = Thickness of each disc taken at the hardfaced
region.
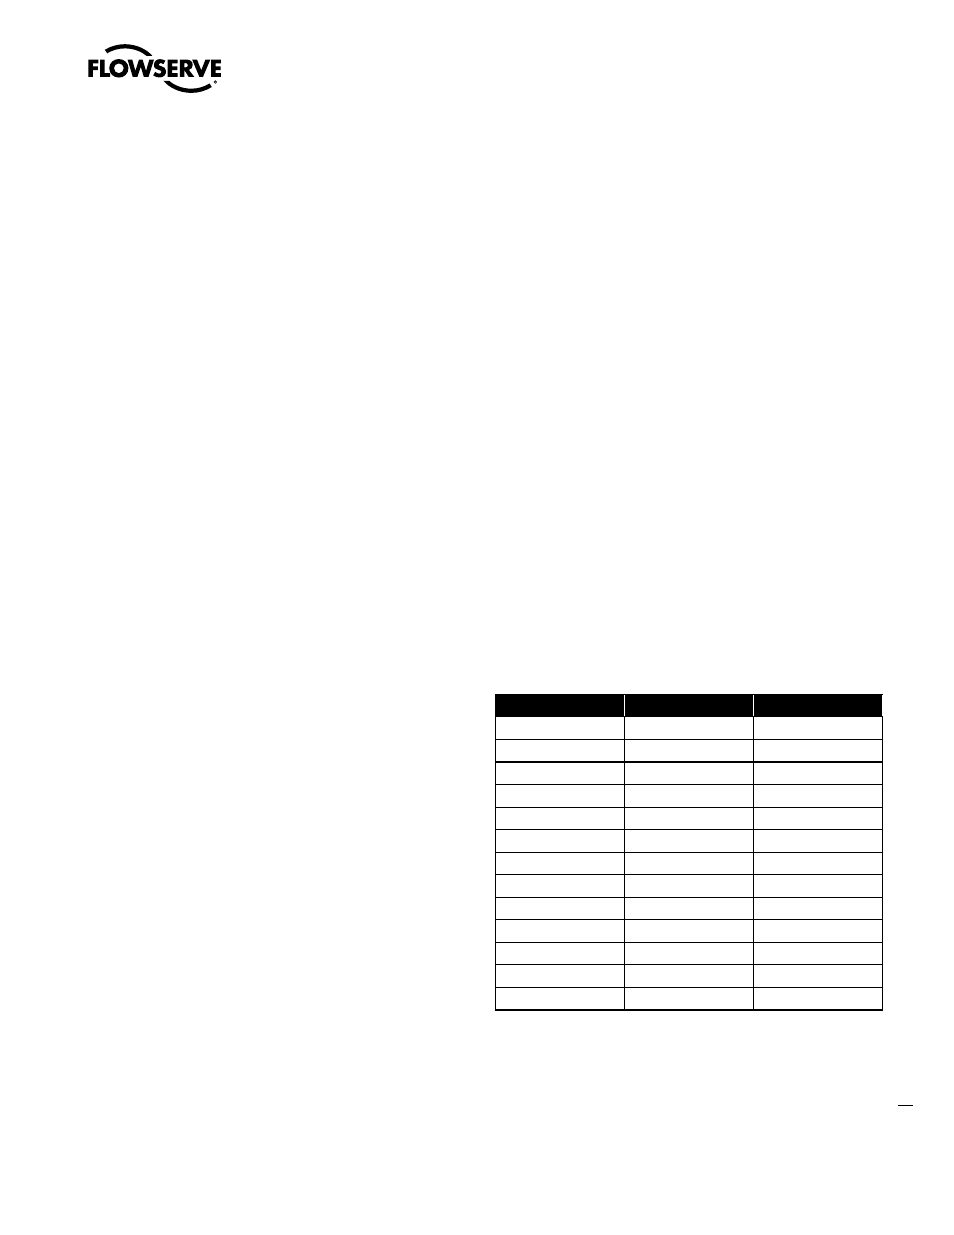
The required clearance is contained in Table 6.
Table 6 - Clearances
Valve Size
Min
Max
2.5”
.025
.073
3.0”
.025
.073
4.0”
.025
.073
6.0”
.025
.073
8.0”
.025
.073
10.0”
.030
.084
12.0”
.030
.084
14.0”
.030
.084
16.0”
.030
.084
18.0”
.033
.087
20.0”
.033
.087
22.0”
.038
.092
24.0”
.038
.092
8.1.1.2 If adjustment is necessary, weld build-up the lower wedge side
of the upper wedge first mill parallel to the opposite face to add
1/2 the correction amount. Then weld the opposite side and mill
parallel to add 1/2 the correction amount.