Installation procedure – GAI-Tronics 297-103RT4 Retrofit S.M.A.R.T. Externally Powered Emergency Phones User Manual
Page 6
P
AGE
5 of 17
R
ETROFIT
E
XTERNALLY
P
OWERED
S.M.A.R.T.
E
MERGENCY
P
HONES
Pub. 42004-379A
\\s_eng\gtcproddocs\standard ioms - current release\42004 instr. manuals\42004-379a.doc
08/06
Installation Procedure
1. When mounting in a GAI-Tronics Model 234 Series Stanchion or for
flush-mount installations, the supplied back box must be used to
mount the telephone. Mount the back box to the structure using the
appropriate hardware. Refer to the figures below for cutout
dimensions.
2. If mounted outdoors, the installation of a telephone line suppressor
(customer-supplied) on the telephone line is recommended.
3. Remove the tapered plug from the top or bottom cable entry hole in
the back box, and pull the telephone line and power supply cord
through.
4. Connect the power supply 4-pin connector to the P17 header jack on
the PCBA.
5. Connect the telephone’s modular plug to a USOC RJ11 or CA11A
(Canada) modular connector or (if applicable) the telephone line
suppressor. Refer to Figure 8 for the component locations.
Telephone line connections directly to TB1 are acceptable.
6. If configuration changes are necessary, remove the back box, and
using the Setup section of this manual,
• Make hardware configuration changes. See the Hardware
Configuration section on page 8 for details.
• Adjust the audio levels if necessary. See the Audio Level
Adjustment section on page 10 for details.
• Perform the initial programming. See the Programming section on page 11.
7. Verify operation by calling to and from another phone.
8. Complete the installation by attaching the front panel assembly to the rear enclosure using the tamper-
resistant screws.
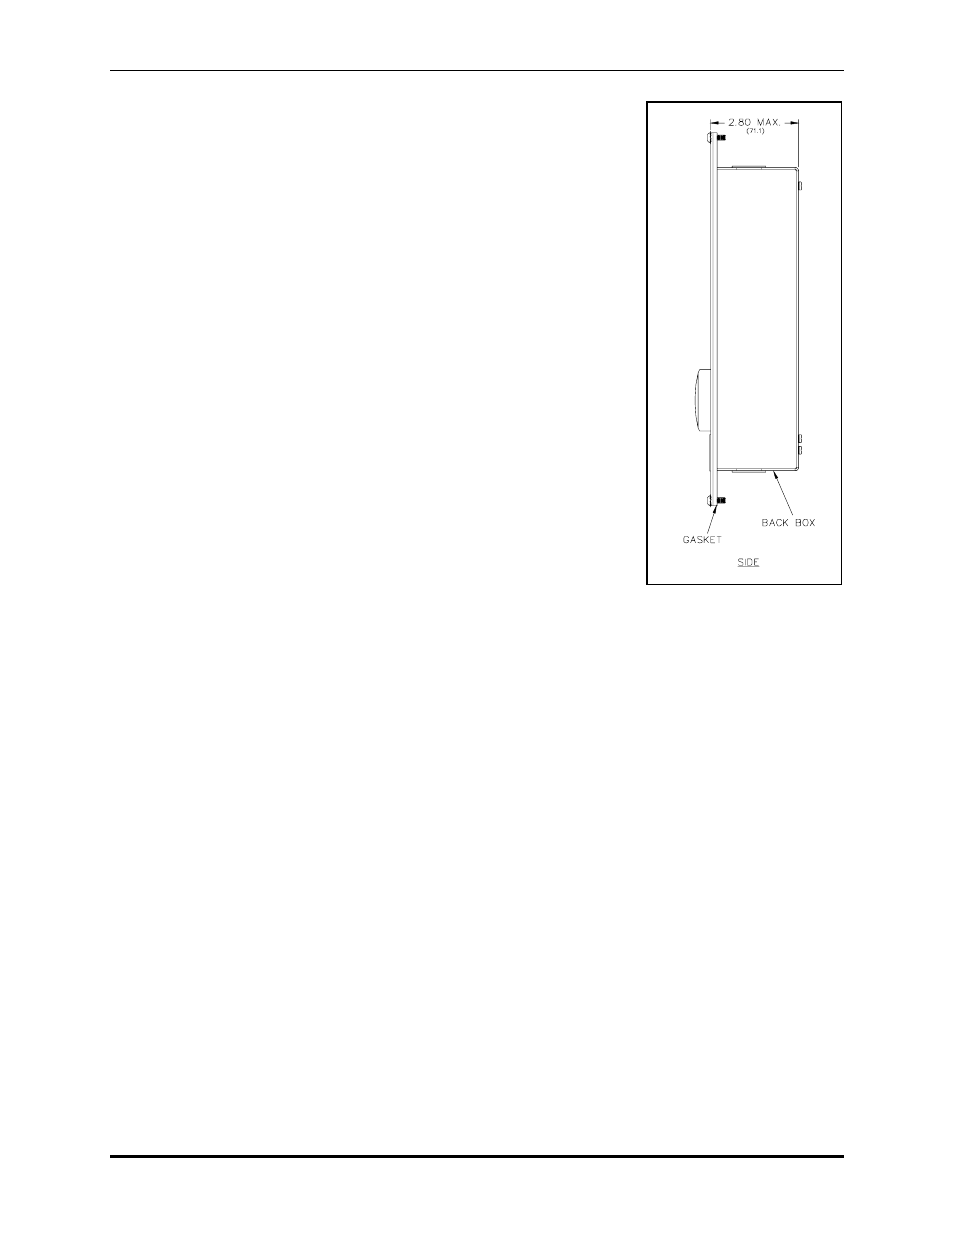
Figure 1. Typical Side View
of Telephone Assembly
- 297-103RT6 Retrofit S.M.A.R.T. Externally Powered Emergency Phones 297-103CB6 Retrofit S.M.A.R.T. Externally Powered Emergency Phones 298-103RT4 Retrofit S.M.A.R.T. Externally Powered Emergency Phones 298-103RT6 Retrofit S.M.A.R.T. Externally Powered Emergency Phones 298-103CB6 Retrofit S.M.A.R.T. Externally Powered Emergency Phones