Model 295-702f – GAI-Tronics 295-702F, 295-702W VoIP Clean Telephones User Manual
Page 8
P
UB
.
42004-470E
V
O
IP
C
LEAN
P
HONE
®
T
ELEPHONES
P
AGE
8 of 22
e:\standard ioms - current release\42004 instr. manuals\42004-470e.doc
02/15
Model 295-702F
The mounting and wiring instructions are as follows:
1. Remove the front panel from the back bracket.
2. Refer to Figure 5 on page 10 for cut-out details. Use the cut-out dimensions as a guide to mark the
wall, and make the required cuts.
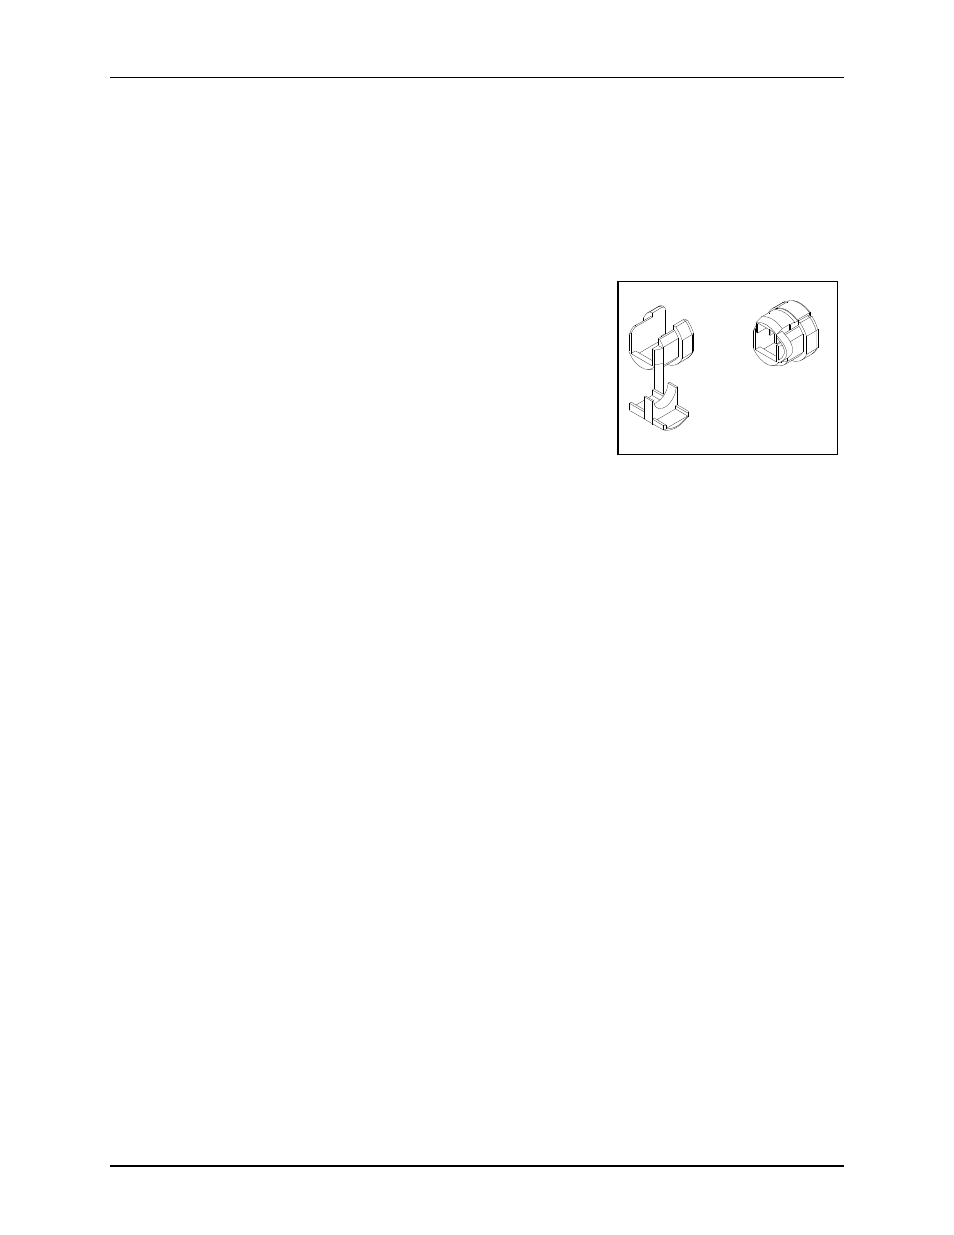
3. If using Power-over-Ethernet, without any optional inputs or
outputs, place the bushing around the Ethernet cable so that it is
located approximately 5 inches from the end of the cable. Snap
the bushing closed and insert into the double “D” hole in the
bottom of the back bracket. See Figure 3 and Figure 6.
4. If using local power or optional inputs or outputs, route the cables
through the “D” hole in the bottom of the back bracket. See
Figure 6.
5. Place the back bracket in the wall. Locate the mounting holes.
Refer to Figure 6.
6. Drill holes in the lower right and upper left corners and secure the bracket with screws. Drill the rest
of the holes you intend to use, and secure the bracket with the remaining screws.
7. Plug in the Ethernet cable and connect other optional cables as shown in the “Field Wire Installation”
section on page 14.
8. Perform the initial programming of the telephone. Refer to the “Programming” section beginning on
page 18.
9. Take the front panel of the VoIP Clean Phone
®
and align it with four slots in the back bracket.
10. Press the panel in firmly and then push downward to seat the panel in the slots.
N
OTE
: The Model 295-702F is designed for general wipe down cleaning and to prevent collection
(internally and externally) of particulate matter. Additional protection against moisture can be attained by
sealing between the outer edge of the telephone panel and the mounting surface with silicone or RTV.
Any sealing substance used must be verified to be compatible with cleaning solutions used.
Figure 3. Bushing