Windows, 1 windows – Geist Upgradeable PDU User Manual
Page 18
Upgradeable PDU Instruction Manual
18
© 2015 Geist
GM1157 - GU PDU Instruction Manual
address will no longer be active. To restore the default IP address and reset all user-
account information if the user-assigned address or passwords are lost or forgotten,
press and hold the network-reset button located below the #2 Ethernet port for 15
seconds during normal operation. Holding the center button of the LED display for 10
seconds will also reset the network and user account information.
To completely erase all of the user settings and restore the unit back to its "out-of-the-
box" factory-default state, disconnect power from the PDU, then press and hold the
network-reset button while powering up the PDU.
The Network page (located under the System Tab) allows you to assign the network
properties manually, or use DHCP to connect to your network. Access to the unit
requires the IP address to be known, so using a static IP or a reserved DHCP is
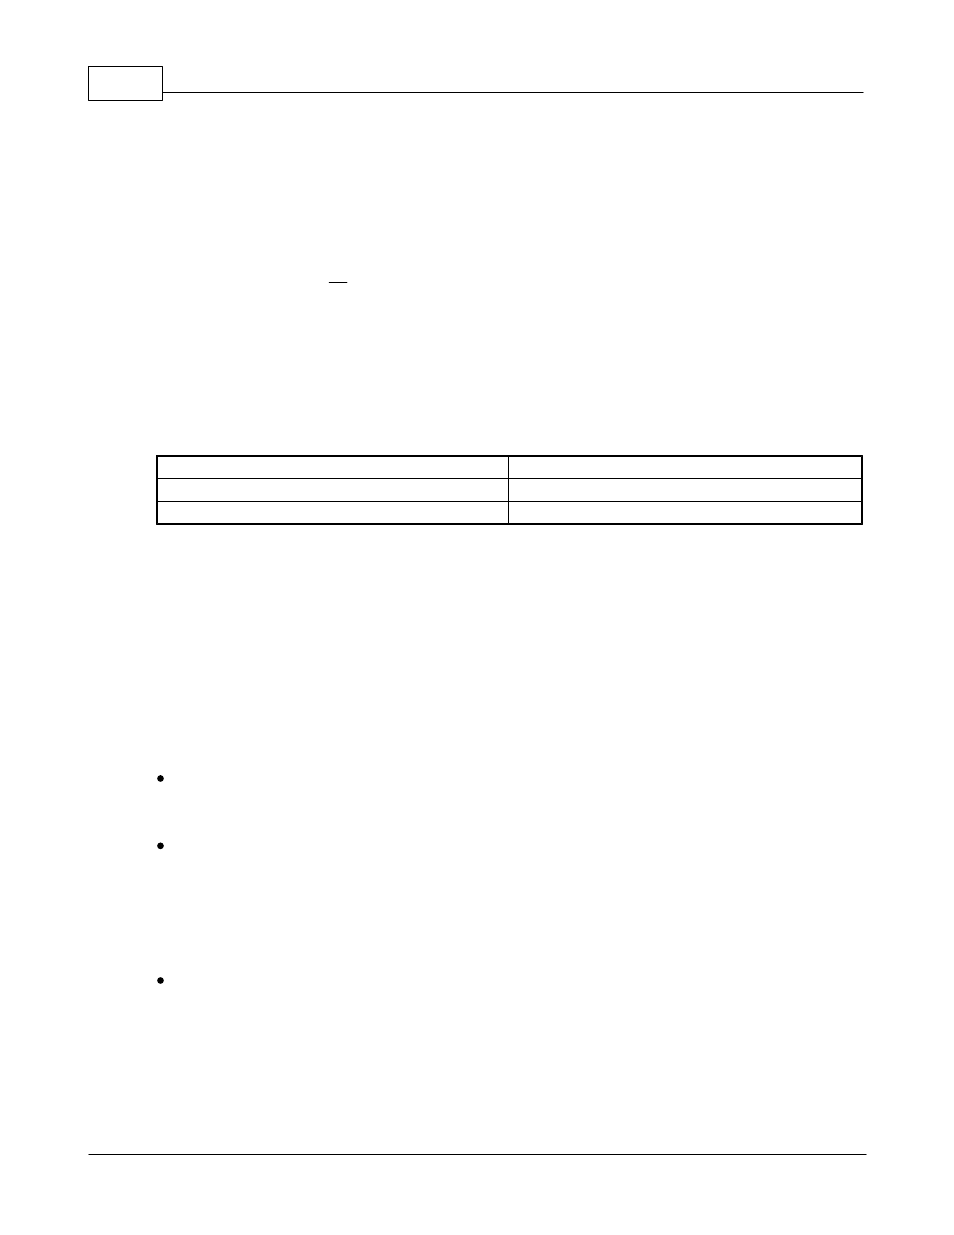
recommended. The default address is shown on the front of the unit:
IP Address:
192.168.123.123
Subnet Mask:
255.255.255.0
Gateway:
192.168.123.1
To access the unit for the first time, you will need to temporarily change your
computer's network settings to match the 192.168.123.xxx subnet. To set up the unit,
connect it to your computer's Ethernet port, then follow the appropriate instructions for
your computer's operating system in the following section(s).
Note: Some computers may require the use of a "crossover" Ethernet cable to make
this type of direct connection. If you find that you are unable to connect to the unit
even after following the instructions below, try using one of these cables.
3.4.1 Windows
Windows 2000 / XP / Server 2003:
Click the Start button, choose Settings, then Network Connections.
Windows 7 / Server 2008:
Click the Start button, then choose Control Panel >> Adjust Your Computer's
Settings >> View Network Status and Tasks >> Change Adapter Settings.
(Alternatively, on some Windows 7 machines, this may be Start, then Settings >>
Control Panel >> Network and Sharing Center >> Change Adapter Settings.)
Windows 8 / Server 2012:
Move the mouse cursor to the bottom or top right corner of the screen, click the
Settings icon, then select Control Panel. Change the view type from Category to
Large or Small Icons if necessary, then select Network and Sharing Center, then
Change Adapter Settings.
Locate the entry under LAN or High-Speed Internet which corresponds to the