Infloor Crimp Fittings User Manual
Page 6
~ 5 ~
Checking Clamp Ring Tool
There is a similar gage that is included with the clamp ring tool. The gage is not used to measure the clamp
rings, but rather the distance between the jaws on the clamp ring tool. The first section (thinner) of the gage
should go into the jaws of the tool when it is in its fully closed position. The second section of the gage (thicker)
should not go into the jaws of the tool. Use the table below to determine if the tool is calibrated correctly.
Thin
Section
Thick
Section
Status
Yes
No
Proper Calibration
No
No
Improper calibration – tool set too tight
Yes
Yes
Improper calibration – tool set too loose
No
Yes
Not possible ‐ remeasure
Refer to the instructions included with the crimp tool for proper readjustment. Joints made with a tool out of
calibration may leak. If the tool is set too tight, the only solution is to remove the clamp ring, cut off the section
of tubing that was clamped and start over with fresh tubing and a properly calibrated tool. For rings that were
not clamped enough, reclamp with a properly calibrated tool.
PEX‐Aluminum‐PEX (PAP) Crimp Fittings
Infloor’s PAP fittings use a different type of barb and crimp ring than PEX tubing does. The two systems are not
interchangeable with each other, so be certain to order the correct fittings for the tubing that you are using.
The PAP fittings come with the crimp ring held in place with a plastic ring, so there is no additional ring to
purchase when using PAP. The seal with PAP on the barb is with two o‐rings, so the seal is somewhat more
forgiving in how it gets crimped. There is no tool to check the crimp ring for the proper crimp dimension.
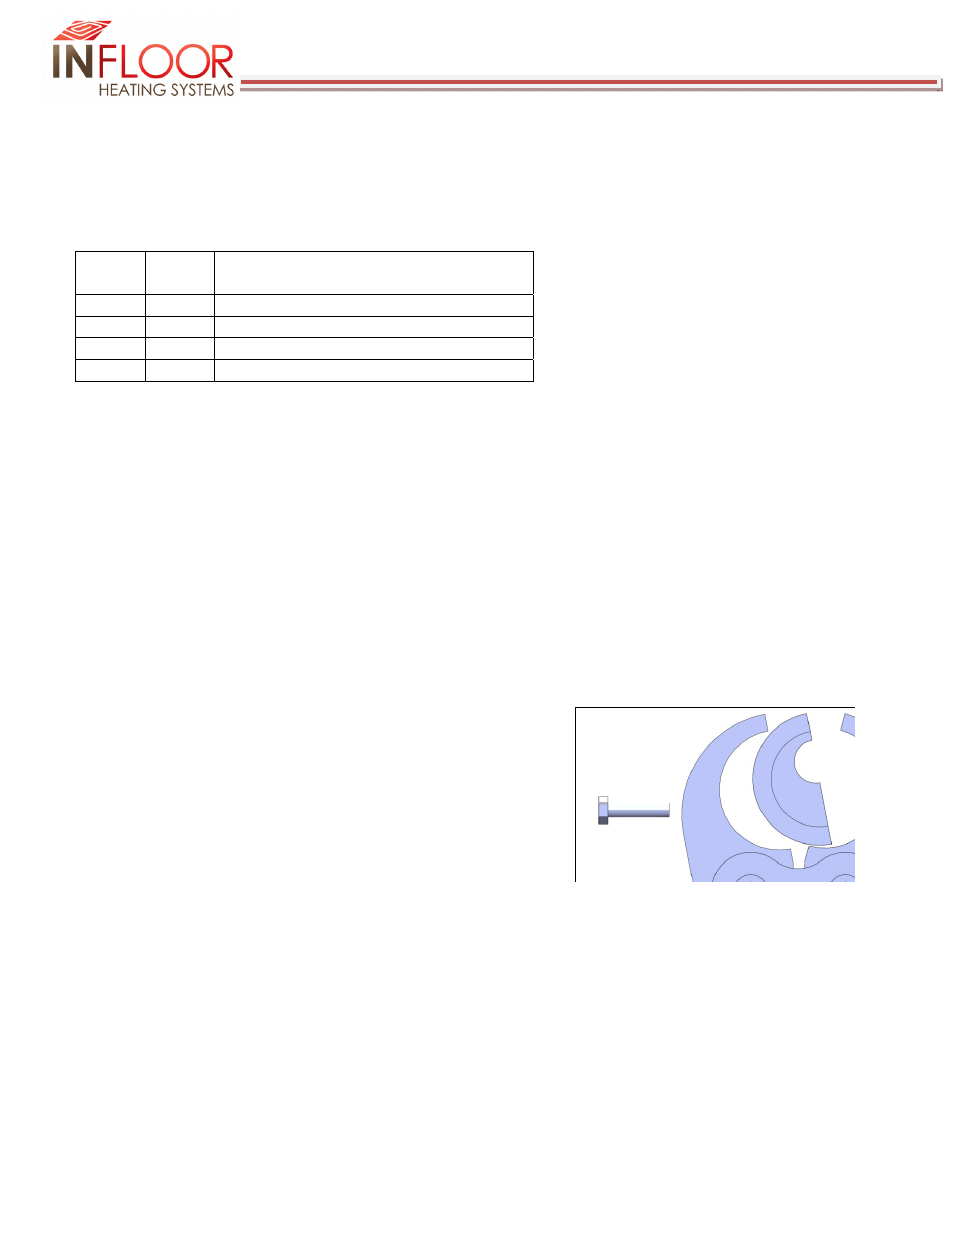
Two different crimp tools for PAP are offered, the difference being
the length of the handle. The 24535 tool and the 24536 module
have a short handle and are for 1/2” PAP only, where as 24538 tool
has a longer handle and will work with all sizes of PAP with the
appropriate die. There is a die which is bolted into the jaws of the
tool for each size of PAP (refer to picture on the right). The die has
the proper pattern for crimping that size of PAP and eliminates the
need for multiple tools. In addition a reamer (24528 or 24529) is
required to condition the tubing before it is inserted over the fitting.
To use the PAP fittings, first insert the reamer in the end of the tube and rotate to create a small chamfer on the
inside of the tubing. Remove the reamer and quickly slide the tubing on the fitting. The tubing should be
inserted far enough so it can be seen through the holes on the crimp ring of the fitting. Insert the crimp tool
over the crimp ring on the fitting and squeeze together until tight. There is no check required for the crimp.