James Loudspeaker DSP4/DSP30 User Manual
Page 3
PROGRAMMING THE DSP4/DSP30
Page 3
Normally the Receive and Transmit buffers are at maximum, Start by reducing the Receive Buffer and then try
to reprogram. If it still does not work also reduce the Transmit Buffer. You might have to do this a couple times.
If you cannot connect to the DSP4, then it may be defective.
8)
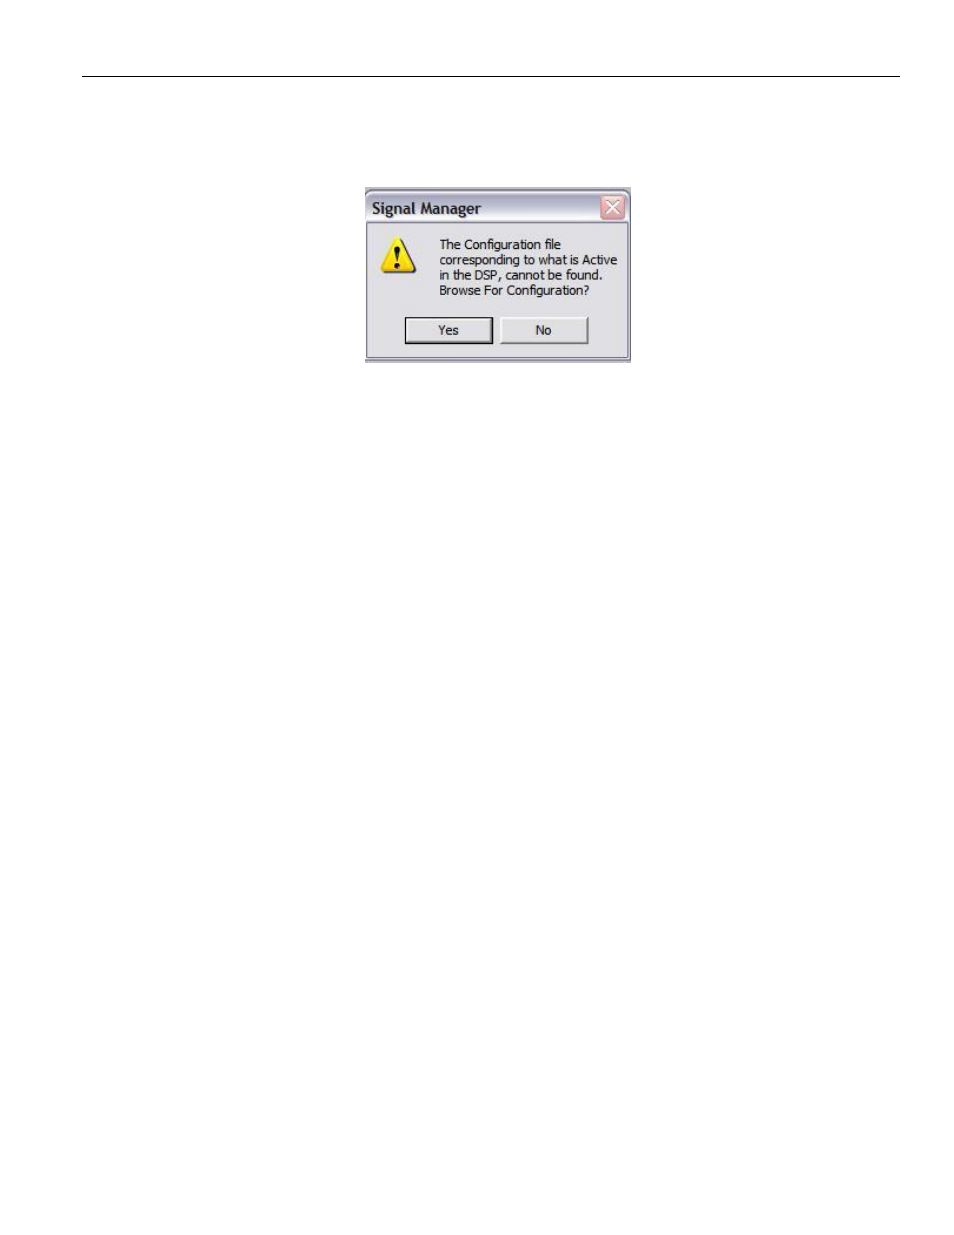
Normally, you will get a message that “The configuration file cannot be found”.
This happens when you do not have the original config file on your laptop. If you get a flowchart on the screen
labeled “Preset1” then the configuration in the DSP matches the config file we sent you.
WARNING! At this point, we
have had some users go to the “Tools” menu and run “Update”. DO NOT
DO THIS! This will attempt to load new firmware and will brick the DSP and make it non-functional!
9) Now you can load the new config file. If you saved the CONFIG file in the correct location, it will appear on the
list of files on the left of the screen
, otherwise you will need to use “Configuration|open” and browse to the file
location. Select the correct CONFIG file by double clicking on it. You will get a block diagram of the
configuration. You might need to reconnect to the DSP
– under the “Configuration” menu, if the “Work offline” is
checked, select it to reconnect to the DSP.
10)
Under “Configuration”, you will see the “apply to DSP” is grayed out. You must be in EDIT mode to upload the
file to the DSP, so go to the "Configuration" pull down menu and select "Edit".
11) Then again, go to the "Configuration" pull down menu again and select "Apply to DSP". You should see a
status bar as the DSP config file is uploaded to the DSP.
12) Assuming you get no error messages, you are done with the upload