1 startup, 2 system check, Power – K-Patents PR-03 User Manual
Page 35
35
35
35
35
5 Startup, configuration and calibration adjustment
29
5 Startup, configuration and calibration adjustment
5.1 Startup
First check that the serial number of your sensor (Figure 8.1) and your Indicating transmitter (Figure 9.1)
match. If you ordered a new sensor to go with an old IT-R, ask K-Patents to send a new label for your IT-R.
Check wiring and supply voltage, Section 3.2.2.
Open the IT-R cover and press the main power switch (Figure 5.1) underneath down to ON position to power
up your refractometer system.
POWER
OFF 0
ON I
Figure 5.1
The power switch
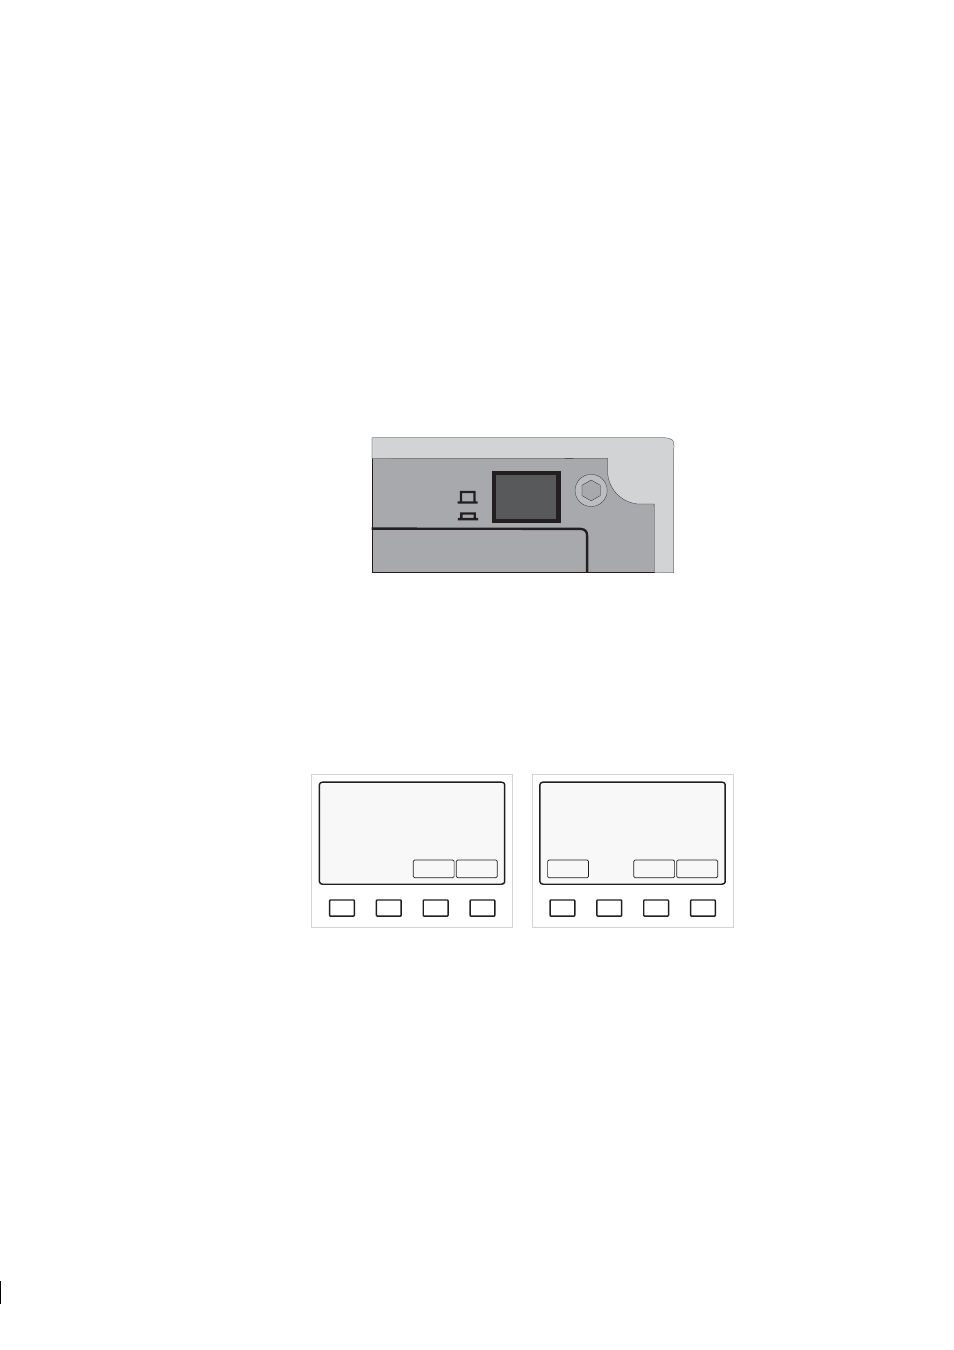
5.2 System check
After the power has been switched on, the IT-R checks the type of the sensor, which should be identified
as PR-03. The sensor code PR-03 is shown on the display for a short time. Then the Normal display
(Figure 5.2) appears. The diagnostic message should be Normal operation or, if the process pipe is
empty, Low conc/no sample. For any other message see Section 9.7.
A
B
C
D
CONC
68.0%
PROCESS TEMPERATURE: 31.2 °C
STANDARD RI(25°C): 1.4194
TEST: 115.7
Normal operation
Calibrate Display
A
B
C
D
CONC
68.0%
PROCESS TEMPERATURE: 31.2 °C
STANDARD RI(25°C): 1.4194
TEST: 115.7
Normal operation
Start
prism
wash
Calibrate Display
Without wash
With wash
Figure 5.2
Normal displays
The display also shows the current process temperature.
The TEST value in the display should be in the range of 8-248. The value 248 indicates a clean prism in an
empty process pipe. The value 8 means that the prism is coated and no reliable optical image is available.
As the instrument is precalibrated to your process, the concentration reading should be on scale, although it
may need some final adjustment (see Section 5.10.1). If the concentration reading is off, check your process
conditions (see Section 7, “Troubleshooting and correcting problems”).