La Crosse Technology WS-9119U User Manual
Page 21
21
2.
Avoid positioning the intelligent weather station onto or in the immediate proximity of metal doors or window
frames.
3.
Using other electrical products such as headphones or speakers operating on the same signal frequency
(433MHz) may prevent correct signal transmission and reception.
3.
Neighbors using electrical devices operating on the 433MHz signal frequency can also cause interference.
4.
“Visibility” of intelligent weather station and remote temperature/humidity sensor (e.g. through a window)
increases the range.
Note:
When the 433MHz signal is received, do not re-open the battery cover of either the remote temperature/humidity sensor
or the intelligent weather station, as the batteries may spring free from the contacts and force a false reset. Should this
happen accidentally then reset all units (see Setting up above) otherwise transmission problems may occur.
If no reception is possible despite the observation of these factors, all system units have to be reset (see Setting up).
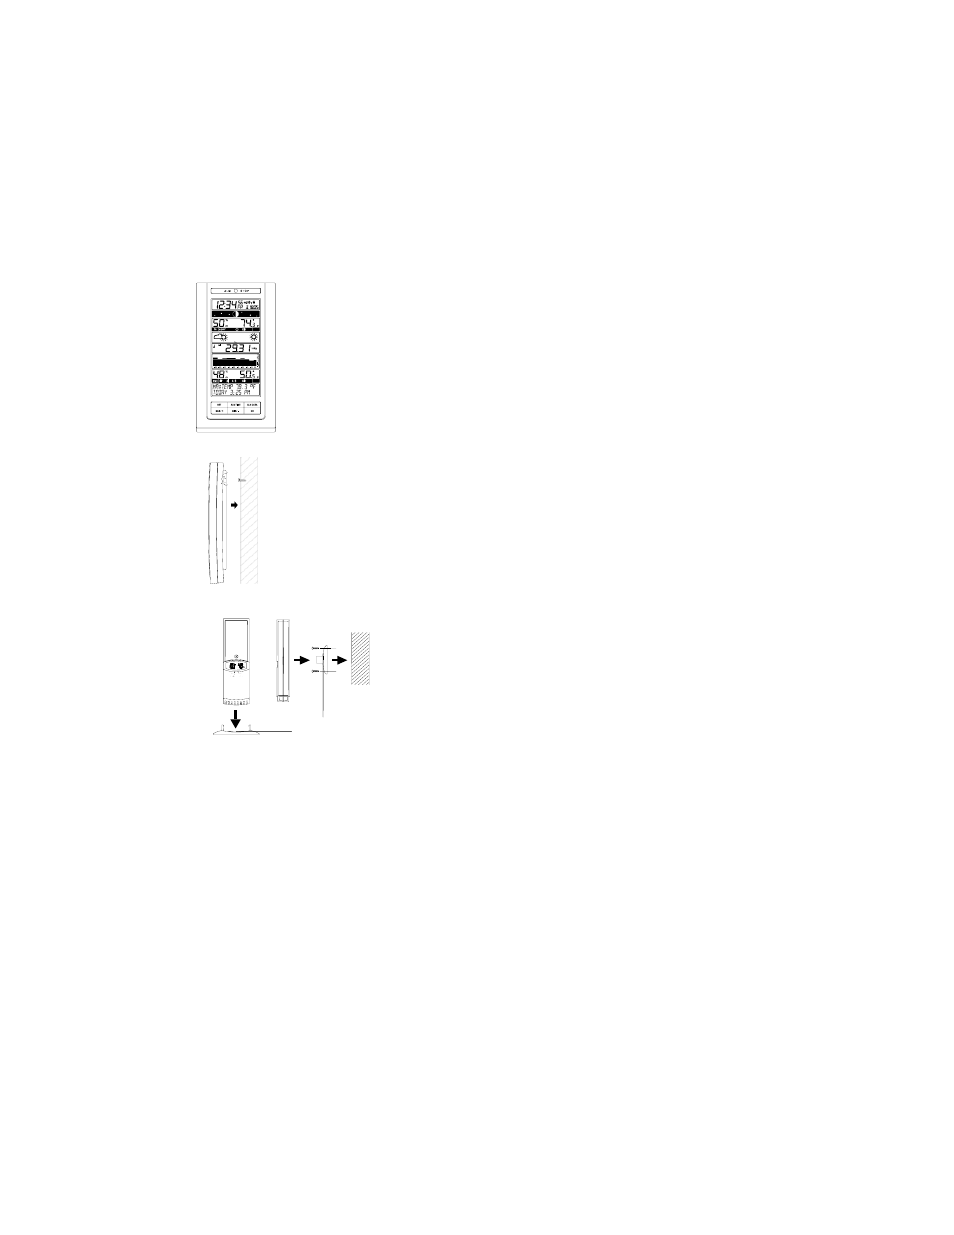
POSITIONING THE INTELLIGENT WEATHER STATION:
The intelligent weather station has been designed to hang on a wall or free standing.
For Free standing:
Simply attach the stand to the bottom of the unit and place onto a flat surface.
To wall mount
Choose a sheltered place. Avoid direct rain and sunshine.
Before wall mounting, please check that the outdoor temperature and humidity values can be
received from the desired locations. To wall mount:
1.
Fix a screw (not supplied) into the desired wall, leaving the head extended out the by
about 5mm.
2.
Fold the stand of the intelligent weather station by pushing inward and hang it onto the
screw. Remember to ensure that it locks into place before releasing.
POSITIONING THE REMOTE TEMPERATURE / HUMIDITY SENSOR:
The remote temperature/humidity sensor can be placed onto any flat
surface or wall mounted using the bracket which doubles as a stand or wall
mount base.
To wall mount:
1.
Secure the bracket onto a desired wall using the screws and plastic
anchors.
2.
Clip the remote temperature/humidity sensor onto the bracket.
Table stand/wall
mount bracket