Basic settings, Playing high-quality audio (pure direct function), Hdmi control functions – Marantz UD7006 User Manual
Page 28
24
ENGLISH
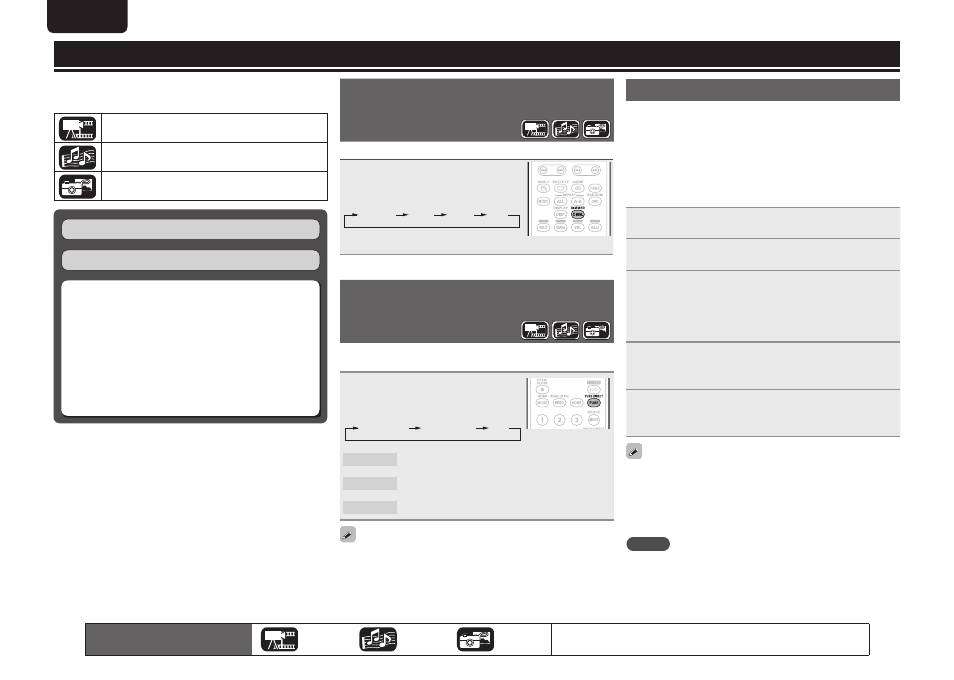
Changing the brightness of the display
(Dimmer control)
The brightness of the display can be changed.
Press
DIMMER
.
• The brightness changes each time the
button is pressed.
Normal
Dark
Dim
Off
• When the dimmer is set to off, the FL OFF indicator lights red.
Playing high-quality audio
(Pure direct function)
This enables you to play high quality audio by stopping the video
signal, etc., output, and outputting the analog audio signal only.
Press
PURE DIRECT
while stopped.
• The Pure Direct mode changes each time
the button is pressed.
Pure Direct1
Pure Direct2
Off
Pure Direct 1
This turns off the digital audio output, video output,
and display. And the FL OFF indicator lights red.
Pure Direct 2
This turns off the digital audio output and video
output.
Off
This turns off the pure direct function.
• You cannot use
PURE DIRECT
while the GUI menu is displayed.
• The pure direct setting returns to “Off” when the unit is put in
standby mode.
Basic settings
This section describes the setting operations for basic settings
available with the remote control.
The icons show the category of content applicable to each operation.
Video : Blu-ray Disc, DVD-Video, DivX plus HD,
MPEG, AVI, WMV, AVCHD
Audio : Super Audio CD, CD, DVD-Audio, MP3,
WMA, AAC, LPCM
Photo : JPEG
Basic connections (
vpage 10)
Playback (Basic operation) (
vpage 16)
n Changing the brightness of the display
(Dimmer control) (
vpage 24)
n Playing high-quality audio
(Pure direct function) (
vpage 24)
n HDMI control functions (vpage 24)
n Video resolution (vpage 25)
n Adjusting the picture quality (Picture control)
(
vpage 26)
n Mode setting (vpage 27)
HDMI control functions
When you make HDMI connections with a TV or AV receiver
compatible with this unit and HDMI control functions, you can perform
the following operations by setting up the HDMI control functions of
each device.
• TV or AV receiver power is turned on by operating the unit and
functions change with this unit input.
• Turning off the TV’s power turns the unit’s power to standby.
• Operating the unit via the TV’s remote control.
(When the TV’s remote control has player operation buttons)
1
Set the HDMI control function to “On”.
GUI menu “System” – “HDMI Control” (
vpage 37).
2
Turn on all the equipment connected by HDMI cable.
3
Set the HDMI control function for all equipment
connected by HDMI cable.
• Please refer to the user guides of connected devices for how to
make settings.
• Carry out steps 2 and 3 if any of the equipment was unplugged.
4
To ensure that the unit’s HDMI video output is
projected on the TV screen, change the input function
of the TV and AV receiver.
5
When you turn the TV’s power to standby, check
that the power of the unit and AV receiver also goes
on standby.
If the HDMI control function does not operate properly, check the
following points.
• Is the TV or AV receiver compatible with the HDMI control function?
• Are the HDMI control function settings of all equipment correct?
(Step 3)
• After setting, did you add another HDMI device connection or make
any changes in the connections? If so make the settings again.
NOTE
• Some functions may not operate depending on the connected TV
or AV receiver. Check the user guide of each device for details
beforehand.
• When “HDMI Power Off Control” (
vpage 37) is set to “Off”, the
unit does not go to standby even if the connected device is in the
standby mode.
The icons show the category of
content applicable to each operation.
Video
Audio
Photo
For details of the media corresponding to each icon, see “Playable media”
(
vpage 48).