Connectors and control buttons on the main unit q – Marantz CR2020 User Manual
Page 7
6
ENGLISH
F
RAN
Ç
AIS
CONNECTORS AND CONTROL BUTTONS
ON THE MAIN UNIT
q
Terminal for FM antenna, 75 ohms
For connecting an external FM antenna with a circular plug, or for
connecting a cable network.
w
Terminals for AM antenna and earthing
To connect the AM loop antenna supplied, use the terminals marked
“AM” and “GND”.
In areas where the AM loop antenna gives unsatisfactory results, it is
recommended that the receiver be connected to an outdoor antenna.
Use the terminal marked “AM” for this. An earthing lead can be
connected to the terminal marked “GND” to reduce interference further.
e
AUX input jacks
Connect to the audio output jacks of the second CD player, second
tape deck, etc.
r
SYSTEM input/output jacks
SYSTEM
input/output jacks connect the MD deck and tape deck etc. of
MARANTZ slim line series.
t
SPEAKER SYSTEM terminals
Connect the left and right speaker leads, observing the
ѿ and Ҁ
polarity of the leads and terminals.
y
D.BUS jacks
Connect to a component equipped with remote control (
D.BUS/RC-5
)
jacks. (Refer to page 5.)
u
DIGITAL OUTPUT OPTICAL
This output supplies a digital signal via an optical path (optical-fibre
cable and photocoupler) and can therefore be connected to a Digital
Analog Converter (DAC), a Compact Disc Recorder (CDR), a Digital
Compact Cassette deck (DCC), an amplifier with an optical digital input
or a digital sound processor.
The output is covered with a protective cap which should only be
removed when the output is in use.
i
Mains lead
Connect to a mains power outlet.
o
Touch sensor
When this elongated button is touched lightly, the front flap opens or
closes automatically.
¼ The door cannot be closed while headphones are in use.
!0
POWER switch
Press to turn power ON and press again to turn it OFF. The clock is
displayed while the
POWER
switch is OFF.
!1
EDIT button
Selecting EDIT mode to enter the recording time when making a tape
recording.
!2
Main operation buttons
/
(PLAY/PAUSE)
— Starting play.
— Interrupting play.
(STOP)
— Stopping play.
— Erasing a program.
/
(SKIP)
— Fast search for a particular passage; backwards to the beginning of
the CD.
— Selecting another track during play.
— Selecting a track to start play with.
— Selecting tracks when compiling a program.
— Entering the recording time when making a tape recording (EDIT).
!3
(OPEN/CLOSE) button
Opening and closing the CD compartment.
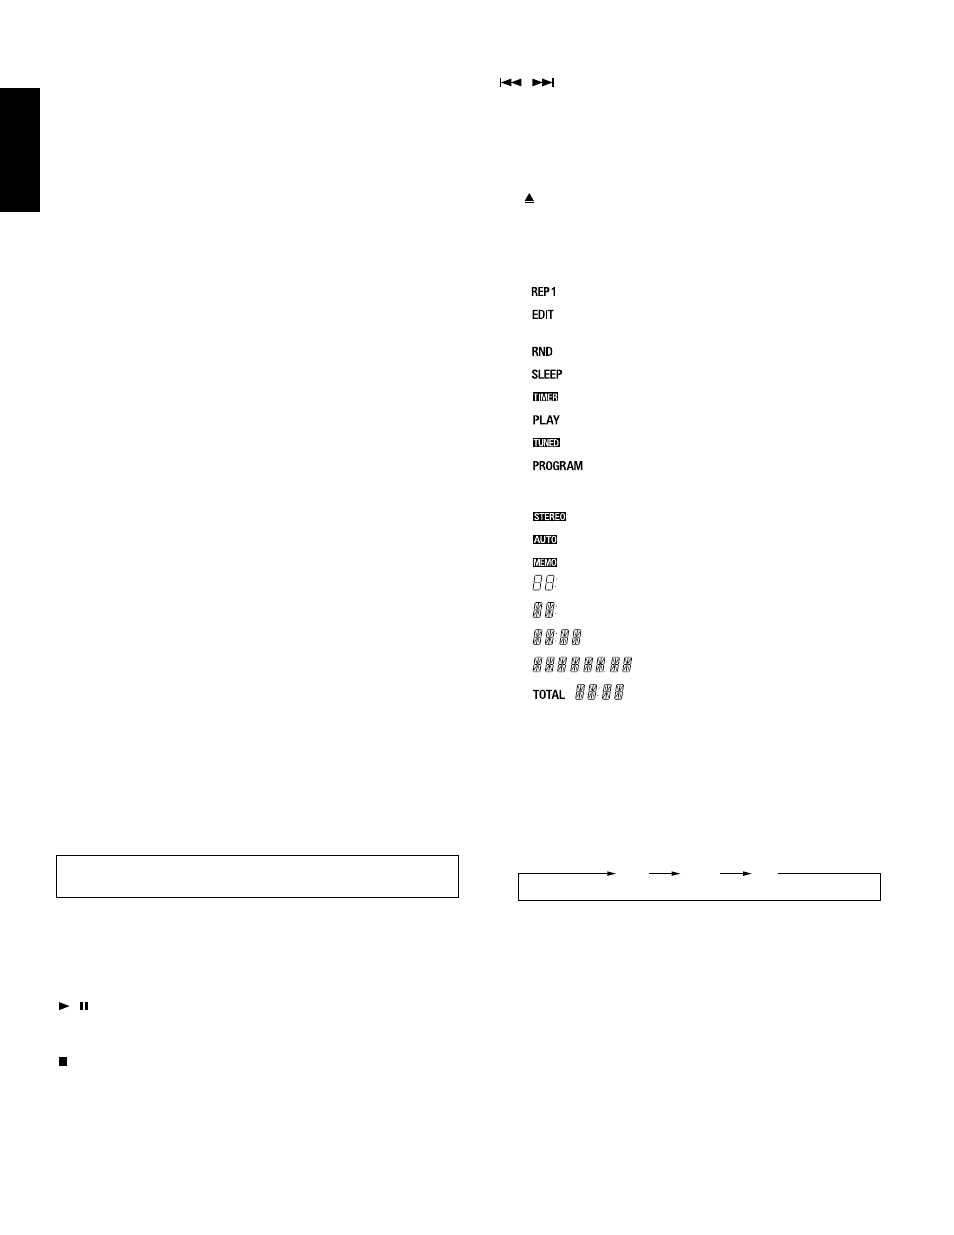
!4
Display
This panel shows information on the status of the unit.
a
:
Lights up when a track is repeated.
b
:
Lights up when the player is switched to the EDIT
mode.
c
:
Lights up during playback in random order.
d
:
SLEEP indicator
e
:
Timer indicator
f
:
Lights up during playback.
g
:
Tuned indicator
h
:
Flashes when the player is switched to PROGRAM
Mode.
Lights up during playback of a program.
i
:
STEREO indicator
j
:
FM AUTO indicator
k
:
Memory indicator
l
:
Preset and Track indicator
m
:
Shows the CD track number.
n
:
Clock indicator
o
:
Function/Station name/Frequency indicator
p
:
The elapsed playing time of the track being
played;
The total playing time of the CD or a
program (TOTAL);
The remaining playing time of the track
being played;
The remaining playing time of the CD or a
program;
!5
F.SEL (Function Selector) button
The source changes as follows each time this button is pressed:
!6
FM/AM button
Press to alternate between FM and AM.
!7
DISPLAY button
Press to change the displayed content.
The display usually shows the station name, but shows the frequency
when this button is pressed.
The frequency is also displayed during reception of a station which
does not broadcast its station name. If this button is pressed during
this, “NO NAME” is displayed for about 1 second.
Used to switch the time information display during CD playback.
!8
F/P (Frequency / Preset) button
Press to change the function of the
UP/DOWN
buttons between the
frequency change and preset number change.
AUX
TAPE
MD
When the switch is in the OFF position, the apparatus is NOT
disconnected from the AC supply mains.