Working with text objects, Creating the text object – QuickLabel PowerForms User Manual
Page 31
- 31 -
Here is most likely usage of the Master Detail Connection functionality. There are three database
tables that contain information about customers, orders and items that you want to use on the form.
Using Master Detail Connections allows you to construct linked tables which data changes accord-
ing to the selection in the parent table.
CUSTOMERS
The table contains a list of all customers with the IDs of their
orders.
ORDERS
The table contains a list of all orders that the customers have made.
The orders contain the IDs of the items they include.
ITEMS
The table contains information about the items.
All three tables need to be positioned in the form. The first table form element has to be connected to
CUSTOMERS database table (this is done in the Database tab) and Master Detail Connection is dis-
abled on it.
The second table on the form is connected to ORDERS database table (this is done in the Database
tab). The table with Customers is the parent table for the Orders table. They will have to be linked
together. Connect the ORDER_ID field from the CUSTOMERS database with the ORDER_ID field
in the ORDERS database. This link will ensure that only the Orders for the customer selected in the
first table will be shown in the second one.
Then connect the third form table element to the ITEMS database table. The Orders table is a parent
for the Items table. They too will have to be linked together. This will ensure that only items from
the selected Order (from the second database) will be shown in this third database table.
The result of all this preparations is the following. The user selects the customer in the first table
(Customers), the second table (Orders) is automatically refreshed and displays only orders that the
selected customer has performed. When the user selects the appropriate order from the second table,
the third table (Items) is automatically refreshed and displays only the items the selected customer
has order in the selected order.
Working with Text Objects
Creating the Text Object
To use the text object, do the following:
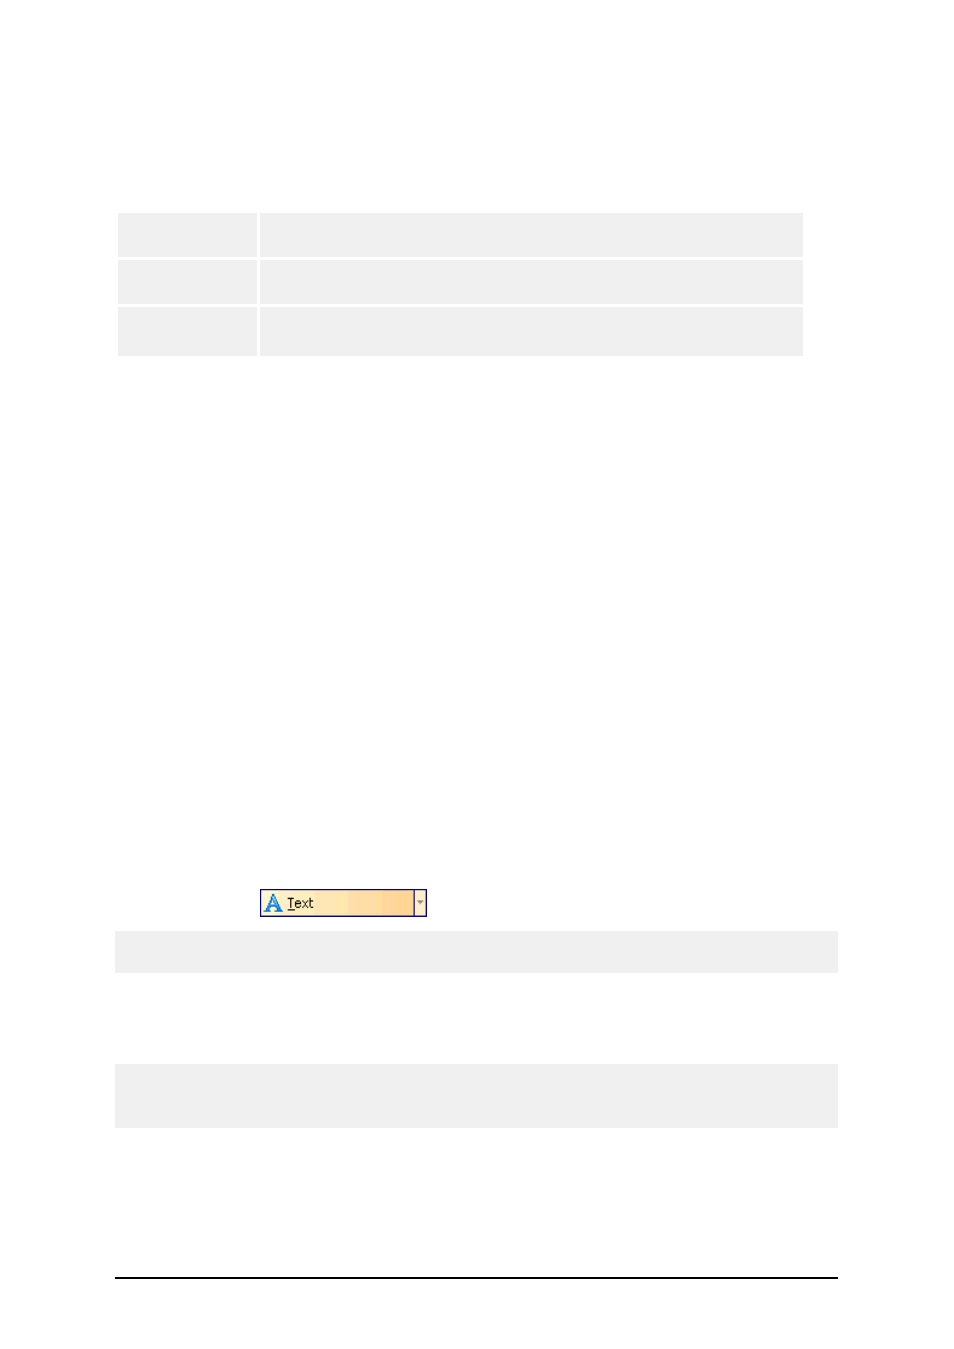
1. Click on the
icon in the toolbox.
Note:
You can also select the command Text in the Object menu.
2. Click on the form, where you want to position the object.
The dialog box opens with object properties.
3. Enter the content for the object, then click on the OK button.
Note:
To change the object properties, double click on it. To cancel placing an object on the form, press
the ESC button.