Deleting unnecessary audio data from a song, 5 - song management – Teac DP-24 User Manual
Page 42
42
TASCAM DP-24
5 - Song Management
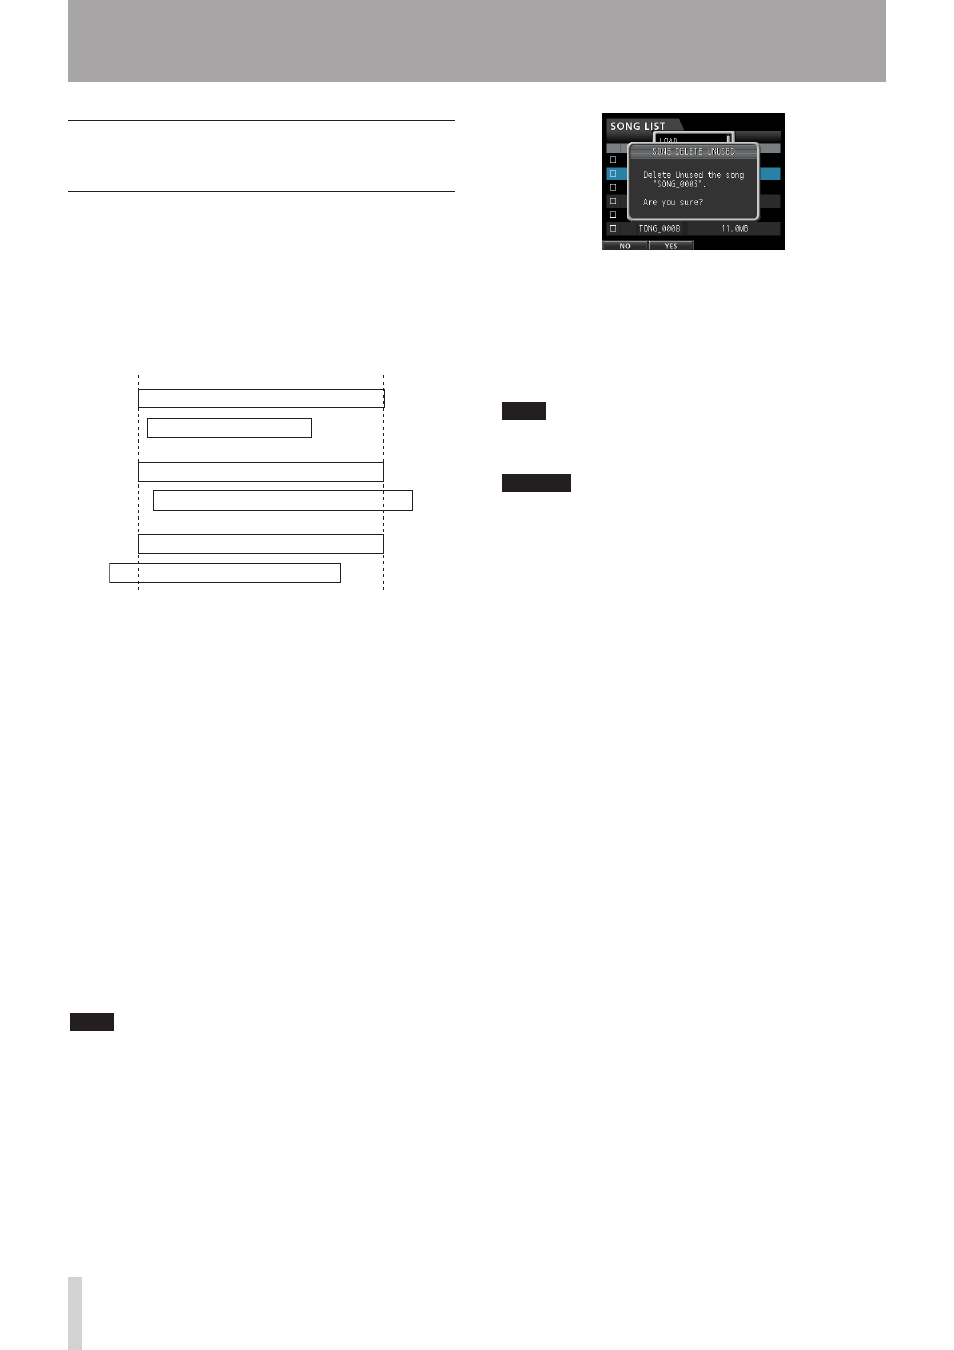
5. Press the F2 (
YES
) button.
The unnecessary audio data is deleted from the
song(s).
When the erase operation is completed, the pop-up
window disappears and the display returns to the
SONG LIST
screen.
NOTE
To cancel the unused audio data erase operation, press
the F1 (
NO
) button instead of the F2 (
YES
) button.
CAUTION
This operation deletes all unused audio data from the
selected songs and cannot be undone. Therefore, if you
think you use this audio data later, back up the data to a
computer before executing the
DELETE UNUSED
item.
(See "Connecting to a computer" on page 80.)
Deleting unnecessary audio data
from a song
In addition to audio data for a track, a song may also
contain "unused" audio data.
When a track is overwritten in this unit, the overwritten
audio data is not erased, but remains on the SD card.
Audio data that has been completely overwritten is
"unused" audio data.
You can delete such "unused" audio data by following the
procedure below.
As shown in the illustration, if old audio data is not
completely overwritten by new audio data, old audio data
cannot be deleted.
"Unused" old audio data in any virtual track that has not
been assigned to a physical track can also be deleted. (See
"Virtual tracks" on page 59.)
Follow the procedure below to delete "unused" audio data
and create room on the SD card for additional storage (this
operation cannot be undone).
1. When the recorder is stopped, press the MENU
button to open the
MENU
screen.
2. Use the JOG/DATA dial or the CURSOR (5/b/g/t)
buttons to select (green highlight)
SONG
, and then
press the F4 (t) button.
The
SONG LIST
screen appears.
3. Select (blue highlight) the song which contains
unnecessary audio data and then press the F2 (4)
button. To erase multiple songs, select all songs
you want to erase.
NOTE
To remove the check mark 4 from a check box, press
the F2 (4) button again while the song is selected (blue
highlight).
4. Next, press the F4 (t) button to open the
corresponding sub-menu. Use the JOG/DATA dial
or the CURSOR (5/b) buttons to select the item
DELETE UNUSED
from the sub-menu, and then
press the F4 (t) button.
A confirmation message appears.
New guitar solo overwriting the old one
Old guitar solo (deleted)
New guitar solo overwriting the old one
New guitar solo overwriting the old one
Old guitar solo (not deleted)
Old guitar solo (not deleted)