Teac HD-R1 Addendum User Manual
Hd-r1, Owner's manual addendum, Summary of new features
TASCAM HD-R1
1
HD-R1
Owner's Manual Addendum
D01140320A
Summary of new features
The following features were added in firmware version
1.10.
1 Web Server Based Control added
2 Automatic time adjustment function added
Manual conventions
This manual addendum uses the following conventions.
The names of keys, connectors and other parts of
•
this unit and external equipment are shown with this
typeface: MENU key
Text shown on the unit display is indicated with this
•
typeface:
On
Text shown on the computer display is indicated with
•
this typeface: Next.
Additional information is provided as necessary in TIP,
•
NOTE and CAUTION sections.
TIP
Tips provide advice about ways that you can use unit
features.
NOTE
Notes provide additional explanations, including special
cases.
CAUTION
Cautions indicate directions that must be followed to
avoid the possibility of injury, damage to equipment or
loss of data.
Web Server Based Control
function
An Internet browser can be used for some HD-R1
transport controls and settings.
The browsers that can be used are Internet Explorer 7 and
8, Firefox 3.5.6 or later and Safari.
CAUTION
Take care when connecting the HD-R1 to a network that is
route-able from the public internet. Telnet access requires
no password, so the HD-R1 can be controlled at any time
by anyone who knows the IP address.
1 Start the computer and the Internet browser, and
enter the IP address assigned to the HD-R1 unit
after the http:// prefix in the address (location) bar.
Example: http://192.168.0.2/
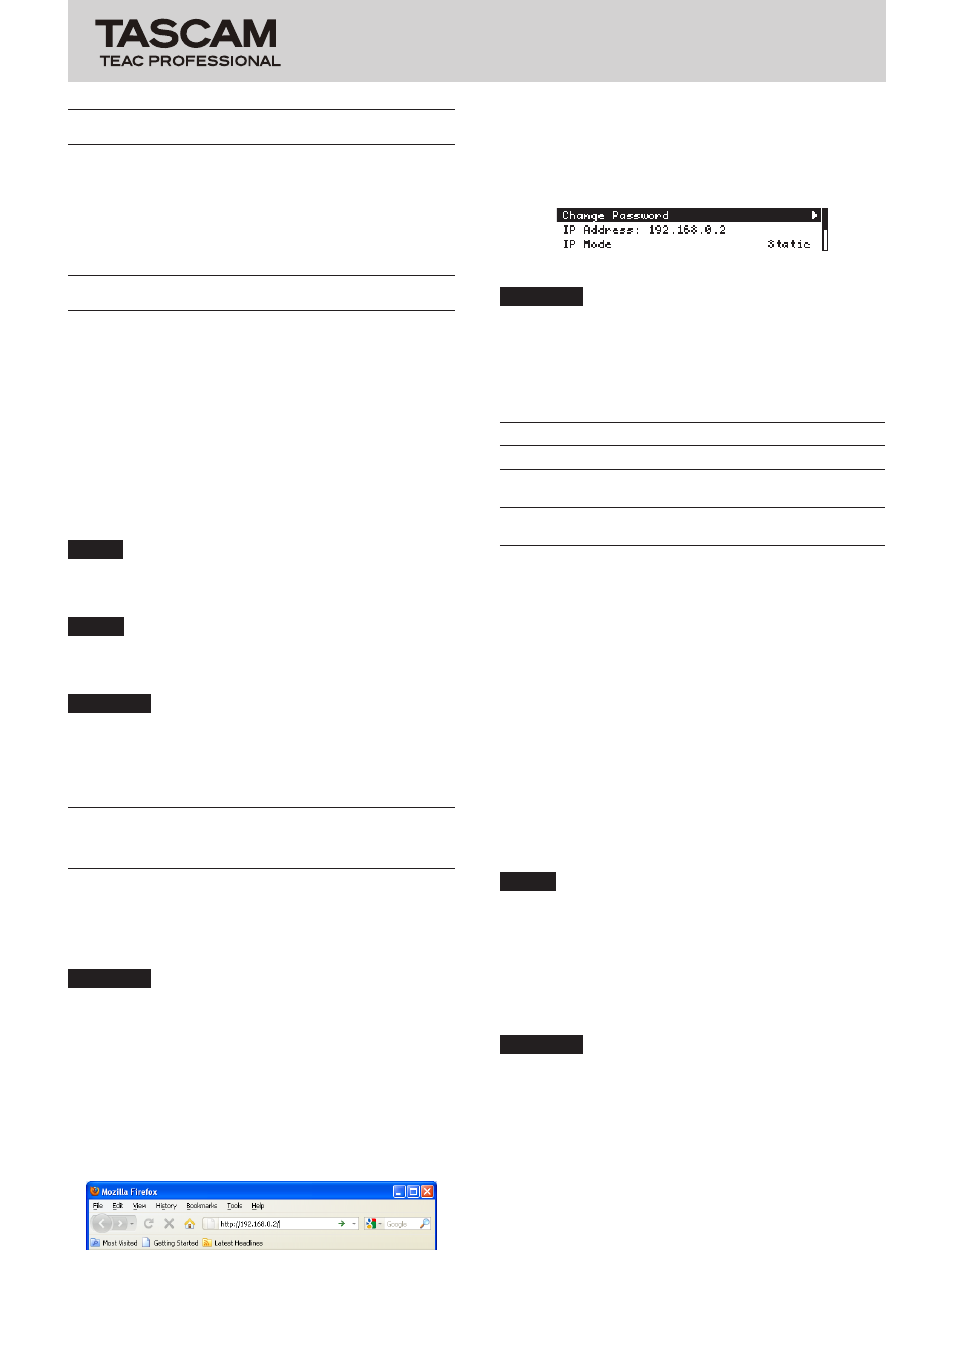
To check the IP address assigned to the HD-R1, check
the
IP Address
item in the
Network
submenu of
the
System Settings
menu, which is accessed
from the
MENU
screen.
Network submenu
CAUTION
Use a private address when
IP Mode
is set to
Static
.
(This limitation does not apply when a global address is
acquired.)
The ranges that can be used as private addresses are as
follows.
Class
IP address
Subnet mask
A
10.0.0.0 – 10.255.255.255
255.0.0.0
B
172.16.0.0 –
172.31.255.255
255.255.0.0
C
192.168.0.0–
192.168.255.255
255.255.255.0
Be careful to avoid conflicting IP addresses.
If your network has a LAN administrator, consult with the
administrator before making this setting.
When using DHCP, the DHCP server automatically
assigns IP addresses, so there is no need to worry about
global/private addresses. However, in many cases the
IP addresses differ each time that they are assigned, so
you will need to check and input the IP address each
time. (If the DHCP server uses MAC addresses for static
assignment, the
IP address will not change.)
2 When the password entry screen appears on
the computer display, enter the user name
and password. The user name is HDR1 and the
password is hdr1. (Upper and lower case letters are
distinguished in these fields.)
NOTE
The user name and password are fixed and cannot be
changed.
3 The transport screen (shown on the next page)
appears on the computer display. You can use this
screen almost in the same way as the transport
keys to control unit.
CAUTION
Not all of the key operations available on the front
panel of the unit can be conducted from this screen. For
example, skipping and searching backward and forward
by clicking and holding the
Prev
or
Next
buttons is not
possible. Moreover, the screen has no equivalent to the
MODE key or the SHUTTLE/DATA wheel, for example.
4 To change the settings, click the Settings hyperlink
to open the settings screen.