Grass Valley KXO-HDM Dec 20 2012 User Manual
Page 17
13
KXO-HDM
Installation Instructions
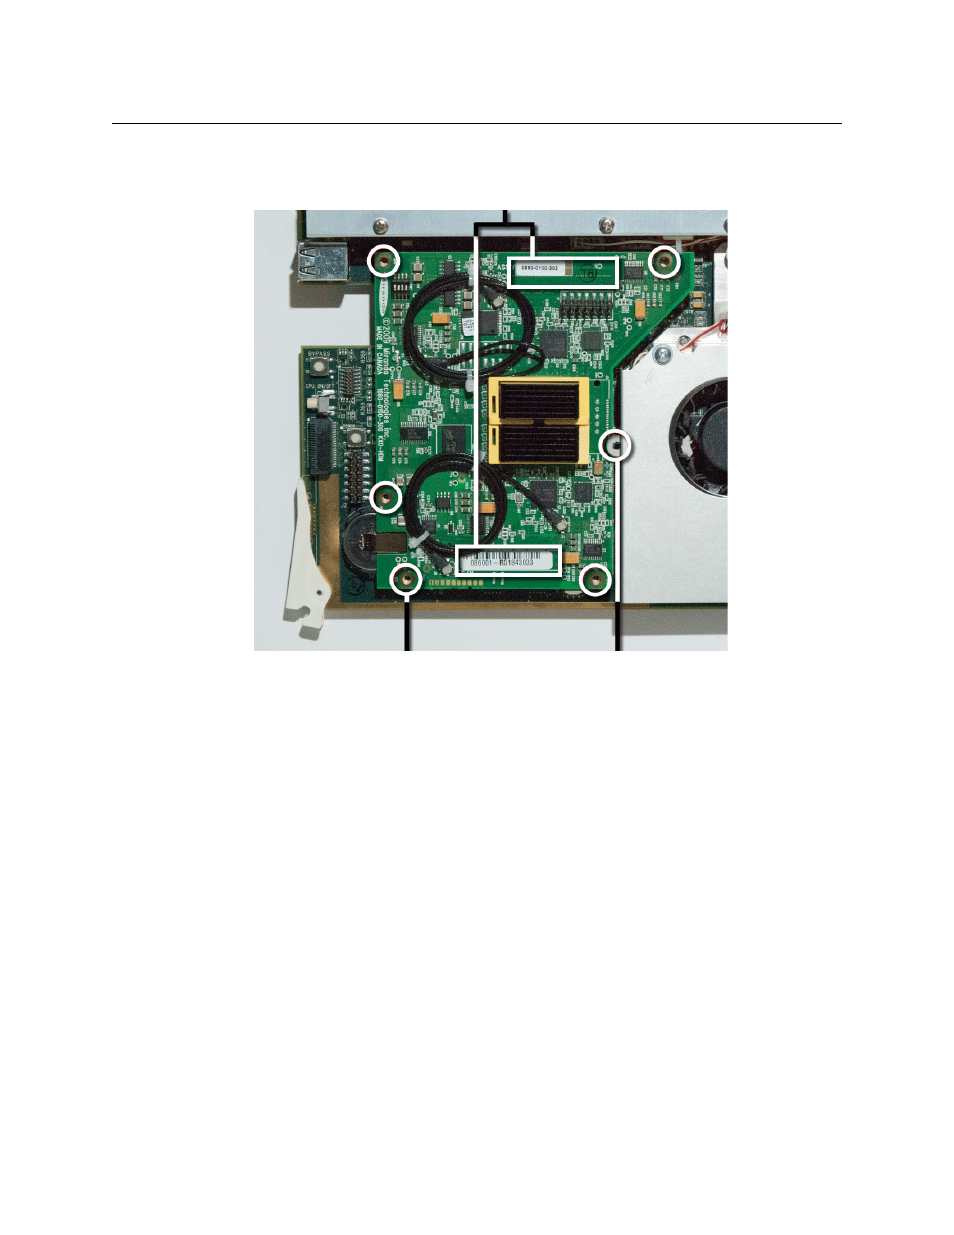
6 While supporting the underside of the main board, apply pressure in the connector
areas until the mezzanine is fully connected.
7 Place the five screws and five lock washers you removed in
mounting holes (shown above), and tighten lightly.
Assuming the original coaxial cables you disconnected in
are still in good condi-
tion, you can unplug the new mezzanine’s coaxial cables from their connectors, and
save them for future use.
8 Plug the coaxial cables you disconnected in
back into the J6 and J7 connectors,
making sure that:
• the cable you connect to mezzanine connector J6 is the one attached to the KXO-
Dual3 card connector J3000, and
• the cable you connect to mezzanine connector J7 is the one attached to the KXO-
Dual3 card connector J3001.
9 Reinstall the small PCB that you had to remove in
The mezzanine replacement is now complete. Reseat the KXO-Dual3 card in the frame.
Connector areas
Four mezzanine
mounting holes
Place mezzanine under
heatsink mounting bracket