Grass Valley KXO-HDM Dec 20 2012 User Manual
Page 9
5
KXO-HDM
Installation Instructions
6 Place the five screws B and the five lock washers C in the mounting holes (shown
above), and tighten carefully to attach the mezzanine to the spacers on the card.
7 Reinstall the small PCB that you had to remove in
The mezzanine installation is now complete. Reseat the KXO-Dual card in the frame.
Replacing the KXO-HDM on a First-Generation KXO-Dual
This replacement procedure applies to the first generation of KXO-Dual boards only, which
have an assembly number between
0792-0100-400 and 0792-0100-599. See
on page 1, for information on locating the assembly number.
Before you start, make sure that you have a Phillips #1 screwdriver at hand, and that you are
wearing a static control wrist strap. Allow approximately 15 minutes to complete the
installation.
To replace the KXO-HDM on a KXO-Dual card
1 Lay your KXO-Dual card on a work surface.
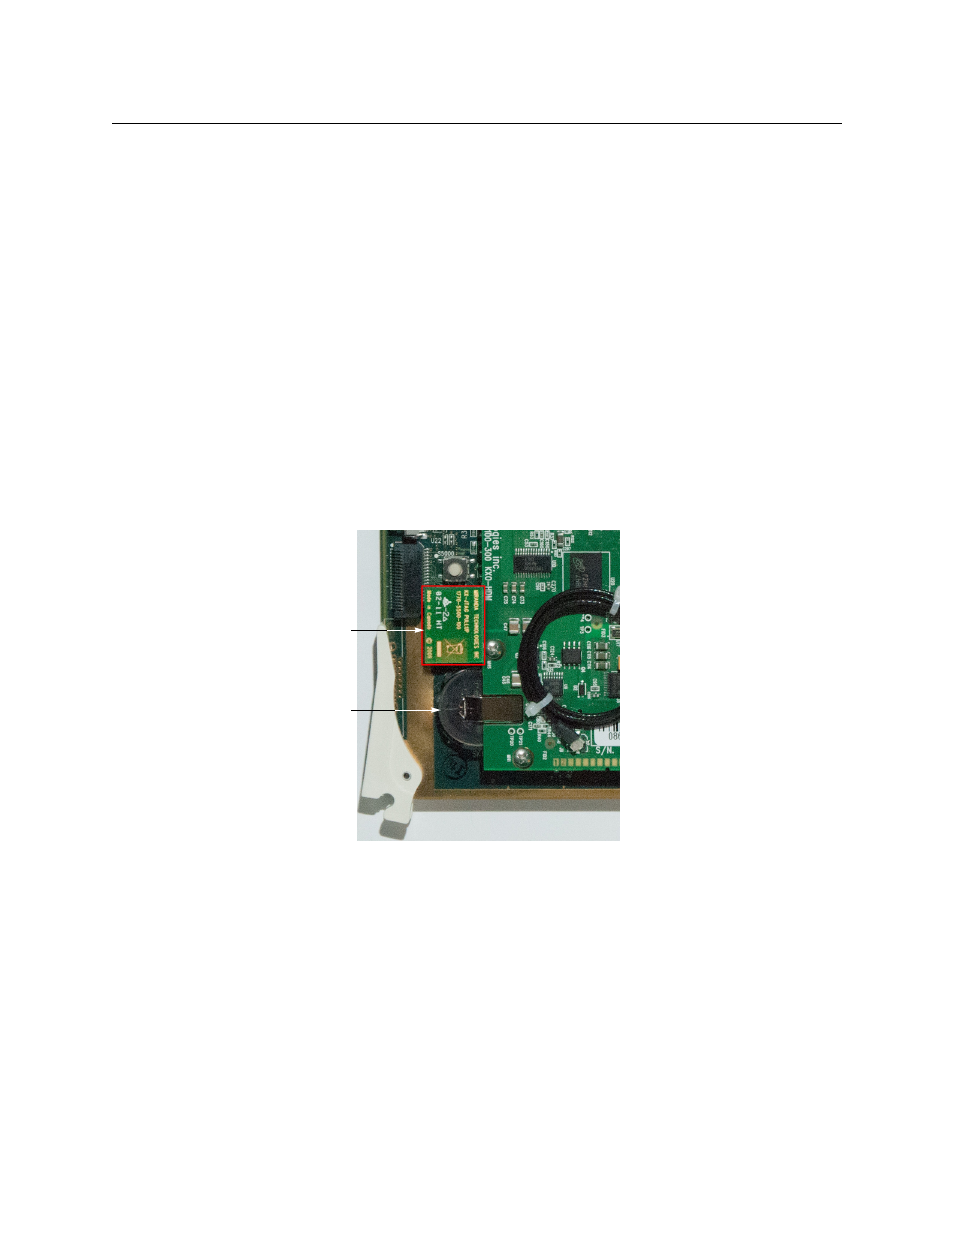
2 Remove the small PCB (KX-JTAG PULLUP, part no. 1770-5500-100), next to the battery, in
the area near the bottom ejector, by gently pulling it away from the card.
3 Remove the five screws and washers.
KX-JTAG PULLUP
Battery