Casio PX-A800BN User Manual
Page 44
E-42
Getting Ready
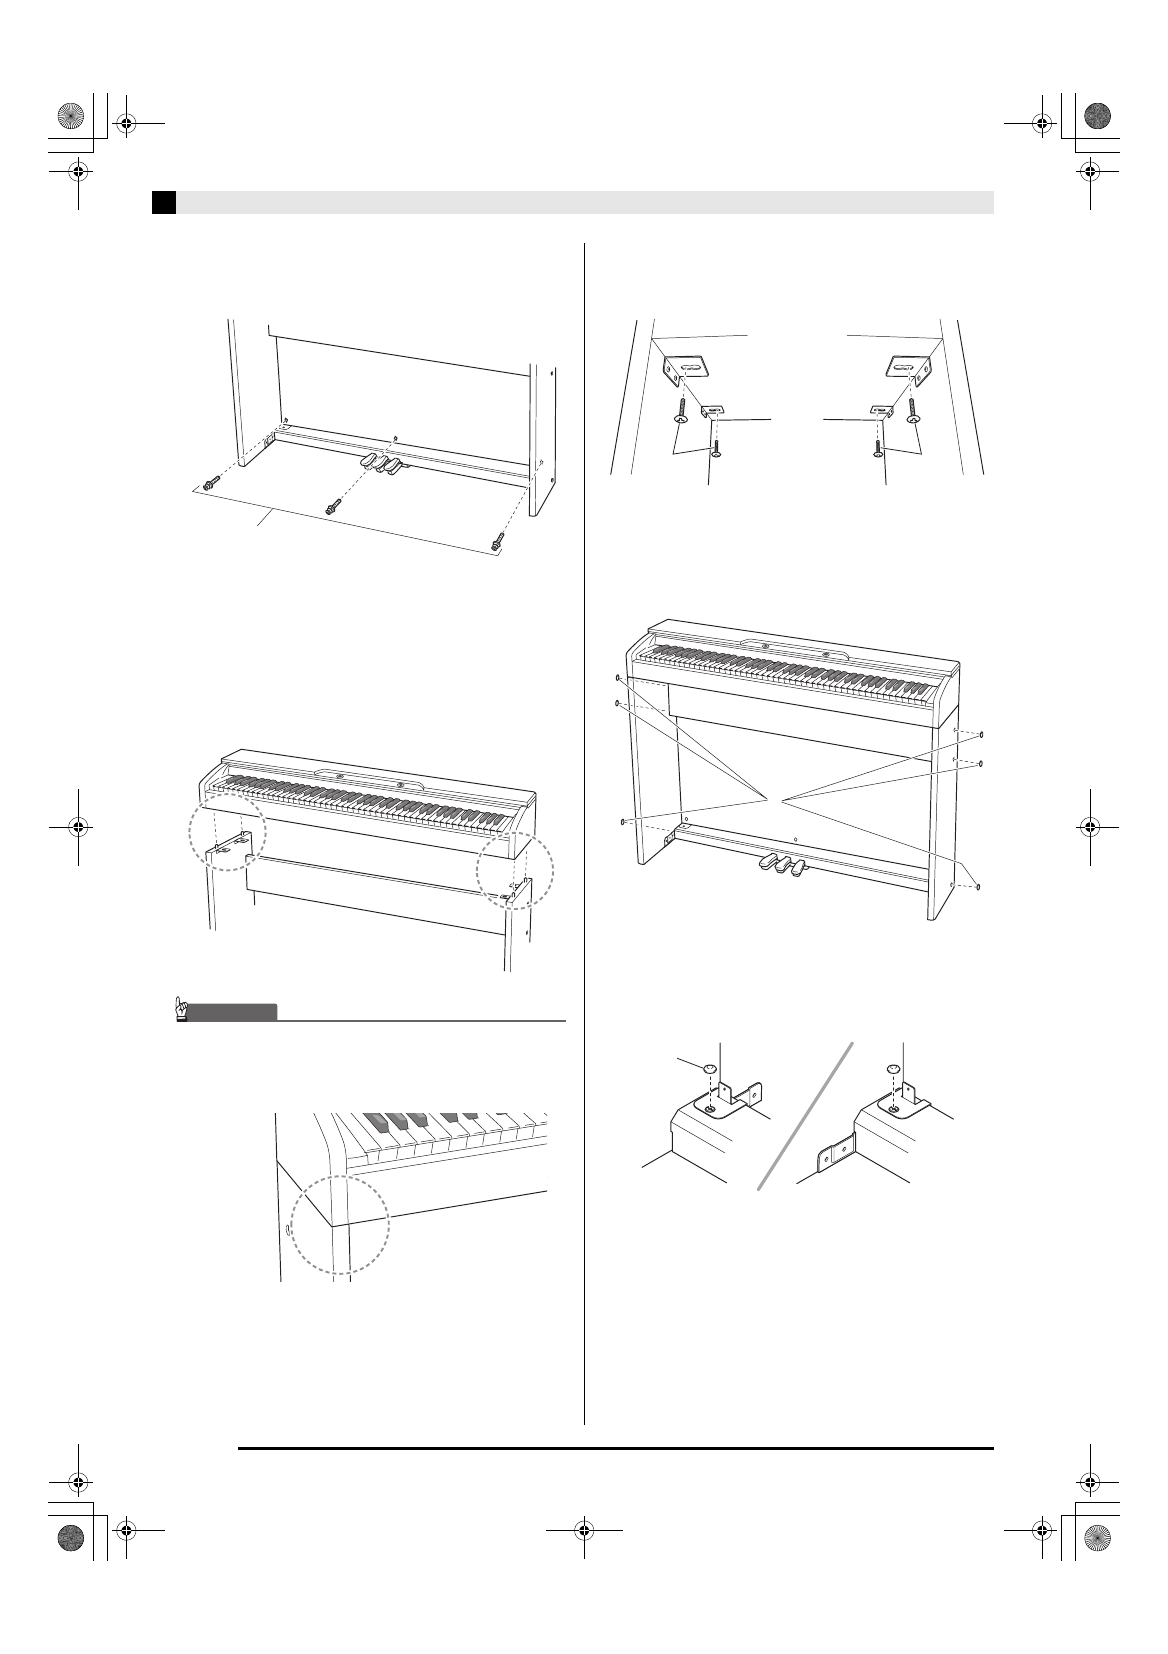
11.
Go around to the front of the Digital Piano
and securely tighten the three screws
N
shown in the illustration below.
12.
Mount the piano onto the stand. Position the
piano so the dowels on the top edges of side
panels
A
and
B
enter the dowel holes on the
bottom of the piano.
•
Note that there is nothing anchoring the piano to the
stand at this time. Take care to ensure that the piano
does not fall off the stand.
IMPORTANT!
• After mounting the piano onto the stand, check to
make sure the sides of the piano and the side panels
of the stand are position relative to each other as
shown in the nearby illustration.
13.
Use the screws
J
to securely fix the brackets
at the top of side panels
A
and
B
to the
bottom of the piano.
14.
After checking to make sure the six screws
that secure side panels
A
and
B
are fully
tightened, cover the heads of the screws with
screw caps
D
.
15.
With the two screw caps
I
, cover the heads
of the screws that you fully tightened in
step 8.
N
3
X
J
J
D
I
PXA800_e.book 42 ページ 2013年6月18日 火曜日 午後6時18分