Checking your fax connection, Setting up your fax features, Checking your selected region – Epson Stylus Office TX510FN User Manual
Page 5: Setting up automatic fax reception
Setting Up Your Fax
5
English
Checking Your Fax
Connection
The Check Fax Connection menu allows
you to check the status of your fax
connection.
1. Load A4-size plain paper into the sheet
feeder.
2. Press K Fax to select Fax mode, and
then press
x
Menu
.
3. Press u or d to select 5.Fax Setting, and
then press OK.
4. Press u or d to select 6.Check Fax
Connection
, and then press OK.
5. Press D x [B&W] or E x [Color] to
print the report.
6. Press x Menu to return to the first
screen in Fax mode.
Setting Up Your Fax
Features
Before sending or receiving faxes, you
may want to create a fax header, select
your fax preferences, and set up a speed
dial/group dial list of frequently used fax
numbers.
Checking your selected
region
Before using the product, you need to
select the region where you are using the
product.
1. Press K Fax to select Fax mode, and
then press x Menu.
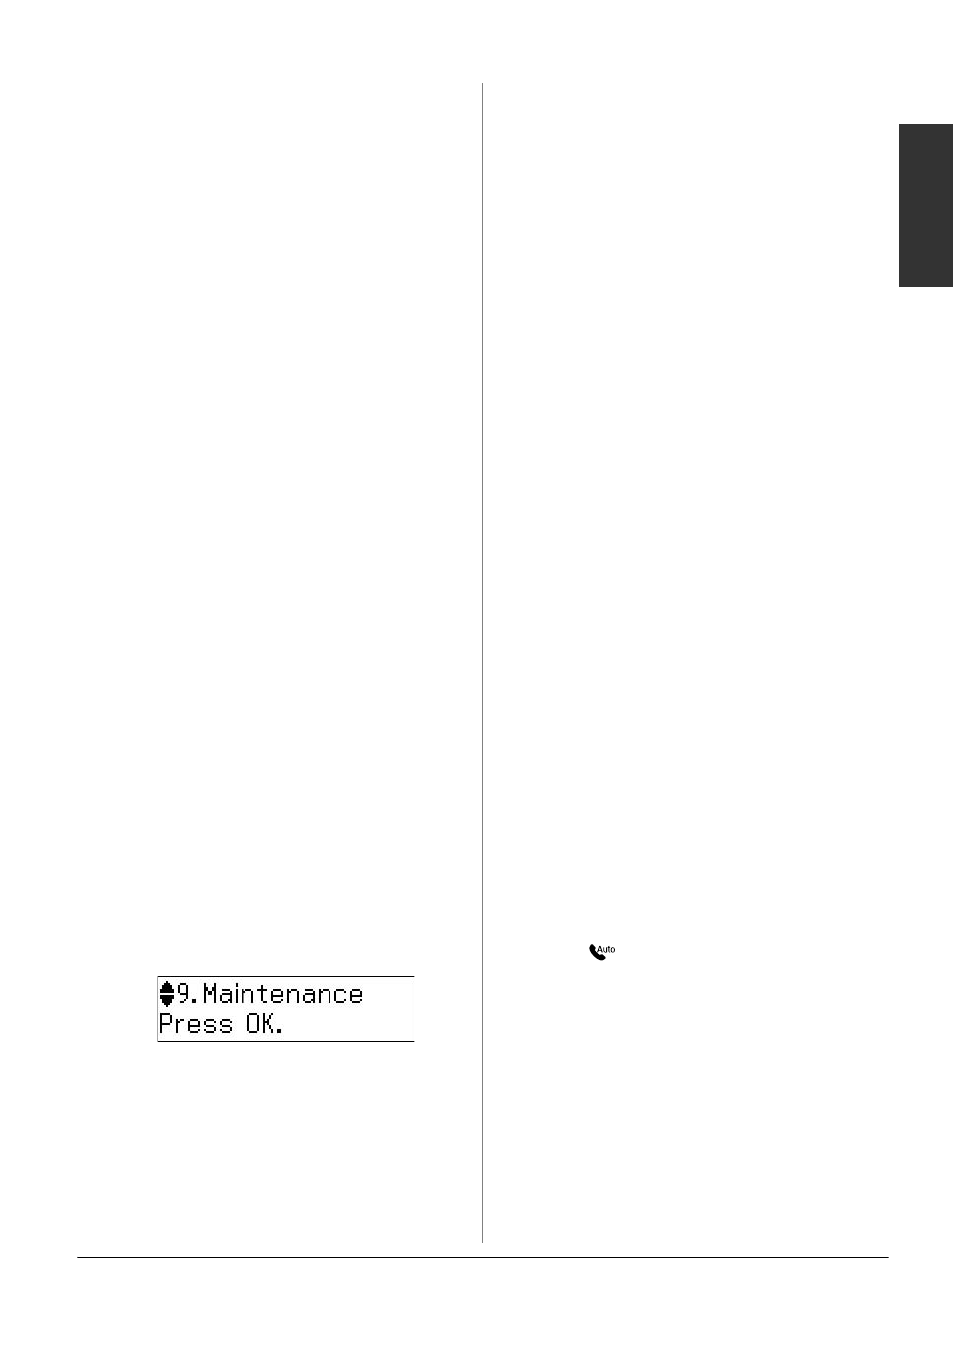
2. Press u or d to select 9.Maintenance,
and then press OK.
3. Press u or d to select
11.Country/Region
, and then press
OK
.
4. If you need to change the region, use
u
or d to select your region.
5. Press OK. An information screen is
displayed.
6. Press the 1 key (for Yes) on the numeric
keypad to change the region.
Note:
When you change the region, the fax
settings are restored to their defaults.
7. Press x Menu to return to the first
screen in Fax mode.
Setting up Automatic Fax
Reception
When an answering machine is connected,
make sure the answer time for the
answering machine and the product are
set correctly. If your answering machine is
set to pick up on the fourth ring, you
should set the product to pick up on the
fifth ring or later.
Note:
Rings to Answer may be unavailable
depending on the region.
1. Press K Fax to select Fax mode, and
then press x Menu.
2. Press u or d to select 5.Fax Setting, and
then press OK.
3. Press u or d to select
5.Communication
, then press OK.
4. Press u or d to select 4. Rings to
Answer
, then press OK.
Note:
5.Rings to Answer may be displayed
depending on the region.
5. Press u or d to select the number of
rings, then press OK. Select more than
the number of rings needed for the
answering machine to pick up.
6. See your telephone's documentation
for the setup method.
7. Press [Auto Answer/Space], and
turn on Auto Answer mode.
8. Press OK.
9. Press x Menu to return to the first
screen in Fax mode.
When you receive a call, if the other party
is a fax and you pick up the phone or the
answering machine answers, the product
automatically begins receiving the
transmission. If the other party is a caller,
the phone can be used as normal or a
message can be left on the answering
machine.