Checking the stylus scan, Loading paper, English – Epson Stylus Scan 2500 User Manual
Page 27
27
Checking the Stylus Scan
English
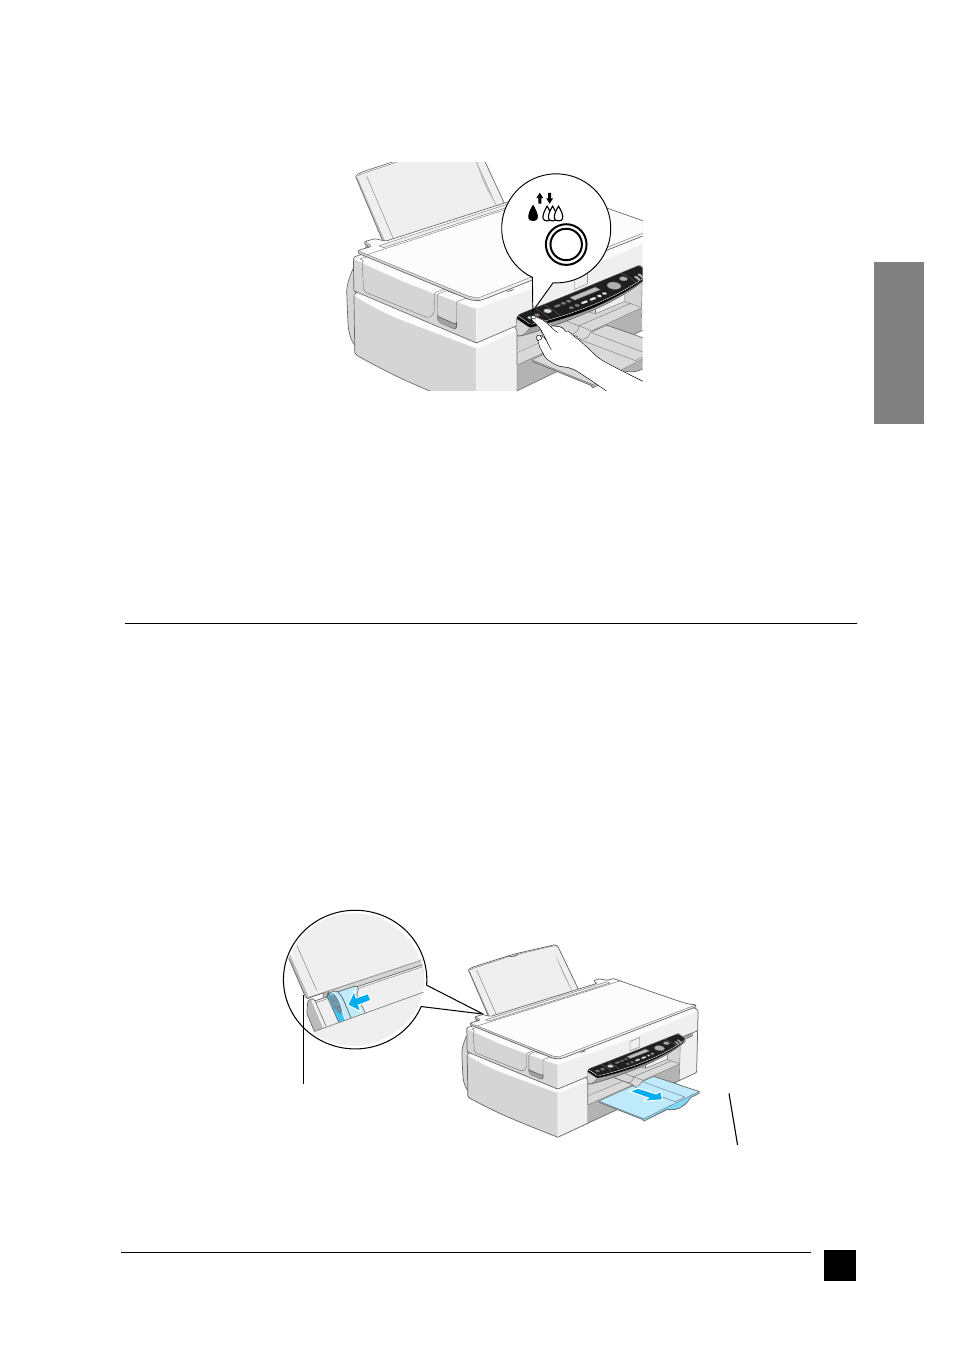
8.
Press the
R
cleaning button. The Stylus Scan print head will move, and the ink
delivery system will begin charging the ink.
The ink charging process takes about one minute to complete, during which time
the Operate light flashes and the Stylus Scan produces a variety of mechanical
sounds. These sounds are normal. When the ink delivery system has been charged,
the print head returns to its home (far right) position and the Operate light stays on.
c
Caution:
Never turn off the Stylus Scan while the Operate light is flashing.
Checking the Stylus Scan
Before using your Stylus Scan, make sure it is working correctly by print a nozzle check
pattern. You may also need to clean the print head.
❚
Loading Paper
Follow these steps to load plain paper into the Stylus Scan.
1.
Slide out the output tray. Next, slide the left edge guide so that the distance between
the edge guides is slightly wider than the width of your paper. If you load long
paper, pull out the paper support extension.
2.
Fan a stack of paper; then tap it on a flat surface to even the edges.
edge guide