Setting the date stamp, Setting auto review, Setting stabilizer – PRAKTICA luxmedia 18-Z36C User Manual
Page 41: Setting night scene, Ound. see "setting night scene" on p, Ge 41 for more details
Setting the Date Stamp
The date of recording can be printed directly on the still
images. This function must be activated before the image is
captured. Once date and time are stamped on an image, they
can no longer be edited or deleted.
Limitations of Date Stamp functions are as follows:
• Available for still images only.
• This feature does not apply to continuous shooting
mode.
• In vertical or rotated images, the date and time on your
images still appear horizontally.
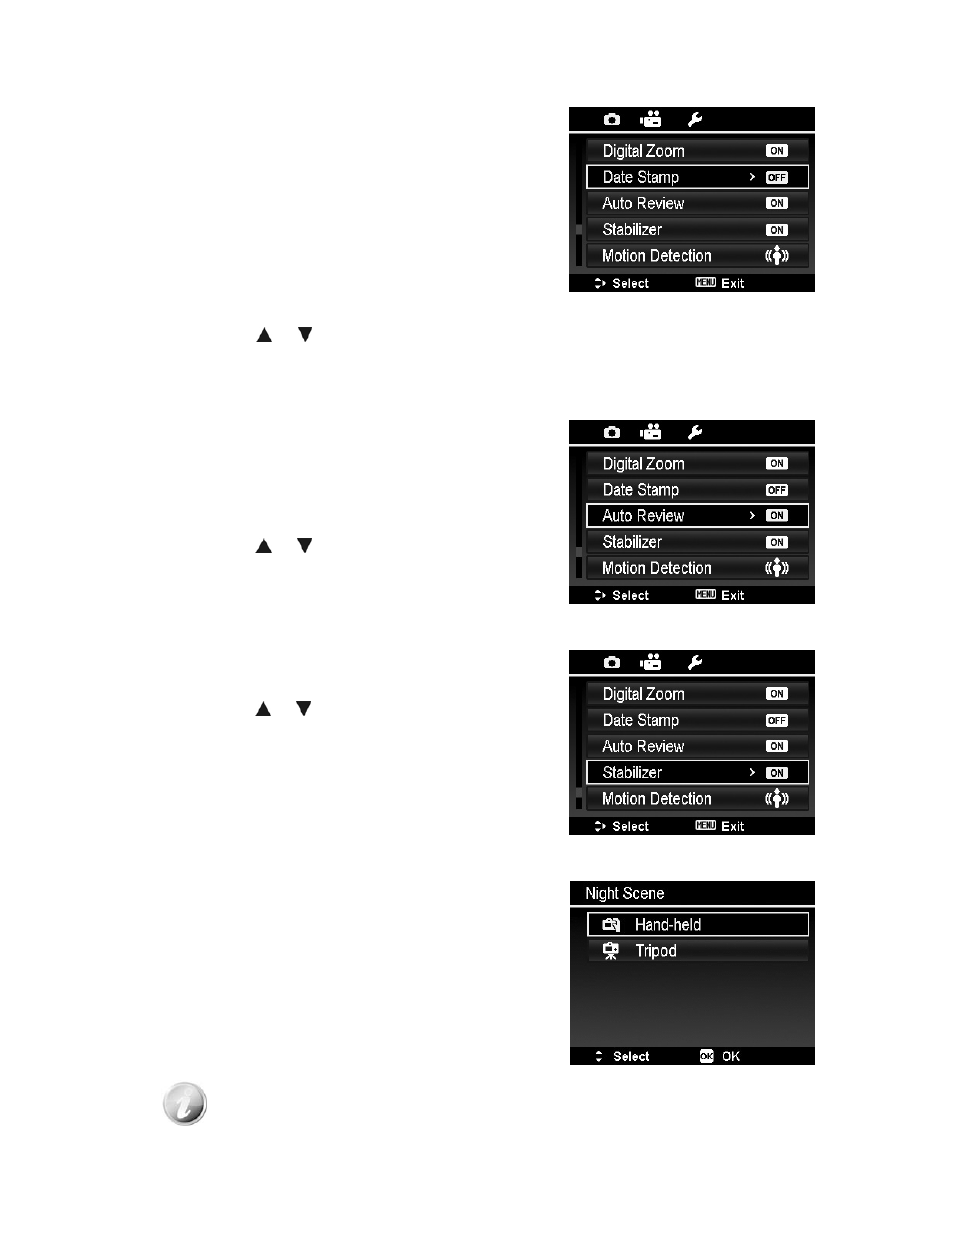
To set Date Stamp
1. From the Record menu, select Date Stamp.
2. Use the or keys to go through the selection.
3. Press the OK button to save and apply changes.
Setting Auto Review
The Auto Review function lets you view the captured image
right after shooting it.
If Auto review is On, the camera will display the captured
image for 1 second on the LCD monitor.
To set Auto Review
1. From the Record menu, select Auto Review.
2. Use the or keys to go through the selection.
3. Press the OK button to save and apply changes.
Setting Stabilizer
This function allows you to prevent blurred images caused by
shaking.
1. Enable the Stabilizer under the Record Menu.
2. Use the
or keys to go through the selection.
3. Press the OK button to save and apply changes.
Setting Night Scene
When you take pictures with Night Scene or Night Portrait, this
function provides you the predefine settings for using hand-held
or tripod.
This function ONLY shows up in Record Menu while using Night Scene or Night Portrait.
41