Hardware installation, 1 desktop installation – PLANET FNSW-1600P User Manual
Page 10
10
3. Hardware Installation
Start up
Please refer to the followings for your cabling:
10/100Base-TX
All 10/100Base-TX ports come with Auto-Negotiation capability. They automatically
support 100Base-TX and 10Base-T networks. Users only need to plug a working
network device into one of the 10/100Base-TX ports, and then turn on the FNSW-
1600P. The port will automatically runs in 10Mbps, 20Mbps, 100Mbps or 200Mbps
after the negotiation with the connected device.
Cabling
Each 10/100Base-TX ports use RJ-45 sockets -- similar to phone jacks -- for
connection of unshielded twisted-pair cable (UTP). The IEEE 802.3 / 802.3u Fast
Ethernet standard requires Category 5, 5e UTP for 100Mbps 100Base-TX. 10Base-T
networks can use Cat. 3, 4, 5 (see table below). Maximum distance is 100meters
(328 feet).
Port Type
Cable Type
Connector
10Base-T
Cat. 3, 4, 5, 2-pair
RJ-45
100Base-TX
Cat. 5, 5e UTP, 2-pair
RJ-45
Any Ethernet devices like hubs / PCs can connect to the FNSW-1600P by using
straight-through wires. The 16-10/100Mbps ports are auto-MDI/MDI-X can be used
on straight-through or crossover cable.
3.1 Desktop Installation
To install the PoE Fast Ethernet Switch on desktop, simply follow the next steps:
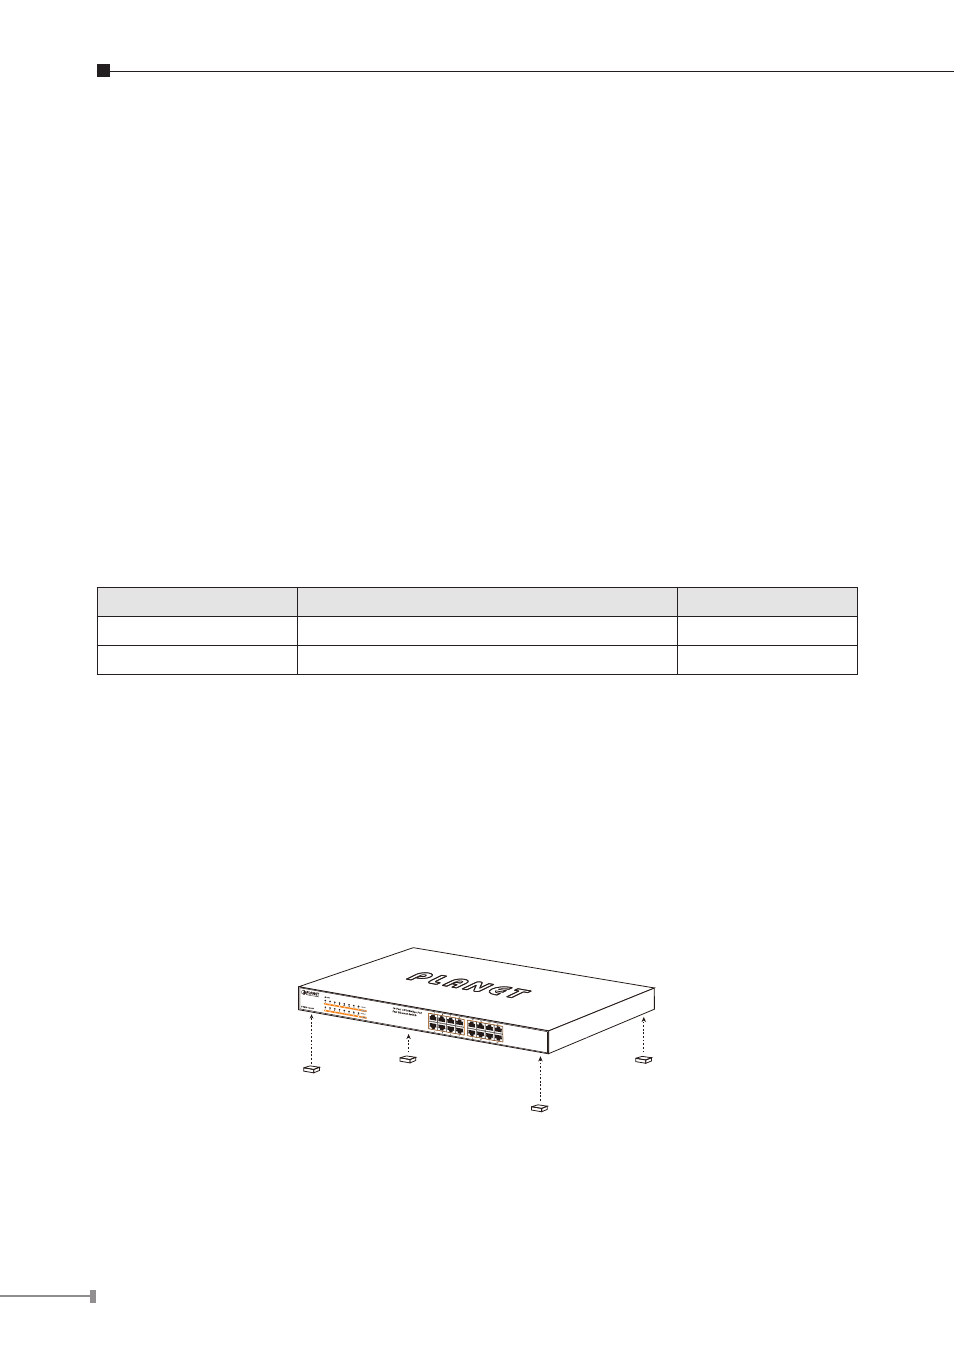
Step 1: Attach the rubber feet to the recessed areas on the bottom of the PoE
Fast Ethernet Switch, as shown in Figure 3-1.
Figure 3-1: Attaching the Rubber Feet to the PoE Fast Ethernet Switch
Step 2: Place the PoE Fast Ethernet Switch on desktop near an AC power source.
Step 3: Keep enough ventilation space between the PoE Fast Ethernet Switch and
the surrounding objects.