PLANET GSD-802PS User Manual
Package content, Requirements, Start web management
– 1 –
– 2 –
– 3 –
– 4 –
1. Package Content
Thank you for purchasing PLANET Layer 2 Web Smart
Switch, GSD-802S / GSD-802PS. Terms of “Web Smart
Switch” means the Switches mentioned titled in the cover
page of this Quick Installation Guide.
Open the box of the Web Smart Switch and carefully
unpack it. The box should contain the following items:
The Web Smart Switch x 1
This Quick Installation Guide x 1
User's Manual CD x 1
Rubber Feet x 4
Two Rack-mounting brackets with attachment screws x 1
Power Cord x 1
If any item is found missing or damaged, please contact
your local reseller for replacement.
2. Requirements
The Web Smart Switch provide remote login interface for
manage; the following equipments are necessary for further
management.
Workstation installed with Ethernet NIC (Network Card)
Workstations of subscribers running Windows XP/2003,
Vista, Windows 7, MAC OS X, Linux, Fedora, Ubuntu or
other platform compatible with TCP/IP protocols.
Ethernet Port connect
Network cables - Use standard network (UTP) cables
with RJ-45 connectors.
Above Workstation installed with WEB Browser and
JAVA runtime environment Plug-in
Note
It is recommended to use Internet Explore 7.0
or above to access the Web Smart Switch.
3. Start Web Management
The Web Smart Switch provides a built-in browser interface.
You can manage it remotely by having a remote host with
Web browser, such as Microsoft Internet Explorer, Mozilla
Firefox, Google Chrome or Apple Safari.
192.168.0.x
PC / Workstation
with
IE Browser
RJ-45/UTP-Cable
Managed Switch
IP Address:
192.168.0.100
IP Address:
Figure 3-1 IP Management diagram
The following shows how to start up the Web Management
of the Web Smart Switch, please note the Web Smart
Switch is configured through an Ethernet connection, please
make sure the manager PC must be set on the same IP
subnet address.
For example, the default IP address of the Web Smart
Switch is 192.168.0.100, then the manager PC should
be set at 192.168.0.x (where x is a number between
1 and 254, except 100), and the default subnet mask is
255.255.255.0.
Login the Web Smart Switch
1. Use Internet Explorer 7.0 or above Web browser, enter IP
address http://192.168.0.100 (the factory-default IP
address) to access the Web interface.
2. When the following dialog box appears, please enter the
default password “admin”. The login screen in Figure
3-2 appears.
Default IP Address: 192.168.0.100
Default Password: admin
Figure 3-2 Login screen
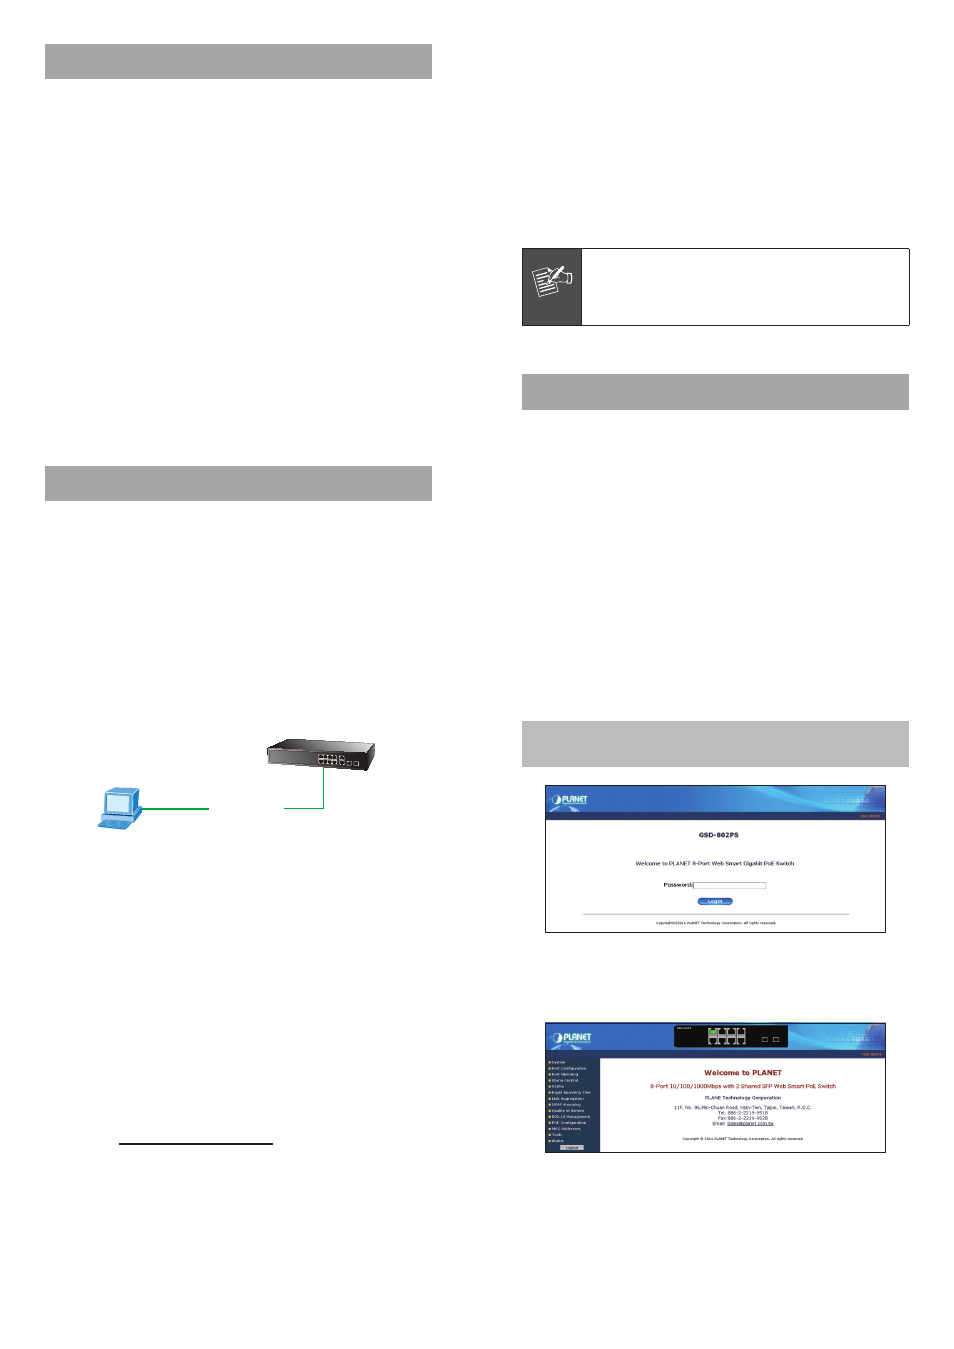
3. After entering the password, the main screen appears as
Figure 3-3.
Figure 3-3 Web Main Screen of Web Smart Switch
Now, you can use the Web management interface to
continue the Switch management. Please refer to the user
manual for more.