Verify the contents inside the box, Step 1 : hardware overview, Step 2 : case disassembly – PLANET ICA-4200 User Manual
Page 4: Step 3 : connecting network and poe
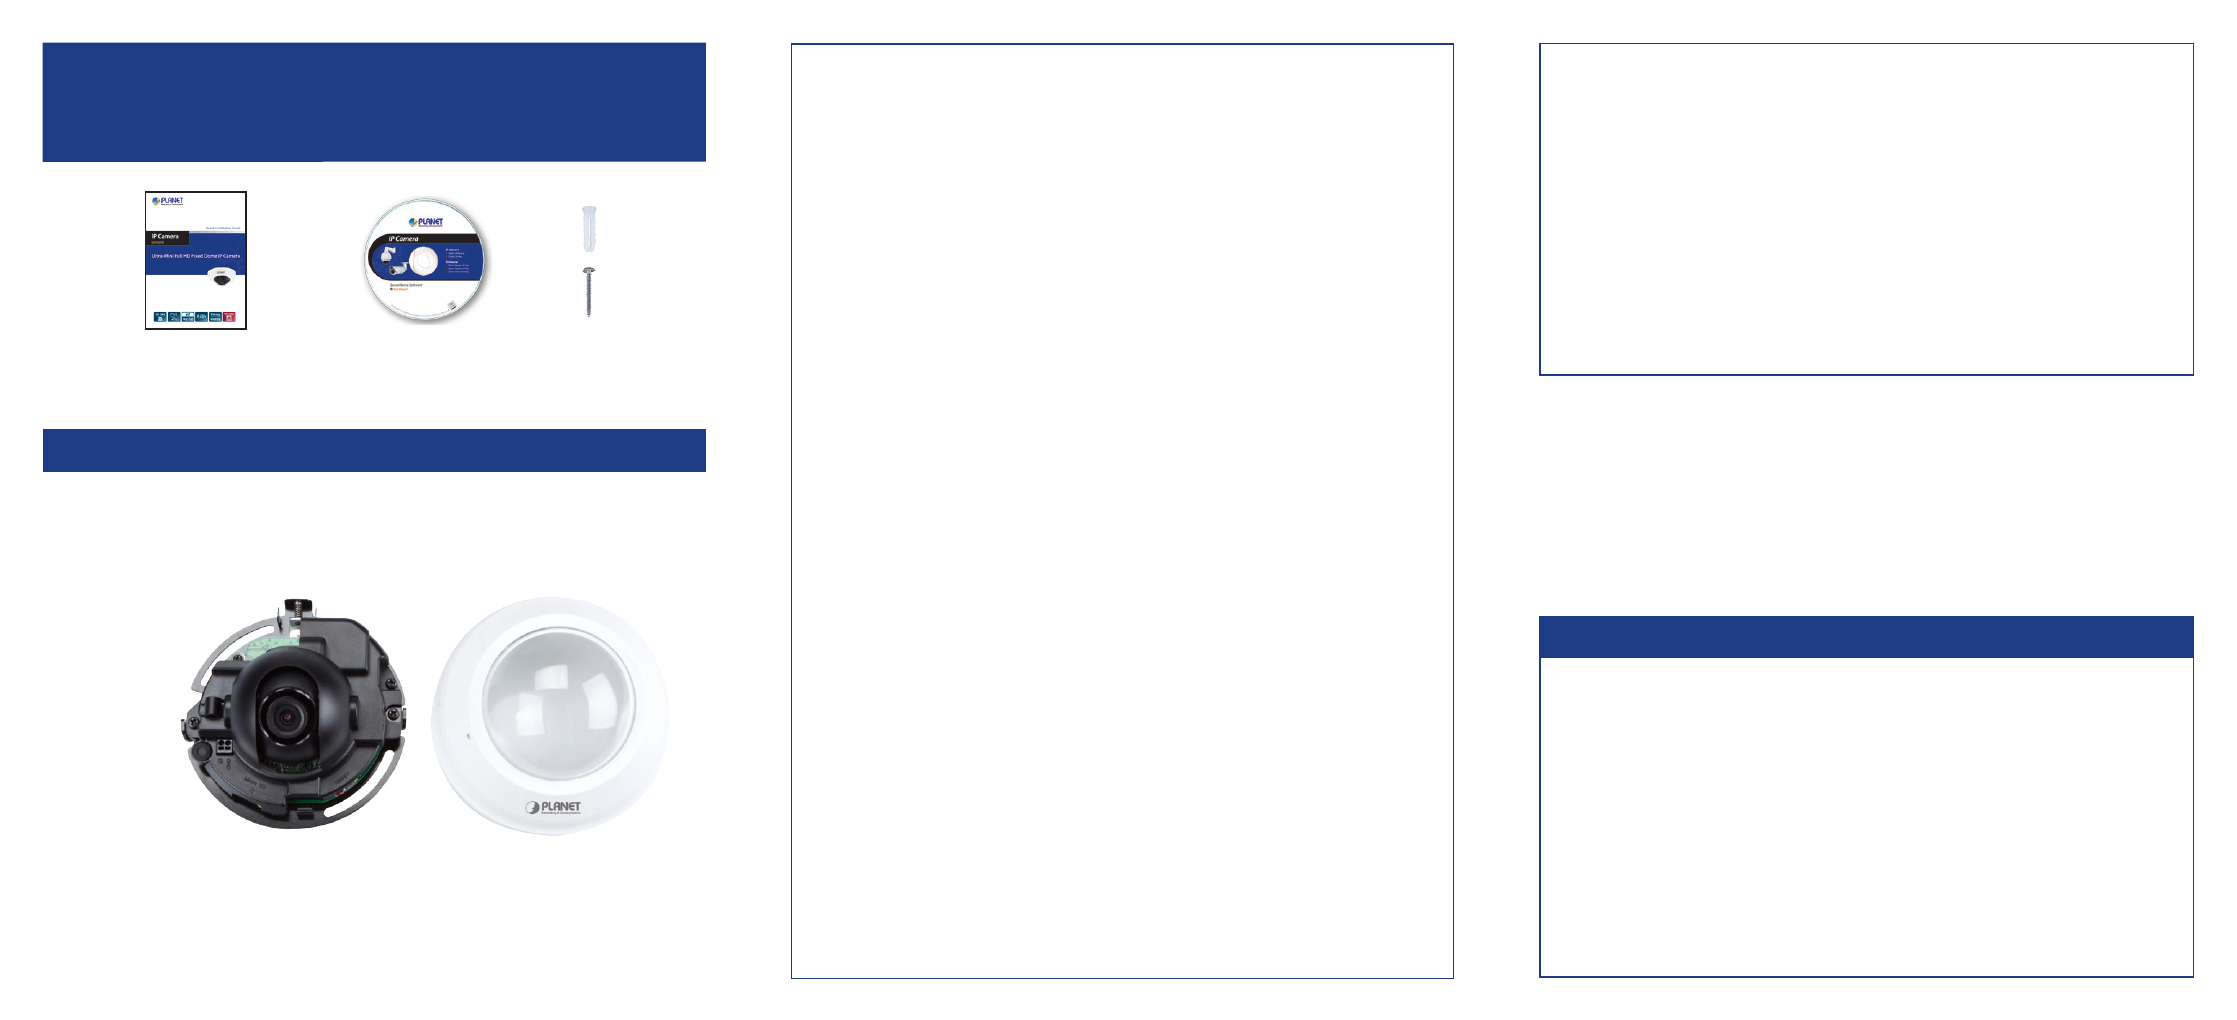
VERIFY THE CONTENTS INSIDE THE BOX
The package should contain the following items plus Ultra-mini Full HD
Fixed Dome IP Camera. If any item is missing or damaged, please contact
the seller immediately.
x 2
x 2
Quick Installation Guide
CD-ROM
Wall-mount Kit
Step 1 : Hardware Overview
Ethernet Port (PoE)
Audio in
Lens
DI
Reset Button
MicroSD/SDHC Card Slot
Step 2 : Case Disassembly
Press the button to release the case.
Lift up the case to remove.
Step 3 : Connecting Network and PoE
PoE Ethernet Switch
ICA-4200
Laptop
(192.168.0.X)
PoE
Note: The camera supports IEEE 802.3af and is only powered from PoE.
Step 4 : Running Installer Utility to Locate the IP Camera
Insert the CD-ROM supplied in the product package and the CD
will automatically run the installation. If not, please click the Smart
Discovery Lite utility hyperlink to install.
After the camera utility is launched, all cameras found in your local area
network will be displayed.
Interface
Description
Audio in
User can enable the function of the built-in
microphone via audio setting in the Web UI.
Ethernet port
(PoE)
The LAN socket is an RJ45 connector for
connection to 10BASE-T Ethernet or 100BASE-TX
Fast Ethernet cabling. Not only can this Ethernet
port detect or negotiate the transmission speed of
the network automatically but also input power for
camera operation. Please use Category 5 cable to
connect the Network Camera to an 802.3af PoE
network switch.
Lens
1/2.5" Progressive Scan CMOS
DI
Digital input
Micro-SD/SDHC
card slot
User can insert a micro SD card (up to 32G) into
this slot for event recording.
Reset button
This button is used to restore all the factory
default settings. Sometimes restarting the camera
will make the system return to a normal state.
If the system still got problems after restarting,
user can restore the factory default settings and
configure it again. To restore the device, please
follow the steps below:
1. Press ‘Reset’ button for 5 seconds to reset the
device to the factory default.
2. Login the camera using the default IP
(http://192.168.0.20), with “admin” for both
username and password.
Note
Restoring the factory default setting
will lose all the previous settings
including IP address forever. User
needs to back up configuration file in
advance before restoring.