PLANET WNAP-1110 User Manual
Wired network configuration (windows 7), Enter into the web management, Wireless network connection
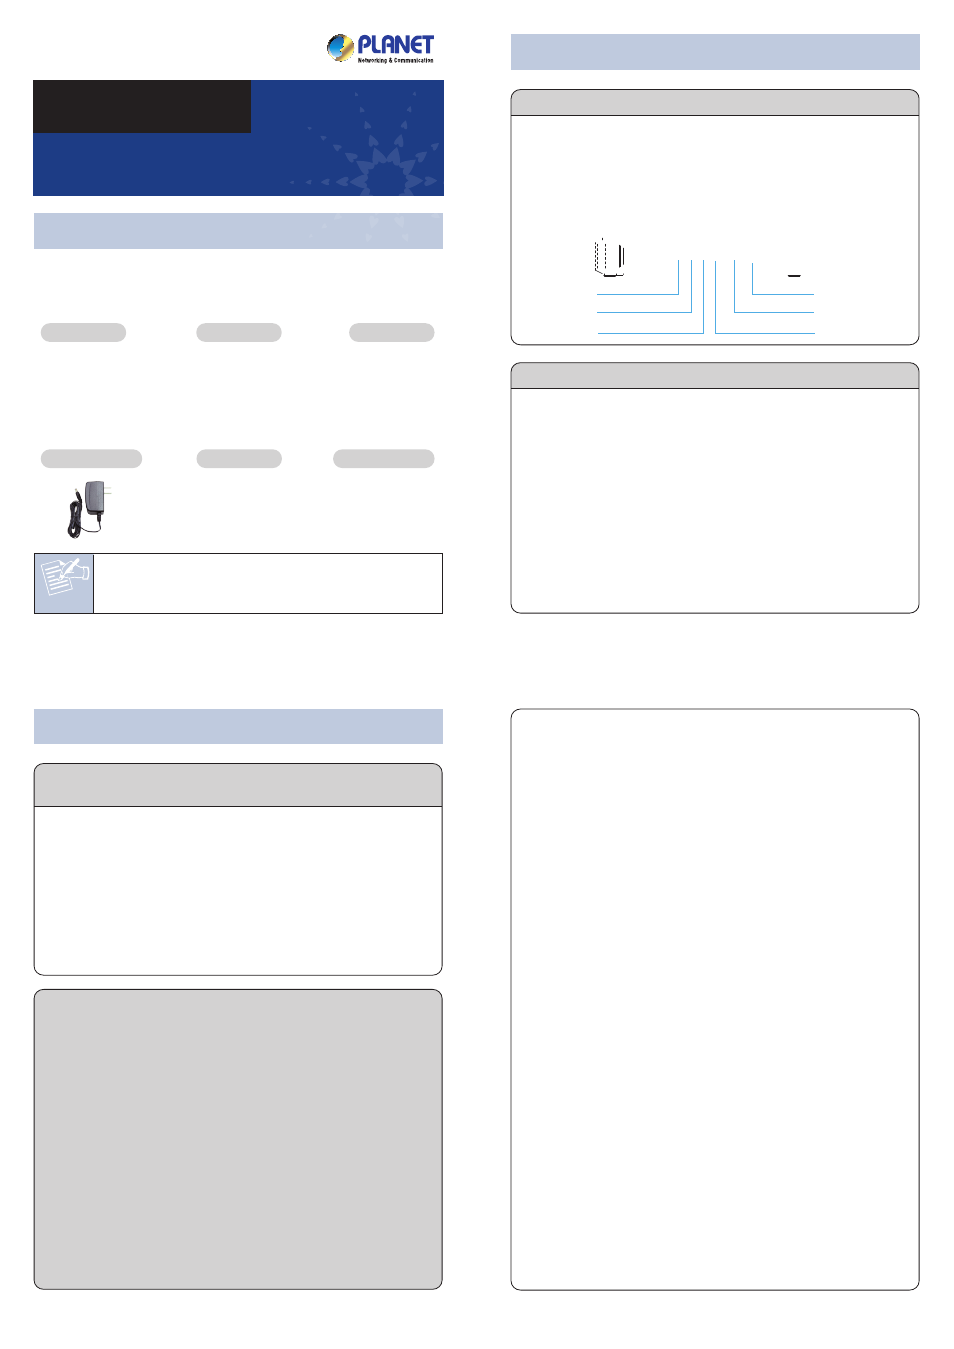
Note
– 1 –
– 2 –
– 3 –
– 4 –
1. Package Contents
2. Physical Installation
3. Hardware Installation
– 7 –
– 8 –
4. Wired Network Configuration (Windows 7)
– 5 –
– 6 –
Front Panel Description
Rear Panel Description
WNAP-1110
Quick Guide
CD-ROM
PoE Injector
1 x 4dBi Antenna
9V Power Adapter
You have already finished the configuration of the WNAP-1110. Now you
can use your iPhone, iPad, laptop, and any other Wi-Fi device to connect
with it wirelessly and start surfing the internet.
FURTHER INFORMATION:
The above steps introduce simple installations and configurations for the
WNAP-1110. For further configurations of different Operation Modes,
please refer to the user’s manual in the CD. If you have further
questions, please contact the local dealer or distributor where you
purchased this product.
2011-E10350-001
Thank you for choosing PLANET WNAP-1110. Before installing, please
verify the contents inside the package box.
The WNAP-1110 should contain the following items in the package:
If there is any item missing or damaged, please contact the
seller immediately.
Step 1: Locate the WNAP-1110 in an optimum place, and adjust the
antenna for the best coverage.
Step 4: Once the basic configuration is done. Click “Finish /
Reboot” button to make the change to take effect.
Step 3: After you enter into the Web User Interface, click Quick
Setup at the left hand side of the screen.
Please follow the indications on the screen to quickly set up
for the wireless connection.
1. Click “Start” button located at the lower-left corner of your
computer.
2. Click “Control Panel”.
3. Double click “Network and Sharing Center” icon.
4. Click “Change Adapter Settings”.
5. Double click “Local Area Connection”.
6. Select “Internet Protocol Version 4(TCP/IPv4)” and click
“Properties”.
7. Select “Use the following IP address”, and then click “OK”
button twice to save the configuration. For example, as the default
IP address of the WNAP-1110 is 192.168.1.253 and the xDSL
router is 192.168.1.254, you may choose from 192.168.1.1 to
192.168.1.252.
Step 1: The Web management allows you to access and manage the
WNAP-1110 easily. Launch the Web browser and enter the
default IP address http://192.168.1.253
Default IP Address: 192.168.1.253
Default User Name: admin
Default Password: admin
Default SSID: WNAP-1110
Default Wireless Password: PIN code (refer to the label on the
bottom of the WNAP-1110.)
A computer with wired Ethernet connection is required for the first-time
configuration of the WNAP-1110.
5. Enter into the Web Management
Step 2: Highlight the wireless network (SSID) to connect and click
[Connect] button.
WNAP-1110
Quick Installation Guide
150Mbps 802.11n Wireless
Range Extender
Wireless LED
WPS LED
WPS Button
Power LED
System LED
LAN LED
WPS
WNAP-1110
LAN
WLAN
SYS
PWR
WPS
WPS
4dBi Antenna
10/100Mbps LAN Port
Reset Button
(Press and hold the Reset button for
about 5 seconds for factory default)
Power ON/OFF Button
Power Connector
9V DC Input
POWER
ON/OFF
LAN
Reset
POWER
ON/OFF
LAN
Reset
Method A: Hard to find the power socket
Method B: Power Socket nearby
Step 2: When the login window pops up, please enter the User
Name and Password. The default User Name and Password
are both “admin”.
Then click OK button to continue.
For security reasons
it is recommended to
change the password
at the first login and
memorize it.
6. Wireless Network Connection
Step 1: Right-click on the network icon displayed in the system
tray.
Step 3: Enter the encryption key of the WNAP-1110 if necessary.
Step 2: Connect the Power Source to the WNAP-1110. Only choose
one of the following methods for the suitability of AP’s
location; otherwise, it will cause damage to the WNAP-1110.
Method A: Hard to find the power socket
(1) Connect the Ethernet cable into the LAN port of the PC, and plug
the other end of the Ethernet cable into the LAN port of the PoE
Injector.
(2) Use another Ethernet cable (8-wire patch cable) to connect the
LAN port of the WNAP-1110 and the PoE port of the PoE Injector.
The 8-wire patch cable should not exceed 30 meters in length.
(3) Connect the power adapter into the DC port of the PoE Injector,
and plug the other end of the power adapter into an electrical
outlet.
Method B: Power Socket nearby
(1) Connect the Ethernet cable into the LAN port of the PC, and plug
the other end of the Ethernet cable into the LAN port of the
WNAP-1110.
(2) Connect the power adapter into the POWER port of the
WNAP-1110 in the rear panel, and plug the other end of the
power adapter into an electrical outlet.
PC
POWER
ON/OFF
LAN
Reset
Power
1
2
PC
PoE Injector
POWER
PoE
LAN
POWER
ON/OFF
LAN
Reset
POWER
PoE
LAN
Power
3
1
2
Check connection before powering on. Wrong connection
may cause device malfunction, say, your PC or other
Ethernet device.
Caution