PLANET ICA-HM710 User Manual
Quick guide
ICA-HM710
ICA-HM718
ICA-HM710
ICA-HM718
their respective owners. Copyright © 2011 PLANET Technology Corp. All rights reserved.
Quick Guide
Quick Guide
2011-AB5540-000
PLANET Technology Corporation
Tel: 886-2-2219-9518
Fax: 886-2-2219-9528
Email: [email protected]
www.planet.com.tw
11F., No.96, Minquan Rd., Xindian Dist., New Taipei City 231, Taiwan (R.O.C.)
VERIFY THE CONTENTS INSIDE PACKAGE BOX
The package should contain the items plus ICA-HM710 / ICA-HM718. If any item is missing or damaged, please contact the seller immediately.
Quick Installation Guide
Step 1a : Connecting Network
Step 2 : Computer Network Setup
Set your computer’s IP address to 192.168.0.x, where x is a number between 2 to 254
(except 20 where is being used for the camera by default). If you don’t know how to do
this, please ask your network administrator.
In the ICA-HM710 / ICA-HM718 can be activated without external power, if connecting to an IEEE802.3af PoE switch.
NOTE : Use only the power adapter shipped with the unit to ensure correct functionality
Use web browser (Internet Explorer 6.0 or above) to connect to 192.168.0.20 (type this
address in the address bar of web browser).
You’ll be prompted to input user name and password:
admin / admin.
Further Configuration
For detail configuration, please check user’s manual on the bundled CD.
If you have any other questions, please contact the dealer where you purchased this product or you can contact PLANET directly at the following
email address: [email protected]
Step 3 : Login Prompt
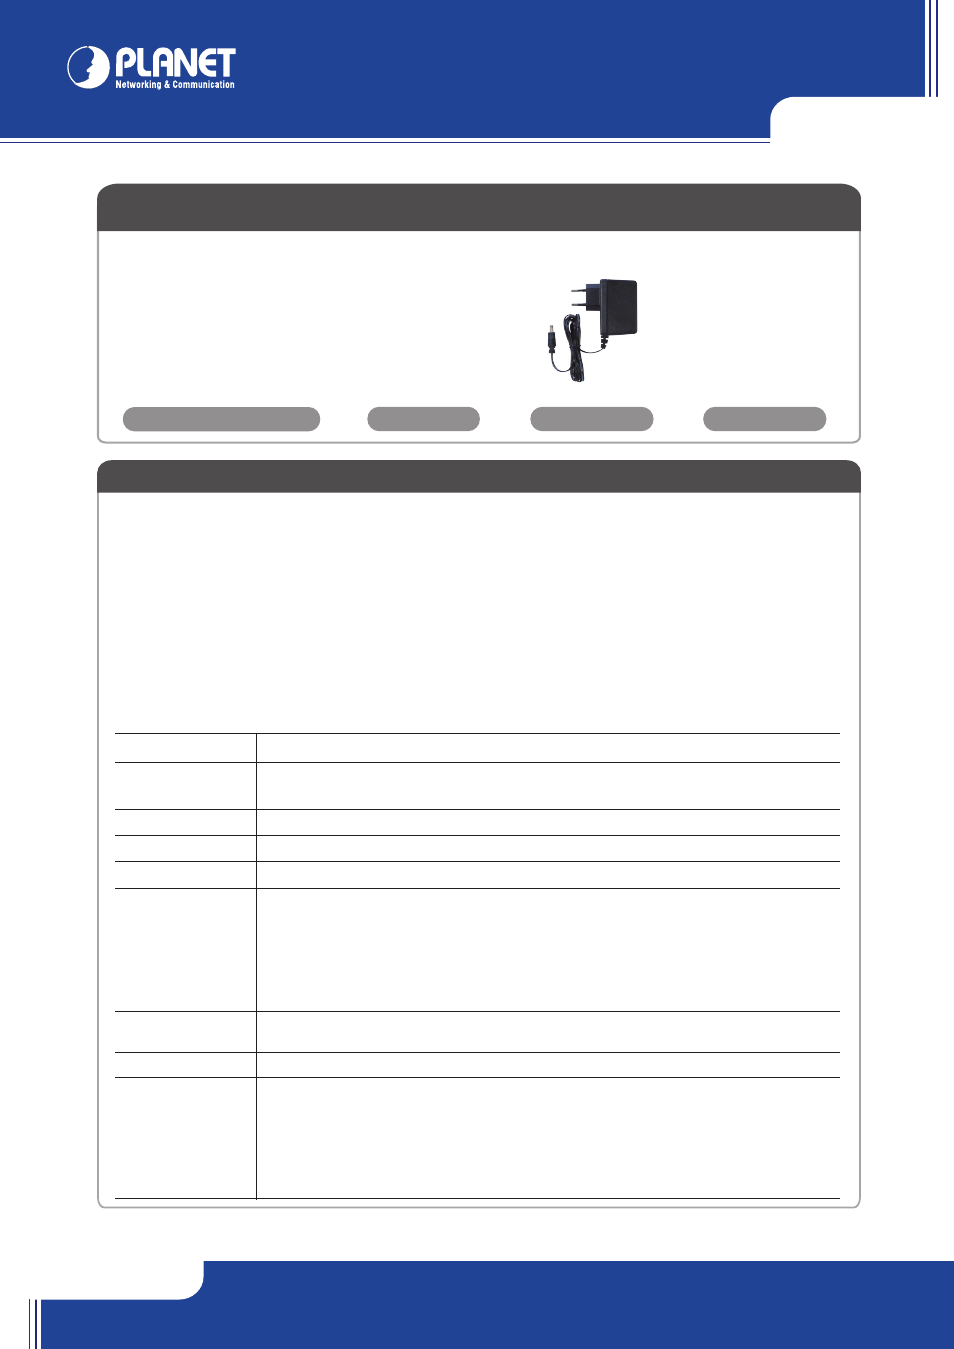
Power Connector
Power Adapter
ICA-HM710/HM718
Ethernet Switch
User PC
(192.168.0.X)
CD-ROM
Camera Rear Panel
Step 1b : Connecting Power via PoE interface and Network
ICA-HM710/HM718
Ethernet PoE Switch
User PC
(192.168.0.X)
6. Video Out Connector
7. Mirco SD Card slot
1. RJ-45 LAN Socket
2. Line In / Line Out
3. Reset Button
4. PWR
5. DI / DO Connector
8. Power Connector
Item
Description
1. RJ-45 LAN Socket
The LAN socket is a RJ-45 connector for connections to 10/100Base-TX Fast Ethernet cabling. The LAN socket
is compliant with IEEE802.3af standard PoE interface, and IP Camera is necessary supplied power through
PoE Switch/Hub device.
2. Line In / Line Out
Connect a microphone / speaker to the network camera.
3. Reset Button
Restore to default setting, press the button with a proper tool.
4. PWR
The power indication, when the power is connected, it will light green.
5. DI / DO Connector
Connect connects to external sensor in and alarm out devices.
6. Video Out Connector The internet camera also provides composite video output. User can use BNC video cable to connect the
Internet camera with a TV monitor or VCR.
7. Mirco SD Card slot
For video and snapshots storage.
8. Power Connector
The input power is AC 24V or DC 12V.
Note Only use package power adapter supplied with the product or follow the power specification.
Otherwise, the product may be damaged.
Rear View of ICA-HM710/718
+
AC 24V: Power-1
DC 12V: Power
+
AC 24V: Earth GND
DC 12V: Reserved
-
AC 24V: Power-2
DC 12V: GND
Pin
Function
Pin
Function
1
Output +
5
GND
2
Output
6
D-
3
Input +
7
D+
4
Input -
PoE
UPS
+
-
*****