Controlling the image finishing tone, Custom image, Controlling the image finishing tone .......p.66 – Ricoh Pentax К-1 User Manual
Page 68: P.66), P.66
3
Shoo
ting
66
1
Press D in standby mode.
The Custom Image setting screen appears.
2
Select an image finishing
tone.
Available operations when shooting with the
viewfinder
Proceed to Step 6 if you do not need to change the
parameters.
3
Press G.
The parameter setting screen appears.
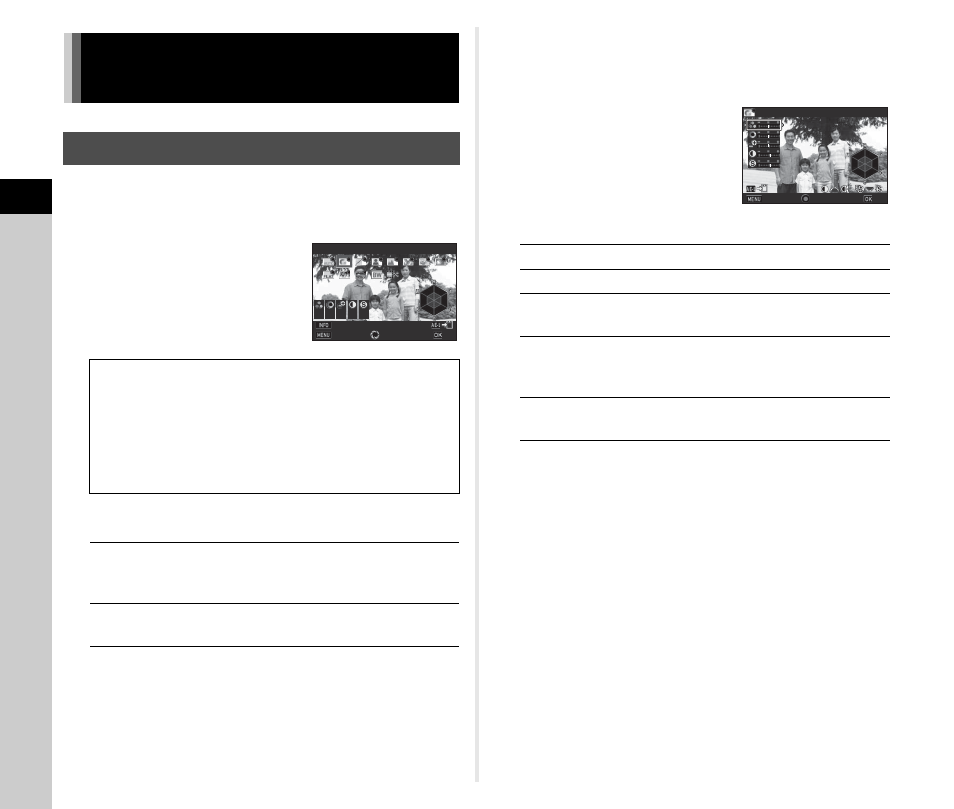
4
Set the parameters.
Available operations
5
Press E.
The screen of Step 2 reappears.
The adjustment values for parameters are displayed.
6
Press E.
The camera returns to standby mode.
u
Caution
• In R mode, the image finishing tone is fixed to [Auto
Select].
• The Digital Preview operation in Step 2 is disabled when the
drive mode is set to [Multi-exposure] or [Interval Shooting].
Controlling the Image Finishing
Tone
Custom Image
Auto Select
Bright
Natural
Portrait
Landscape
Vibrant
Radiant
Muted
Flat
Bleach Bypass
Reversal Film
Monochrome
Cross Processing
Main switch to U
Uses Digital Preview to preview
the background image with the
selected setting applied.
H
Saves the preview image (only
when the image can be saved).
±0
±0 ±0
±0 ±0
±0 +1
+1 +1
+1
Bright
Bright
Cancel
Cancel
Parameter Adj.
Parameter Adj.
Check
Check
OK
OK
AB
Selects a parameter.
CD
Adjusts the value.
Q
Switches between [Contrast], [Highlight
Adjustment], and [Shadow Adjustment].
R
Switches between [Sharpness], [Fine
Sharpness], and [Extra Sharpness].
(Not available in C mode.)
M
Resets the adjustment value to the default
setting.
Saturation
Saturation
Cancel
Cancel
OK
OK
Reset
Reset