Signage settings menu – Christie Access Series II UHD752-L 75" UHD 4K Commercial Monitor User Manual
Page 31
Access II Series LCD Panel User Guide
020-001836-01 Rev.1 (09-2020)
Copyright © 2020 Christie Digital Systems USA, Inc. All rights reserved.
31
Display panel menu contents
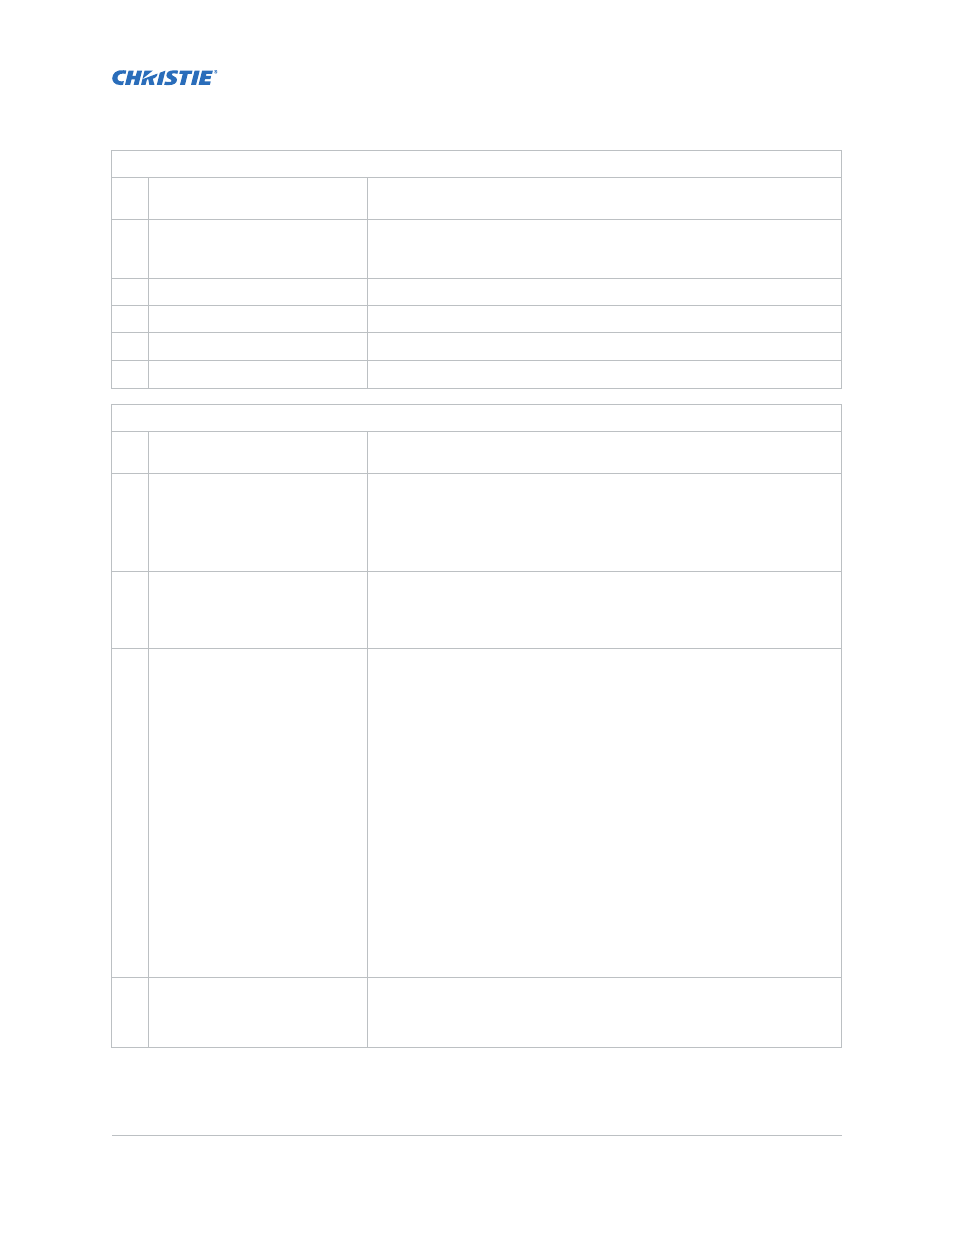
Signage Settings Menu
Device Info
Set ID
Sets the device ID. select a value between 0 to 99 using the
numeric buttons on the remote to identify your Display.
Software Upgrade
Displays current software version. Press OK to see the upgrade options.
Use these options to start a manual search for software updates and set
the automatic scan preference.
Serial number
Displays serial number of the unit. (Cannot by changed by the user.)
Model name
Displays model name of the unit. (Cannot by changed by the user.)
Save model information
Copies the model information data of the unit to a connected USB device.
Display Life Time
Displays the duration of life of the unit.
Controls
OSD Orientation
Sets the on-screen display (OSD) rotation of your display. Landscape,
Portrait 1 and Portrait 2 options are available.
Browser Orientation
Sets the rotation of the browser. Landscape, Portrait1, and Portrait2
options are available. One of the portrait options is set by default
depending on the model. Rotates only the browser and applies changes
after the display is switched off and on again.
Note: Portrait mode does not support html pages which include videos.
Pixel Shift
Enables or disables pixel shifting. Used to avoid image retention (after
image effects) occurring when displaying fixed patterns or still images
for long periods of time.
If enabled, the picture and OSD are shifted at
specified time intervals.
No Signal
Sets the behavior preference of the Display, when no signal is detected from
the currently set input source.
Failover
and
Input Search
options are
available.
If
Failover
is selected, the Display checks the connected USB device for
available files to play. If no playable files are available or no USB device
is connected to the Display, the No Signal image will be displayed. If No
Signal Image is available, No Signal OSD will be displayed on the screen.
The
setting
of
the
USB
Auto
Play
option
in
the
Settings>System>More
menu is not important, in Failover mode it
continues to function.
If
Input Search
is selected the Display searches all available input
sources consecutively to find a signal. If no signal is detected from other
available sources, No Signal OSD is displayed and the signal search
continues according to the order in the
Sources list
until the
ANDROID
source is reached as it is always be available.
How to install No Signal Image
Install the file you want to use onto the root directory of any USB
storage device and name it as “NoSignalImage.png”. Connect the USB
storage device to the Display. Highlight
USB Operations
option in the
Settings>Signage>USB
menu and press
OK
No Signal Delay
Sets a delay value to the
‘No Signal’
preferences when the Display is in
No Signal state. After the set delay time is expired
‘No Signal’
preferences are applied. If the No Signal option is set as Input Search,
this option is not be available.